Testing Interaction Flows in the Simulator
You can easily test a Flow directly from the X-Designer using a built-in runtime simulator. The simulation process lets you navigate quickly through your Flow to review its logic, its output, and other design factors.
Note
Before you test a Flow, ensure that you have designated a Start element.
Open or activate the Flow you want to test.
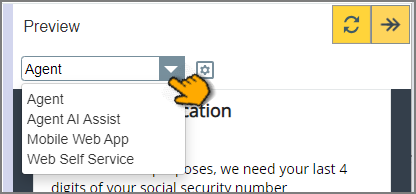
Click the Preview icon located at the top right corner of the Flow Map:

The Preview panel is displayed.
From the Select application dropdown list at the top of the panel, select the Application that will be used to test your Flow:
Note
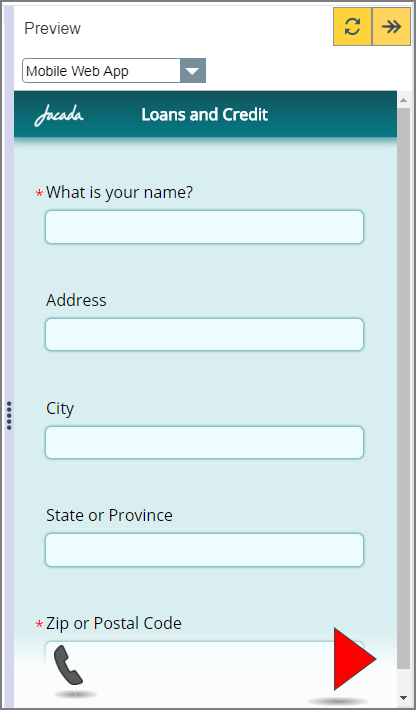
By default, the simulator displays the Flow as it will look in the Mobile Web application.
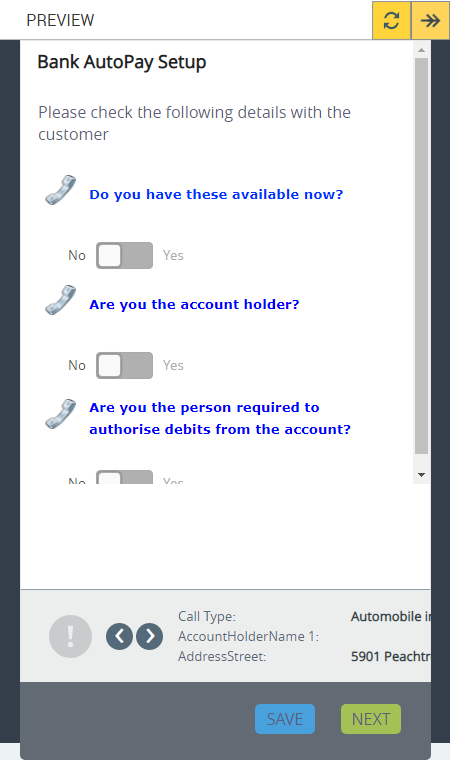
The simulator will immediately begin operation:
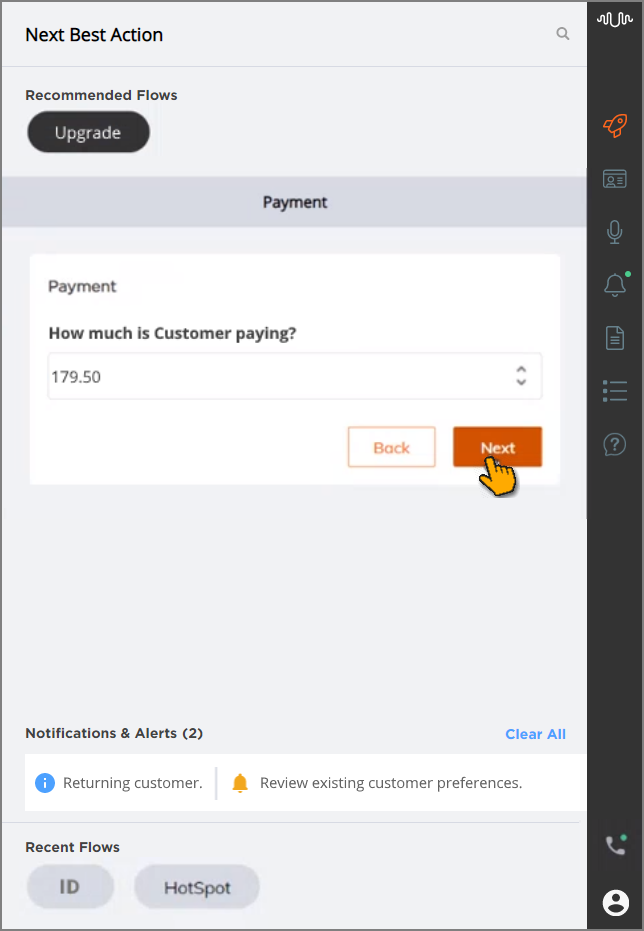
You can use the Next and Back buttons at the bottom of the simulation to navigate through your Flow.
For some applications (e.g., Agent), you'll also see additional relevant information at the bottom of the simulation, or a summary page when the Flow is finished.
The look and feel of the selected application is determined mainly by the Theme that has been assigned to it in the X-Console. For details, refer to Managing Application Themes.
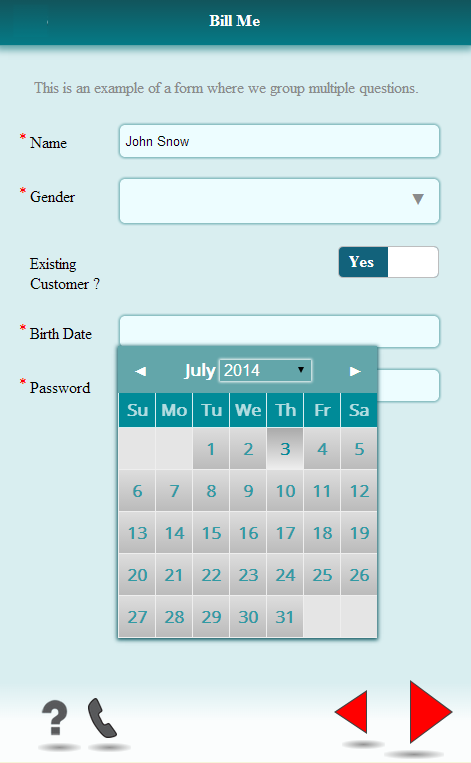
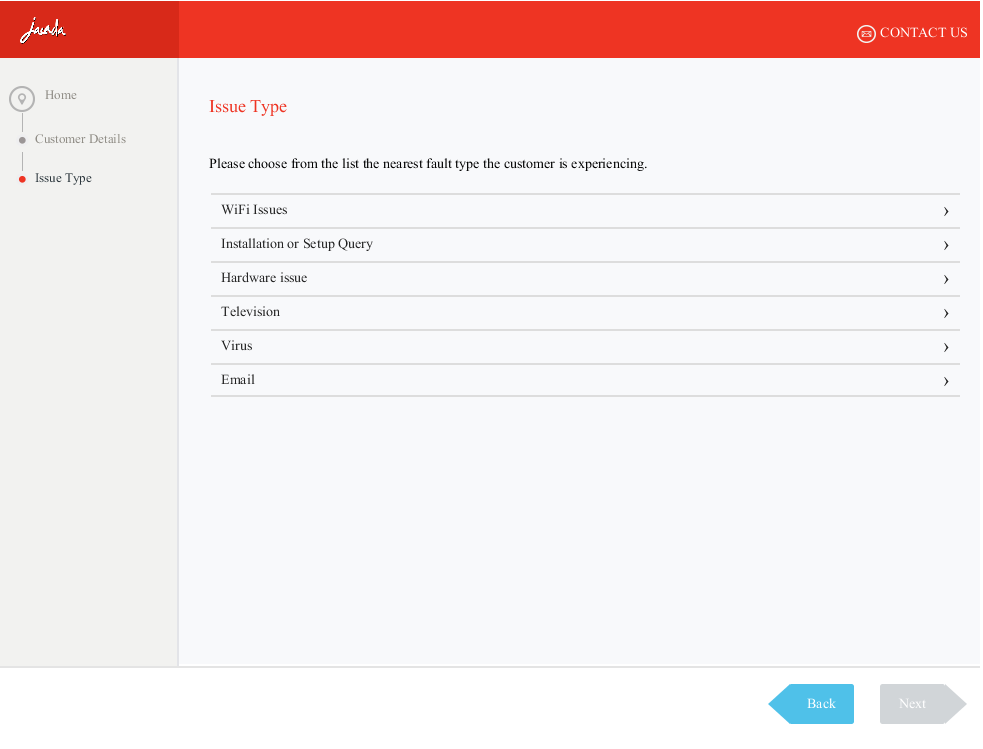
Application Simulation Examples
The following images show how Flow pages appear in the simulator for different clients.
You can resize the Preview pane to accommodate the selected client's resolution, when needed.
Application Simulation Examples
 |
 |
 |
 |
After testing a Flow in the Agent application, you can also examine its step-by-step execution in detail. When the Flow completes, click Done at the bottom right corner of the Preview pane to immediately display its History Flow panel.