Organizing Flows
All the steps, elements and connectors that you add to the Flow are displayed on the Flow Map. As a X-Designer Flow grows bigger and more complex, it can sometimes become challenging to view and navigate the layout.
The following features can help you to organize and enhance the display of your Flows.
Arranging the Layout
Typically, you control a Flow's layout simply by selecting one object or multiple objects and manually dragging them to the desired location on the Flow Map.
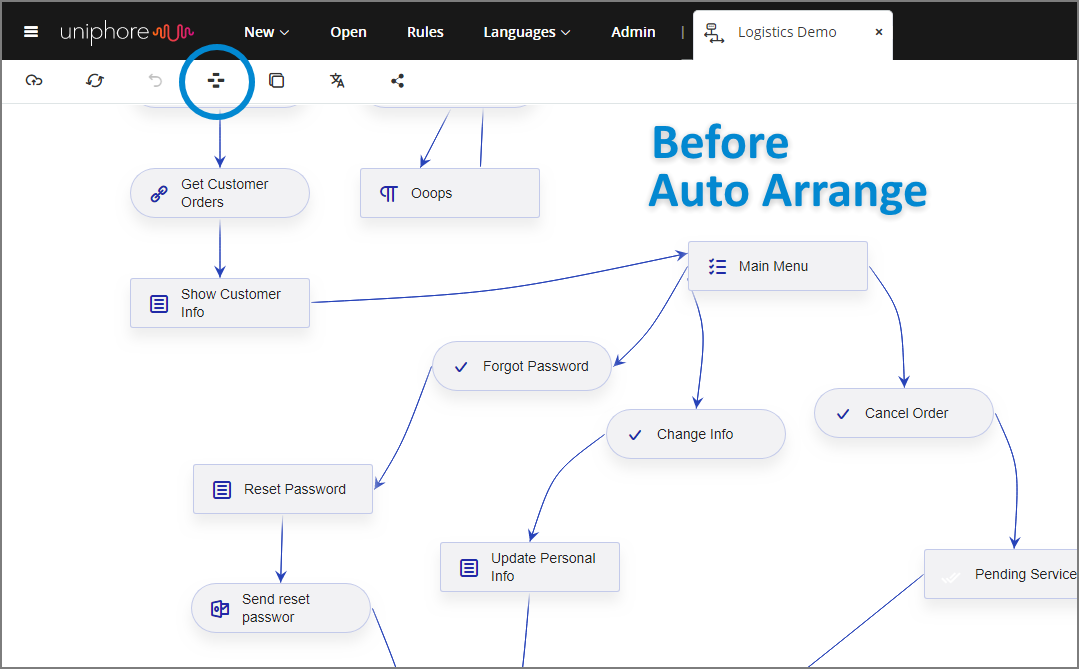
If your Flow layout becomes very complicated or difficult to follow, you can click the Auto Arrange  icon in the Flow Toolbar to instantly organize the Flow Map into a neat, logical alignment. The following examples show a Flow Map before and after it is automatically arranged:
 |
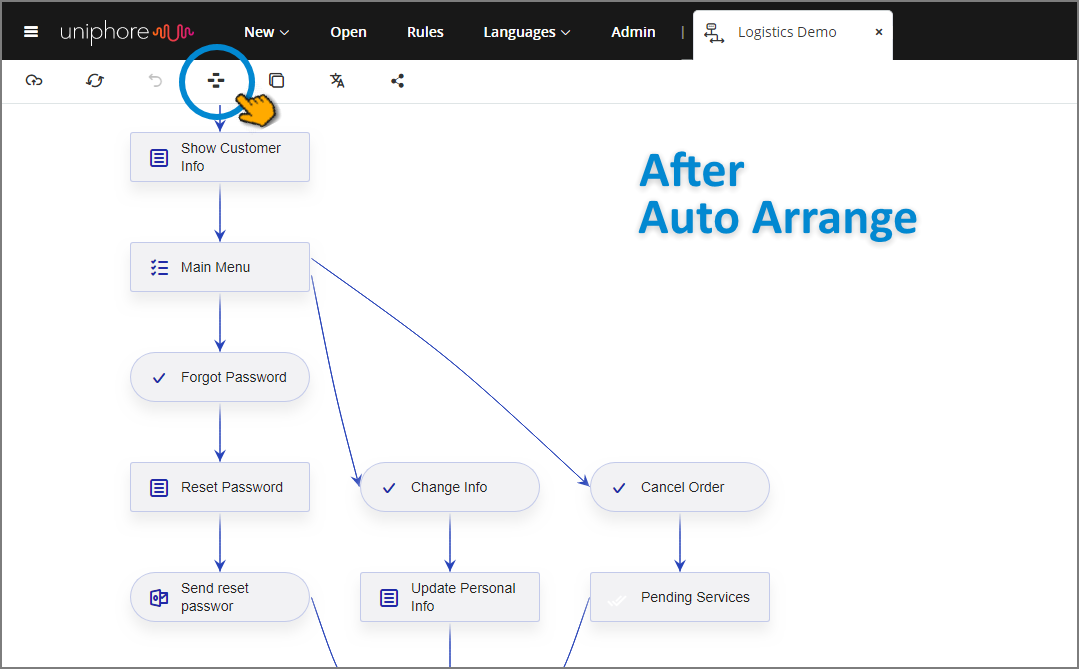 |
You can click Auto Arrange at any time to reorganize your Flow.
Note
The Auto Arrange function will only organize the connected steps or elements in your Flow. Unconnected objects will be moved to the top of the Flow.
Navigating the View
You can move around your Flow by simply clicking anywhere on the Flow Map and dragging the canvas until the desired Map portion is in view.
The X-Designer also enables adjustable zoom as well as mini-map navigation, as described below.
To quickly locate a specific object in a large Flow, you can search for it in the Elements tab in the Solution Explorer, as detailed here.
If your Flow exceeds your browser window size, you can use the Zoom feature to minimize or enlarge the Map view.
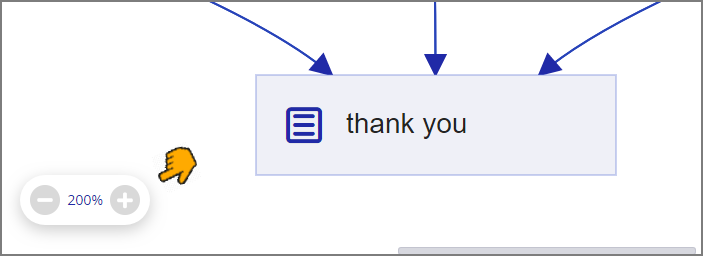 |
At the lower left corner of the Flow Map, click on the - and + icons in the Zoom tool to change the Map size to the desired percentage.
Zoom provides a viewing range between 25% and 500%.
The X-Designer stores the Zoom value whenever you edit a step element or close a Flow and restores it when you reopen the Flow.
If your Flow is especially large and complex, you can use the Mini-Map tool to quickly jump to a different portion of your view.
When your Flow contains 5 or more elements, the round Mini-Map icon appears at the lower right corner of the Flow Map. Click the icon to display a map box containing a miniature version of the complete Flow:
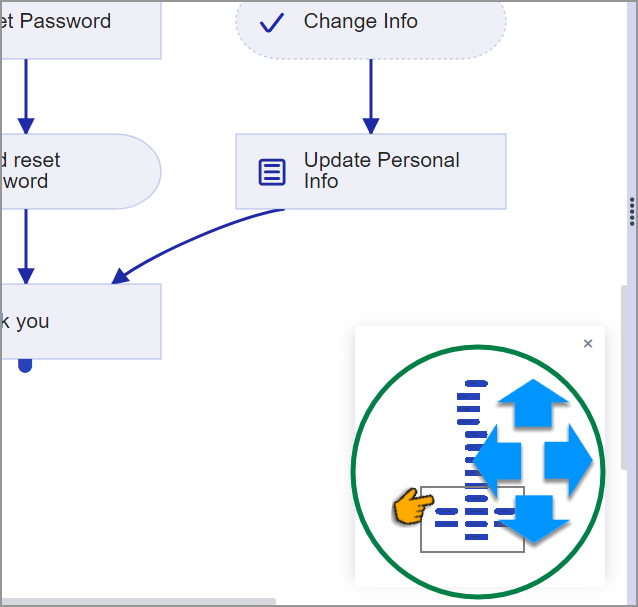 |
The portion of the Flow currently in view is marked by a small grey rectangle. To navigate the Mini-Map, click or drag your mouse cursor anywhere inside the map box to move to another portion of your Flow. The selected location will appear on your Flow Map.
You can use the Mini-Map and Zoom tools together dynamically to arrive at the ideal view while working on your Flow.
To close the Mini-Map, click the X displayed at its upper right corner.