Setting Default Authentication for an Account
A user with the Account Admin role (or higher) can set the default authentication method that will be used globally for your X‑Platform account from the Authentication Settings page in the X-Console Settings menu.
Tip
To set the authentication method for a specific application go to the Authentication panel of the selected application.
Settings for Legacy Configuration
These settings are relevant for configurations prior to Release 2023.3.
From the X-Console Settings menu, select Authentication. The Authentication Settings page is displayed:
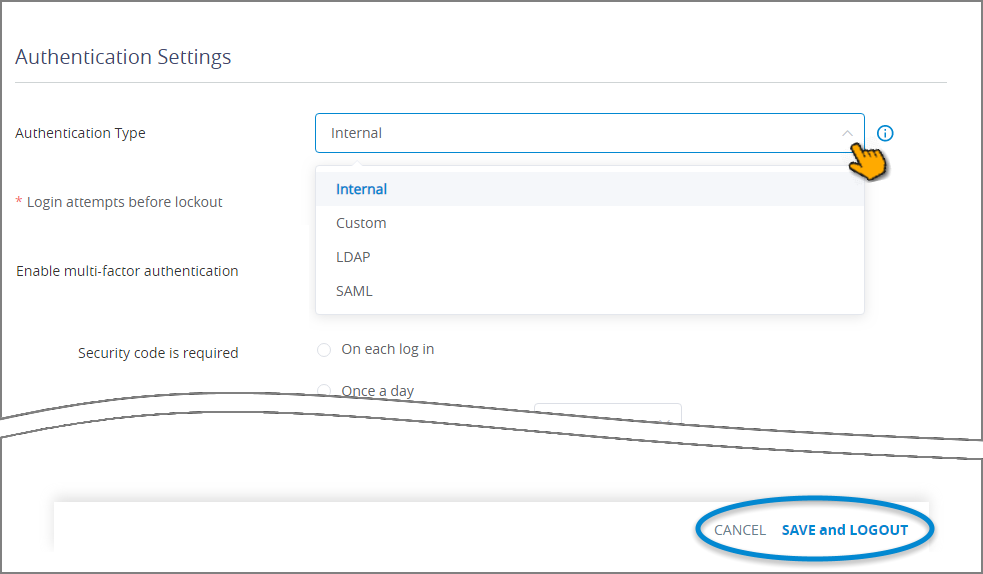
Authentication Settings are read only for any user with less than Account Admin privileges.
To change the Authentication Type for the account, select the desired type from the dropdown list, as shown above.
Internal. Authentication is based on the unique username and password provided to each X‑Platform user and managed in a secure internal database.
Custom. Authentication is based on an external Authlink authorization server that operates in accordance with X‑Platform security requirements. For more details on configuring the Custom type, click here.
LDAP. Authentication is based on connection to an LDAP server. For details on configuring the LDAP type, click here.
SAML. Authentication is based on use of the SAML protocol. For more details about configuring SAML, click here.
When you finish configuring the selected authentication type, click Save and Logout at the lower right of the page. The new settings will be saved and you will be logged out of the account. You will need log in again in order for the newly-set authentication method to become effective.
When using the Internal Authentication type, the default Authentication Settings page also provides a field to limit the number of failed login attempts allowed for a user before being locked out of the current account:
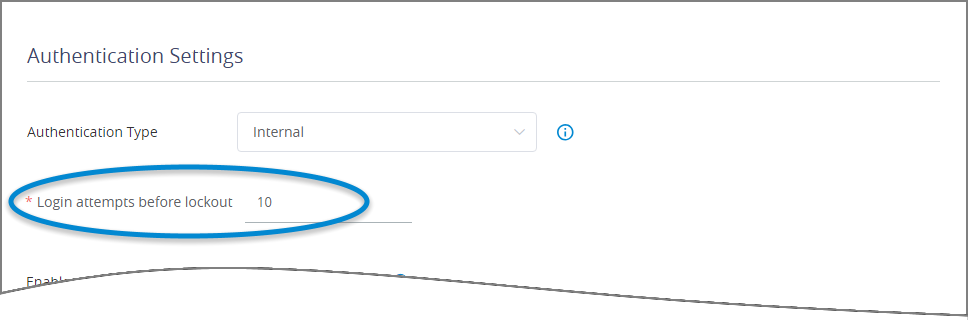 |
For complete details, click here.
Settings for Auth0 Configuration
These settings are relevant for configurations that utilize Auth0 authentication (Release 2023.3 and later).
From the X-Console Settings menu, select Authentication. The Authentication Settings page is displayed:
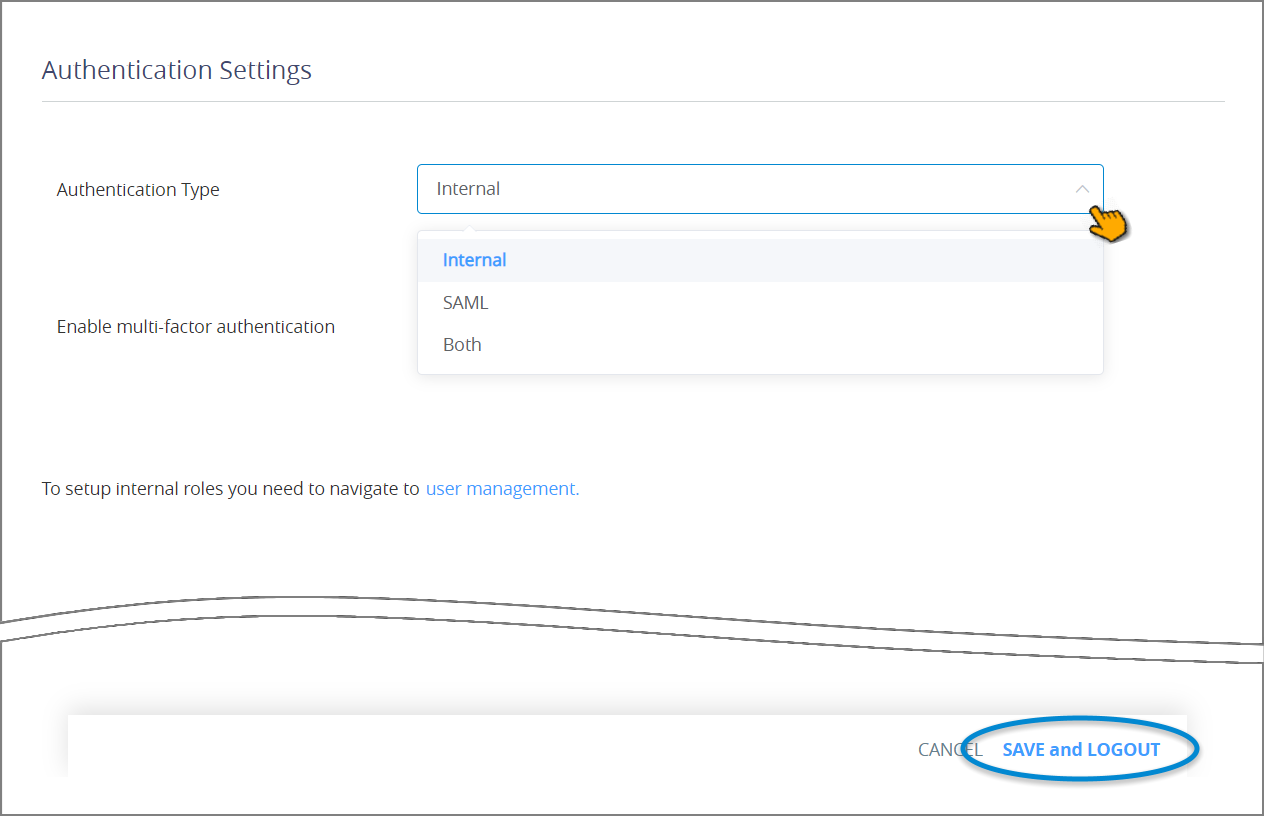
Authentication Settings are read only for any user with less than Account Admin privileges.
To change the Authentication Type for the account, select the desired type from the dropdown list, as shown above.
Internal. Authentication is based on the internal username, email address and password provided to each user, which in turn is managed by Auth0.
SAML. Authentication is based on use of the SAML protocol. For more details about configuring SAML, click here.
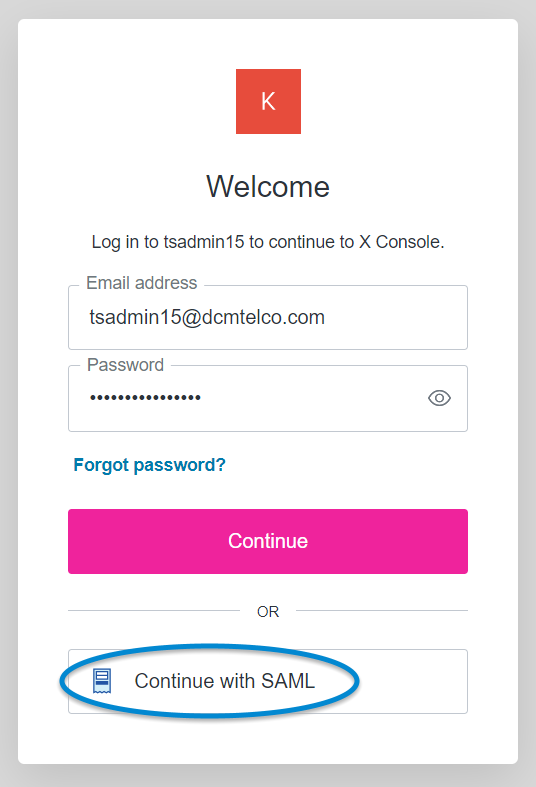
Both. Authentication is performed using both Internal credentials via Auth0 and using the SAML protocol. When Both is selected, the user will need to sign in to the Auth0 Log In page, and then click Continue with SAML to log in using the SAML-based authentication page, as shown below.
When you finish configuring the selected authentication type, click Save and Logout at the lower right of the page. The new settings will be saved and you will be logged out of the account. You will need log in again in order for the newly-set authentication method to become effective.