Adding Content to a Page
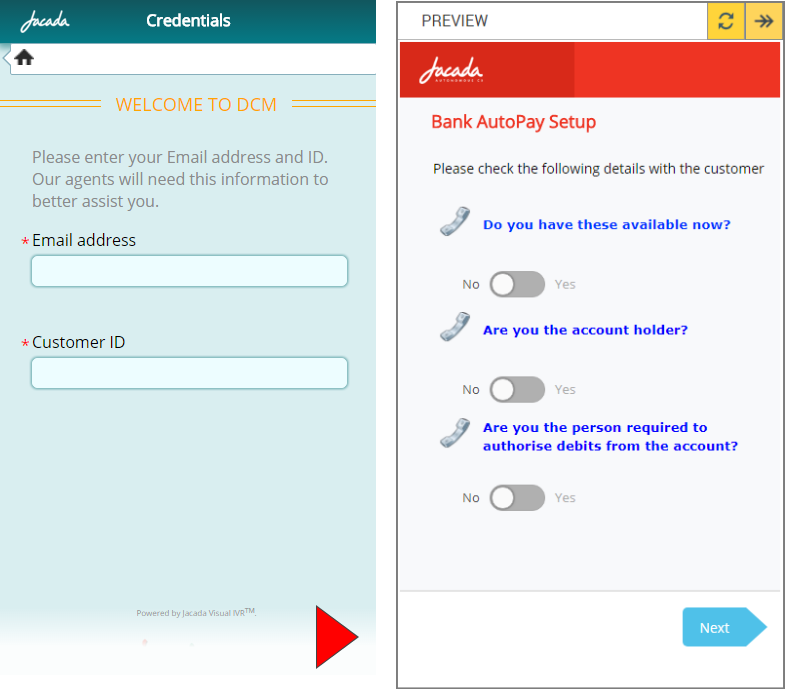
A Page step can include text, questions or selections, images, links and other components for display to the user at runtime. Here are a few Application samples:
 |
Adding Page Elements
After you create a new Page, you add elements for user interaction to the Page Map in the center of the page.
From the left panel of the Page Editor, click an element or drag it to the Page Map. The Element tab opens for the new element.
Enter the required information in the Element tab. The settings will change according to the element you have selected.
When there are multiple elements on a Page, selecting an element on the Page Map will display its Element tab for editing.
When you finish, click Create Page to save the Page. The Page Editor closes, and the updated Flow Map is displayed.
A Page must have at least one content element.
The following shows a Page after Short Text and Number elements have been added:
 |
Item | Area | Description |
|---|---|---|
1 | Content Elements | Page elements are divided into categories and listed on the left side of the screen.
|
2 | Page Map | The center of the screen is the canvas for building the components of current Page. You drag elements from the list on the left and drop them here. |
3 | Page Settings Tab | Current Page settings are stored in the Page tab. For details on each setting, click here. |
4 | Element Settings Tab | The Element tab stored all settings for the currently selected element. Element settings will differ for each different type of element used. |
5 | Create/Discard | Click Create Page or Update Page to save the page. Click Discard Changes to cancel. |
Changing the Order of Elements
If you have more than one element on a Page, you can adjust the order of elements by simply dragging each element to the desired location on the Page Map.
Deleting an Element
To delete an element from the Page, hover over the element on the Page Map and click the Trash  icon.
icon.