Setup Amazon Connect Media Integration Instance
Prerequisites
The following permissions are required for Amazon Connect integration.
AmazonDynamoDBFullAccess
AmazonKinesisReadOnlyAccess
AmazonKinesisVideoStreamReadOnlyAccess
CloudWatchPutMetricData
To create an Amazon Connect instance
Open the Amazon Connect console at
https://aws.amazon.com/console/.Choose Get started and select Add an instance.

By default, the option 'Store users in Amazon Connect' is selected. There is no need to change the selection.
Mention the instance name in the Access URL field. It must be unique across all Amazon Connect instances in all Regions. You cannot change the access URL after creating your instance.
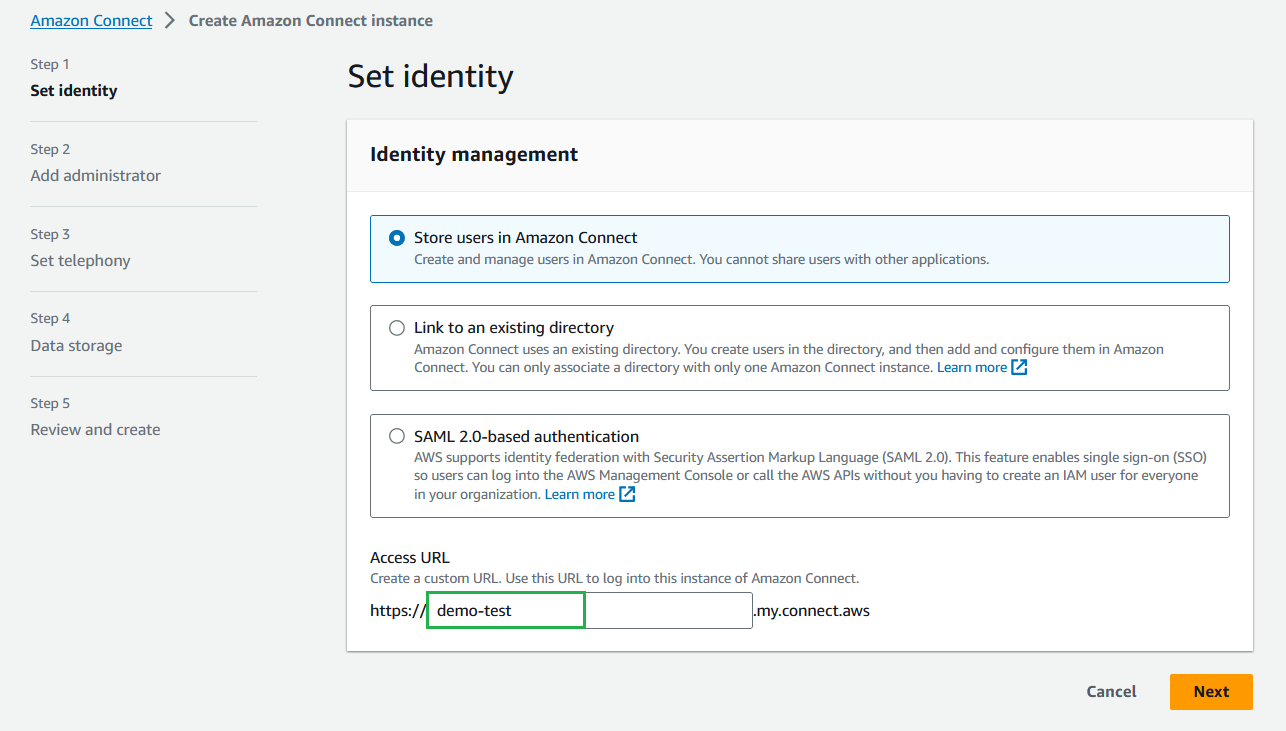
Click Next. Mention the required administrator details for this instance of Amazon Connect.
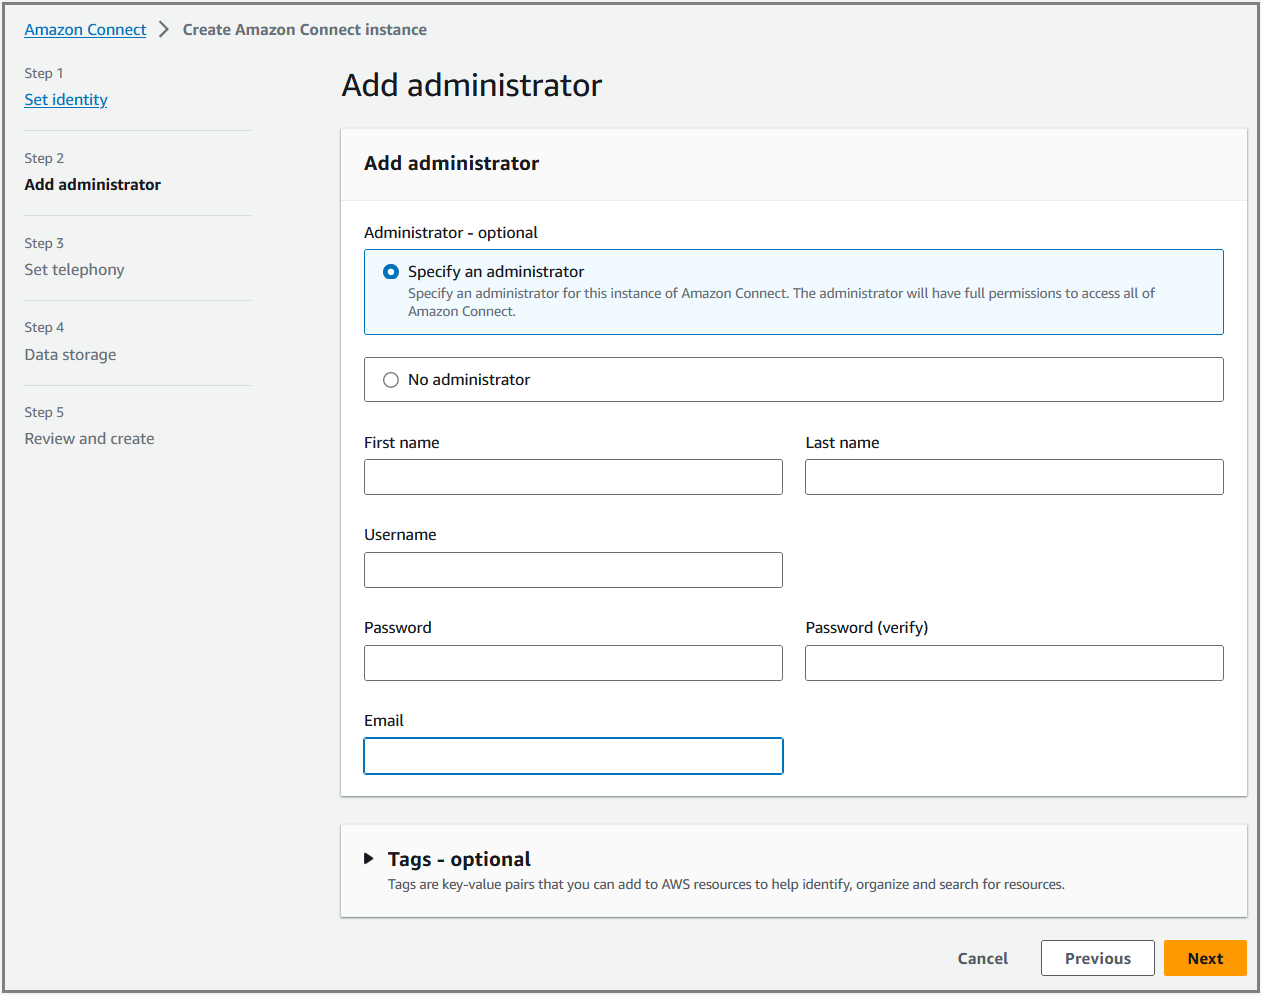
Click Next. Ensure that both the checkboxes are selected to accept inbound calls and make outbound calls.
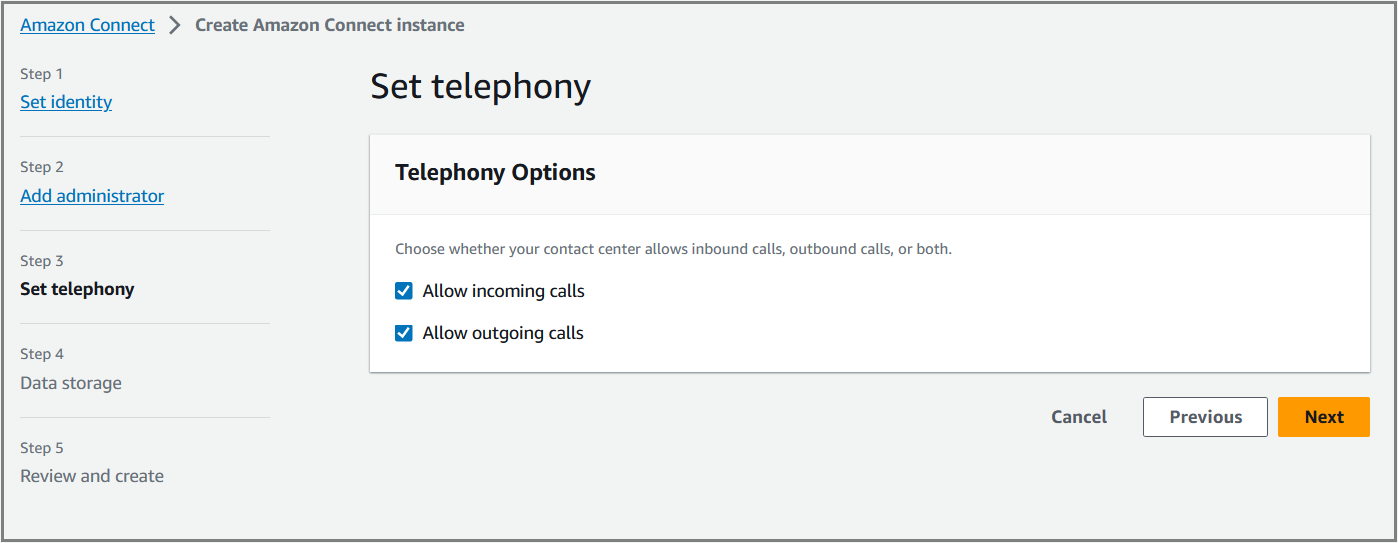
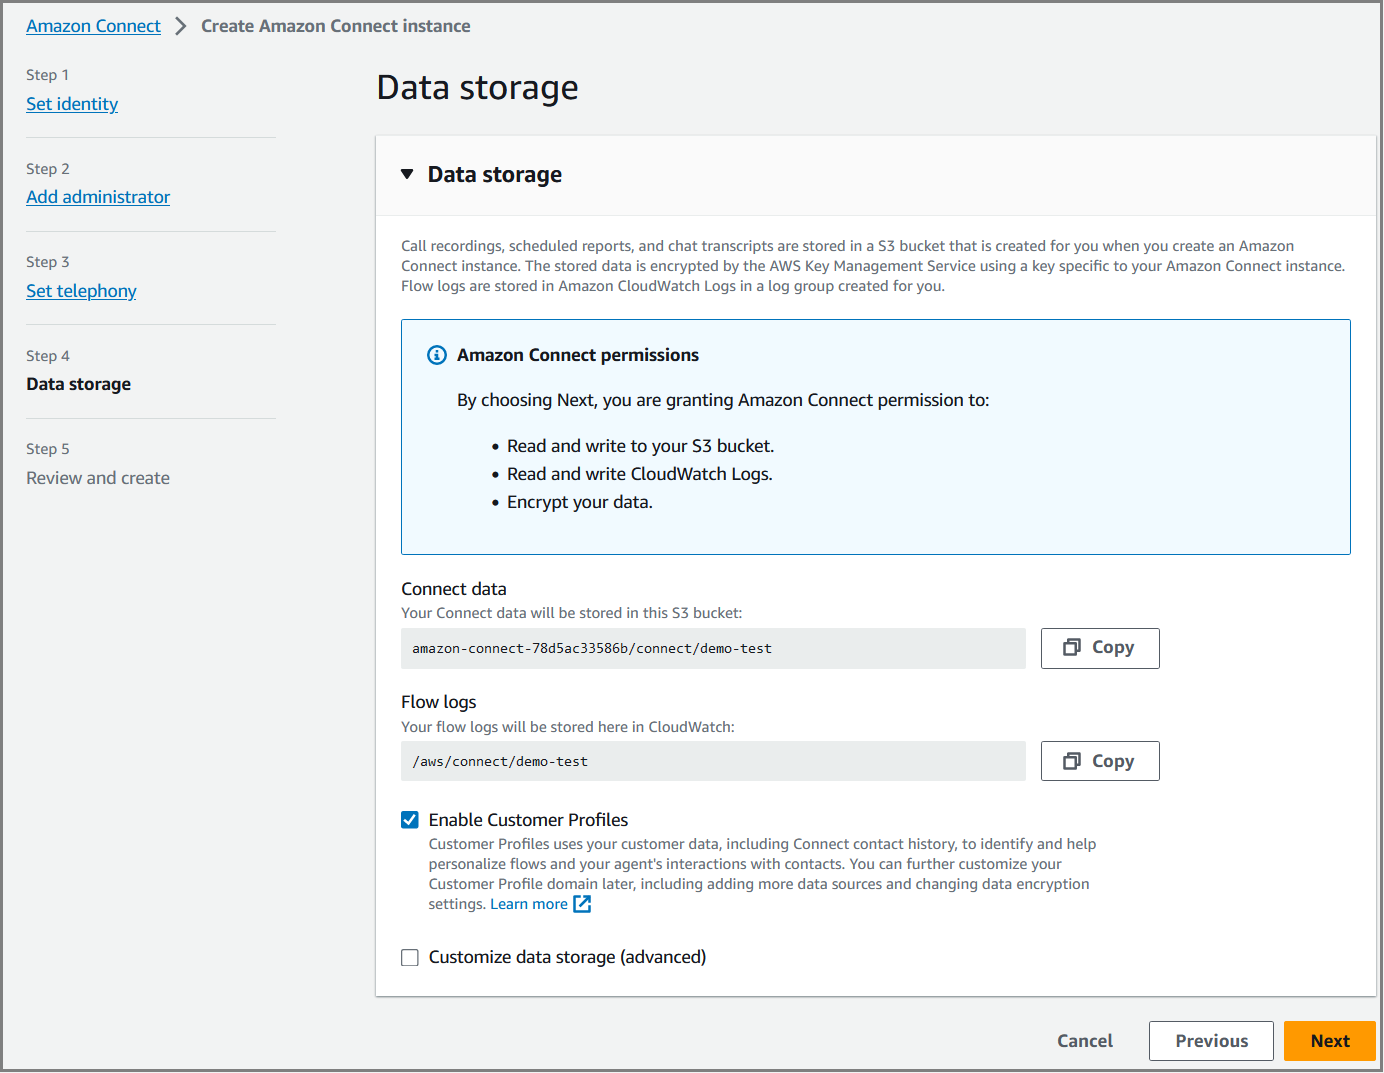
Click Next. By default, Amazon Connect creates buckets for storing call recordings, chat transcripts, exported reports, and contact flow logs.
Click Next. Review the configuration choices. Note that you cannot change the identity management options after you create the instance. If you want to make any of the configuration changes, click Edit.
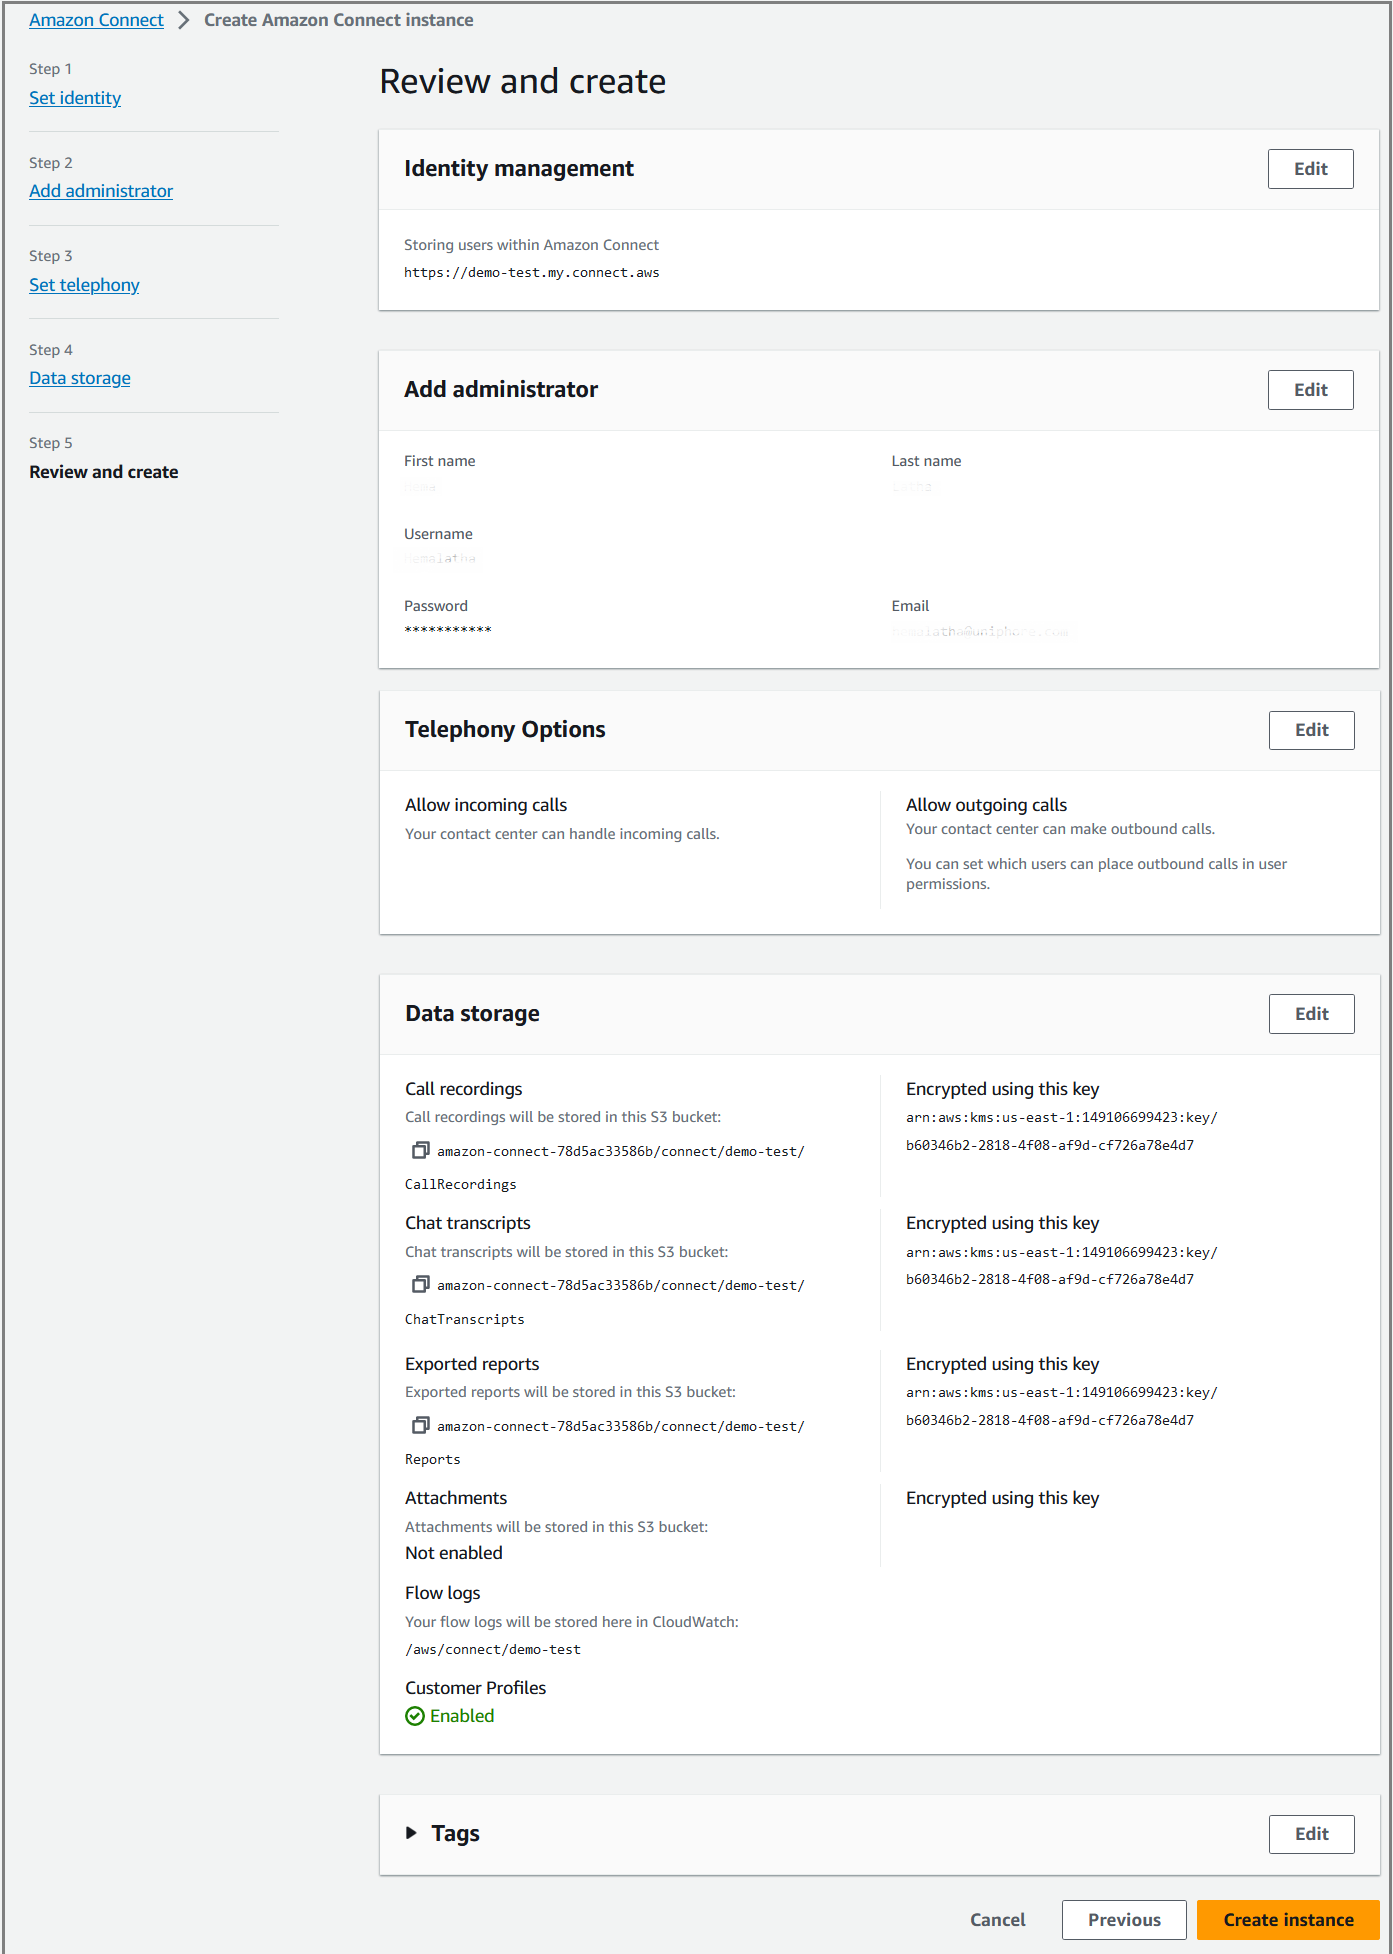
Click Create instance. The newly created instance is listed in the Instances page.
Important
Each Amazon Connect Instance can only be used for a single application or tenant.
Refer to the link below for more information on how to set up an Amazon Connect instance.
https://docs.aws.amazon.com/connect/latest/adminguide/amazon-connect-instances.html
Enable media streaming for Amazon Connect instance
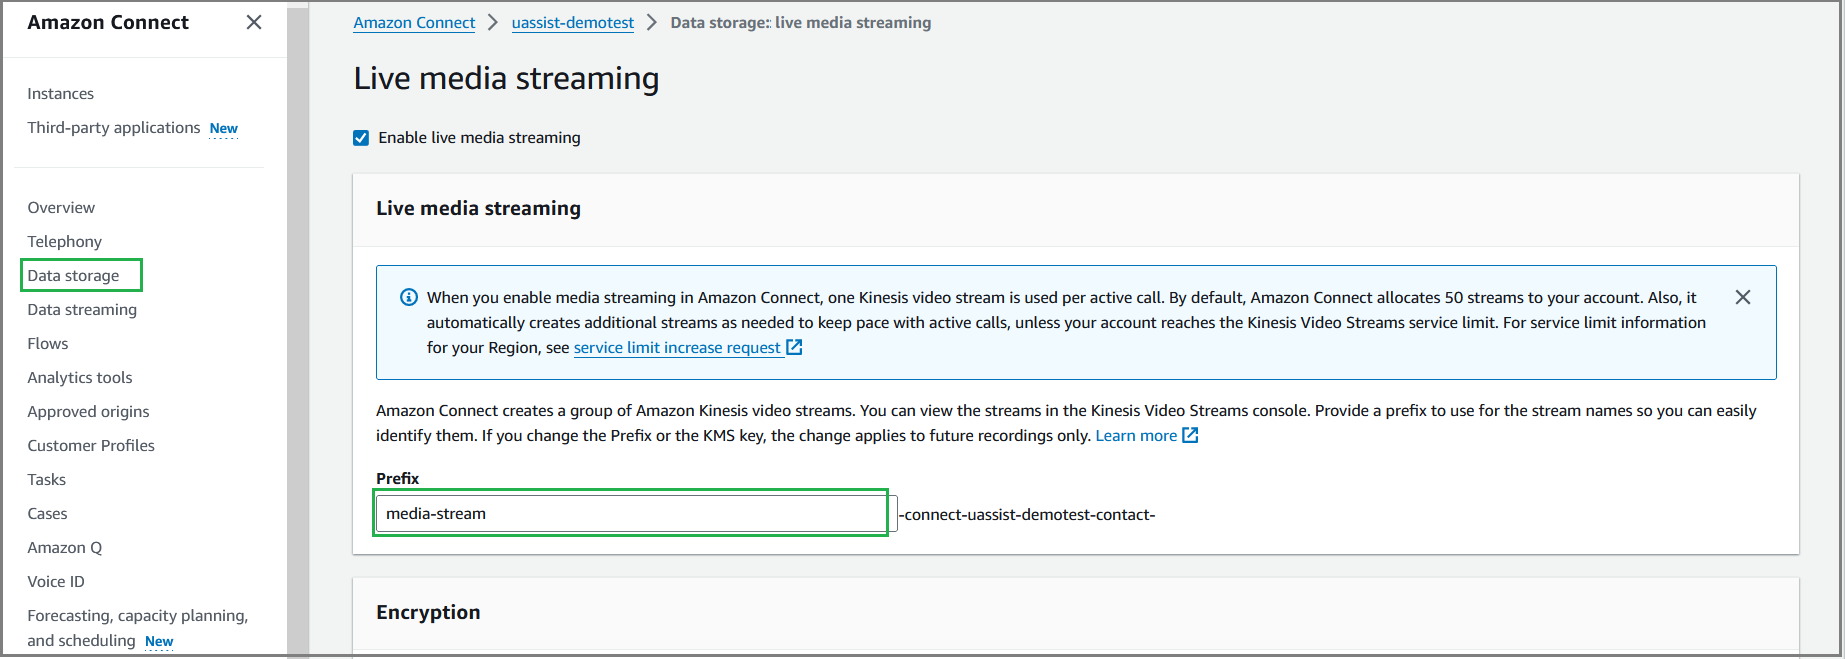
Click on newly created instance and select the Data storage option from the left pane. In the Live media streaming section, click Edit and select 'Enable live media streaming' checkbox. Mention the Live Media Streaming KVS Prefix as shown below and then click Save.
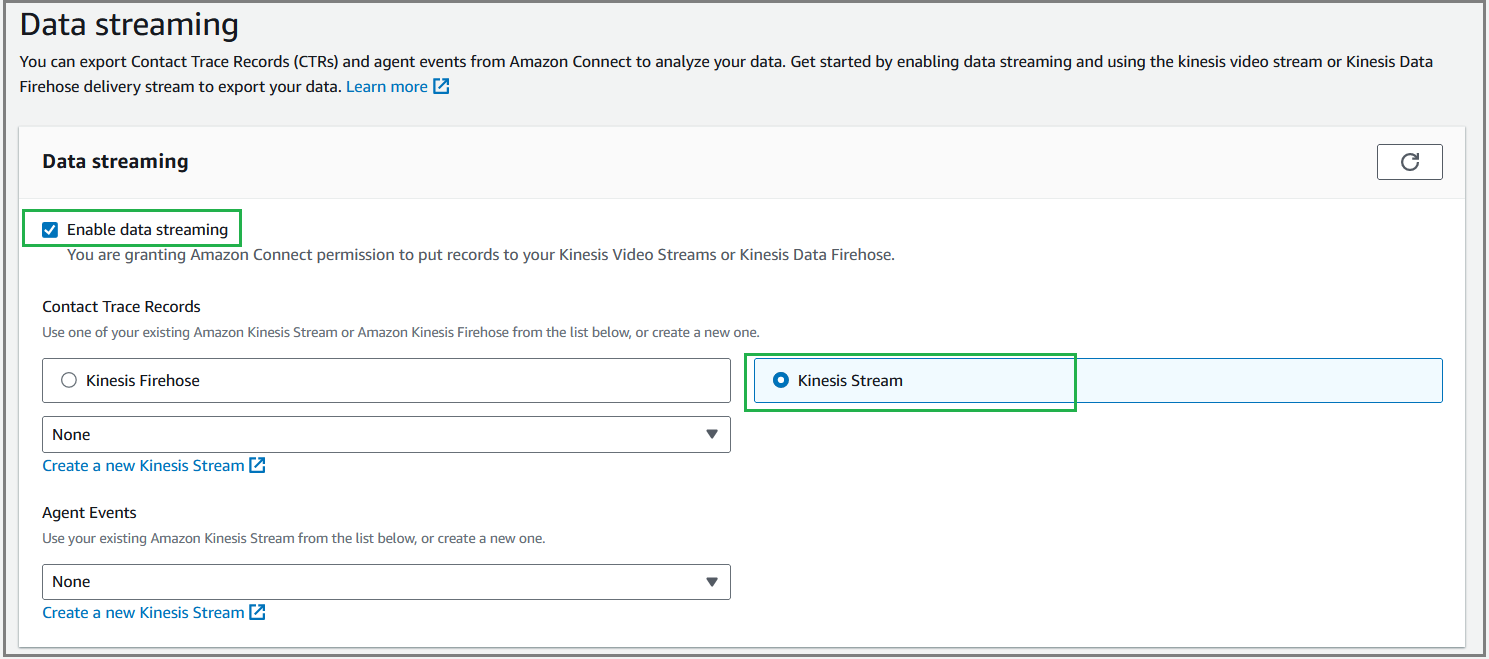
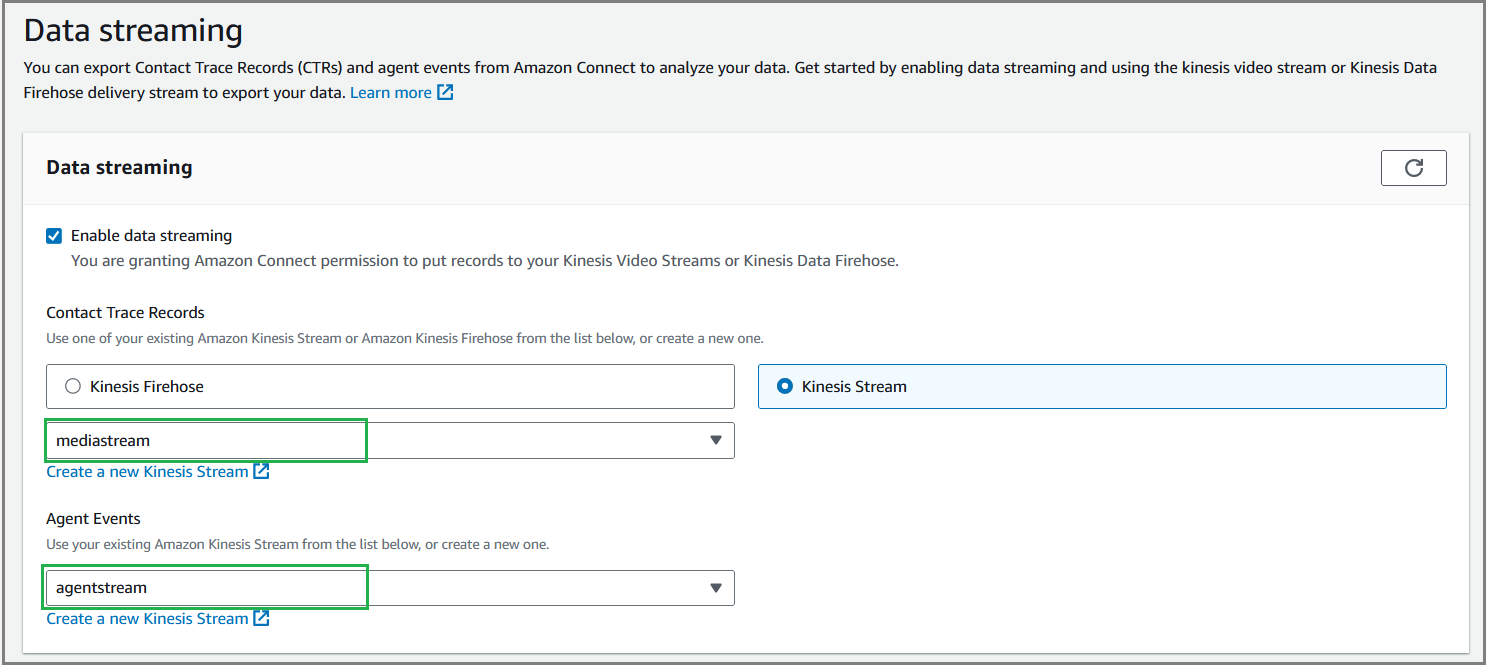
Select the Data streaming option from the left pane. Select the checkbox Enable data streaming to put records to your Kinesis Stream. Select Kinesis Stream option in the Contact Trace Records section. If Kinesis Streams for Contact Trace Records and Agent Events have already been created, select the relevant Stream from the respective dropdown lists.
If you don't have already created Streams, click Create a new Kinesis Streams in the Contact Trace Records and Agent Event sections to create new data streams. For creating a new stream, refer here.
Select the newly created streams from the Contact Trace Records and Agent Events dropdown lists.
Select the Flows option from the left pane. In the AWS Lambda section, click Create a new Lambda function.

For more information on creating a Lambda function, click here.
Create a new Kinesis Stream
Click Create a new Kinesis Stream to open the Kinesis console and create the stream.
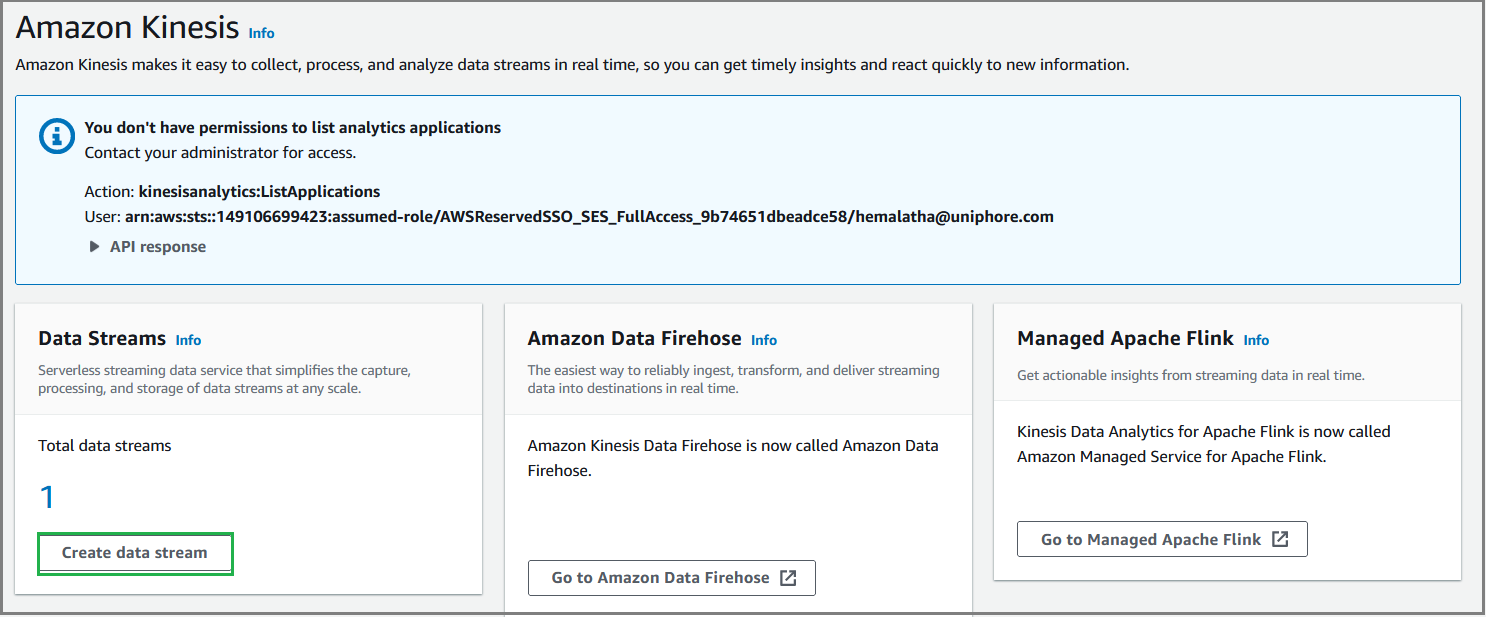
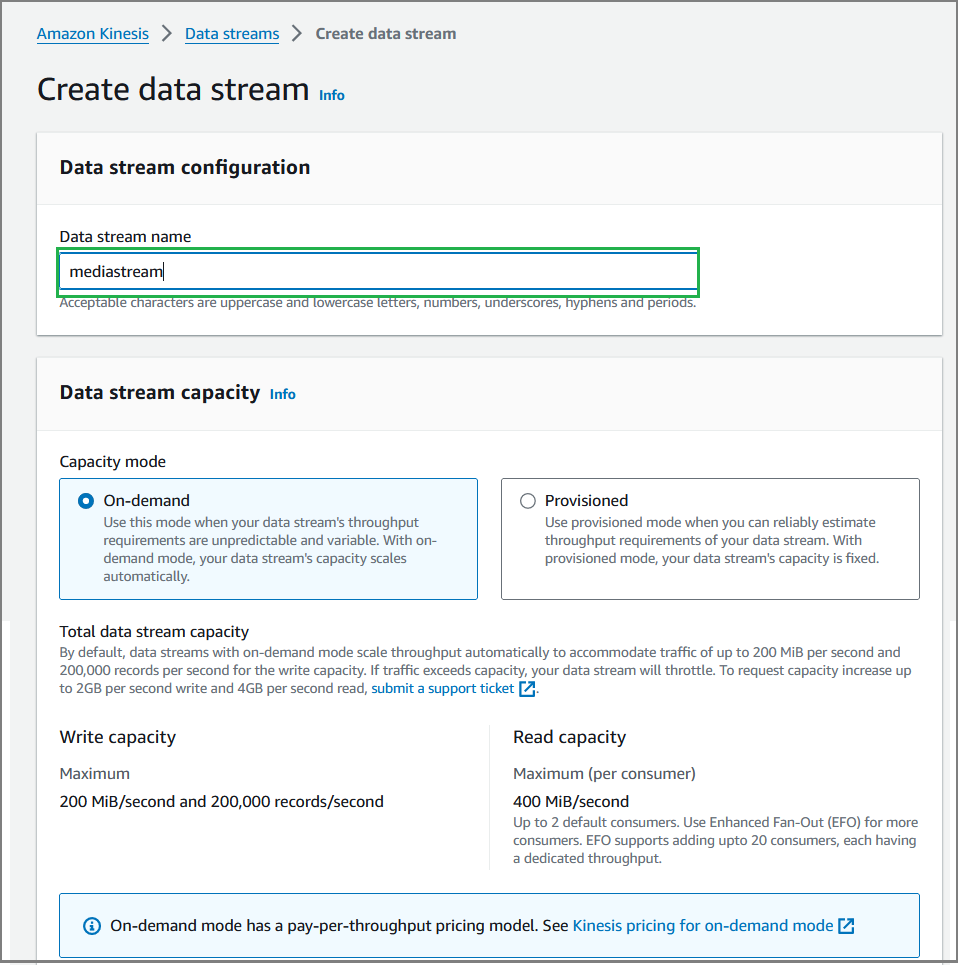
Click Create data stream. Mention the data stream name and click Create data stream. Two streams must be created: mediastream and agentstream.
Create Lambda function for integration
A Lambda function, written in Node.js, is required to obtain the KVS Media Stream of an Amazon Connect call to connect with U-Assist. The sample code below demonstrates how to create the lambda function in AWS. You should map the same Lambda function with the Amazon Connect instance described below.
For sample Lambda function, click here.
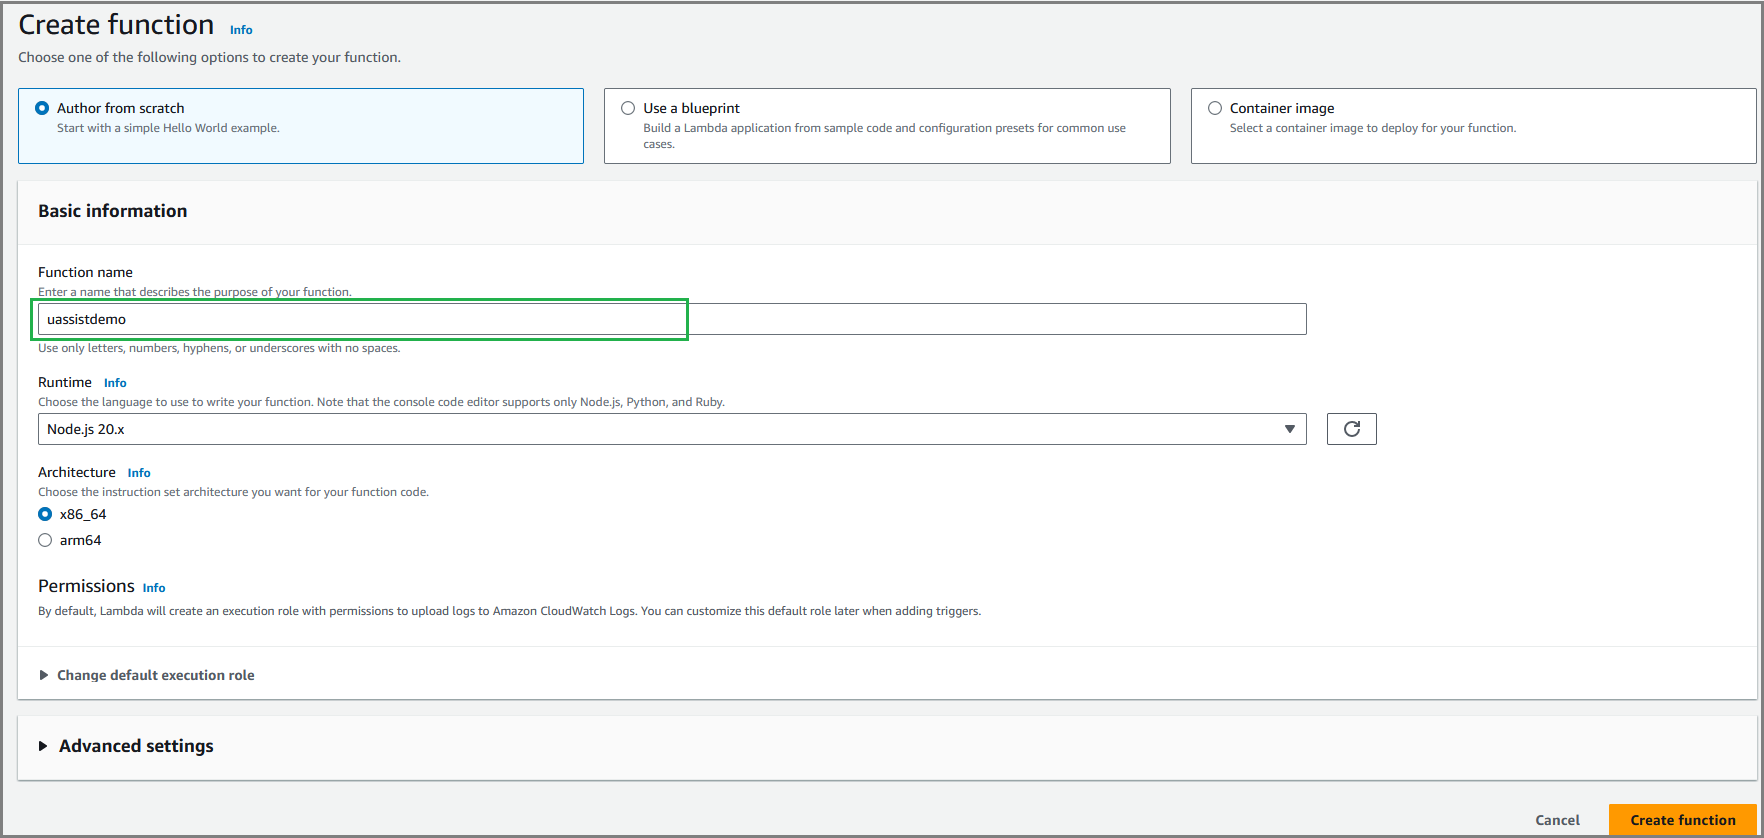
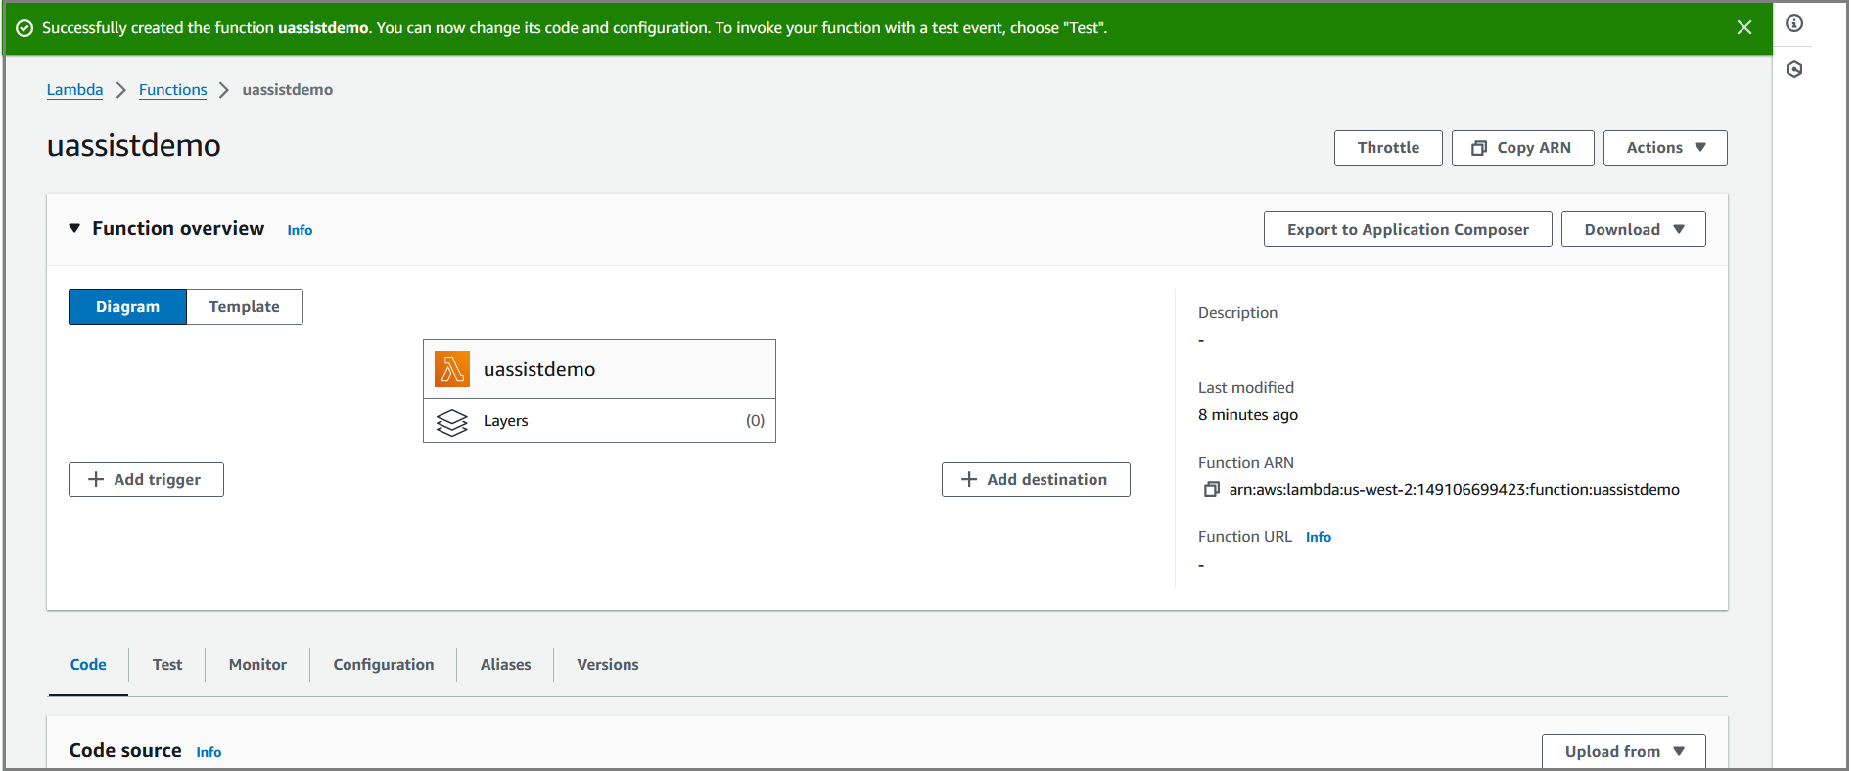
In the Functions page, click Create function. Mention the Function name and click Create function.
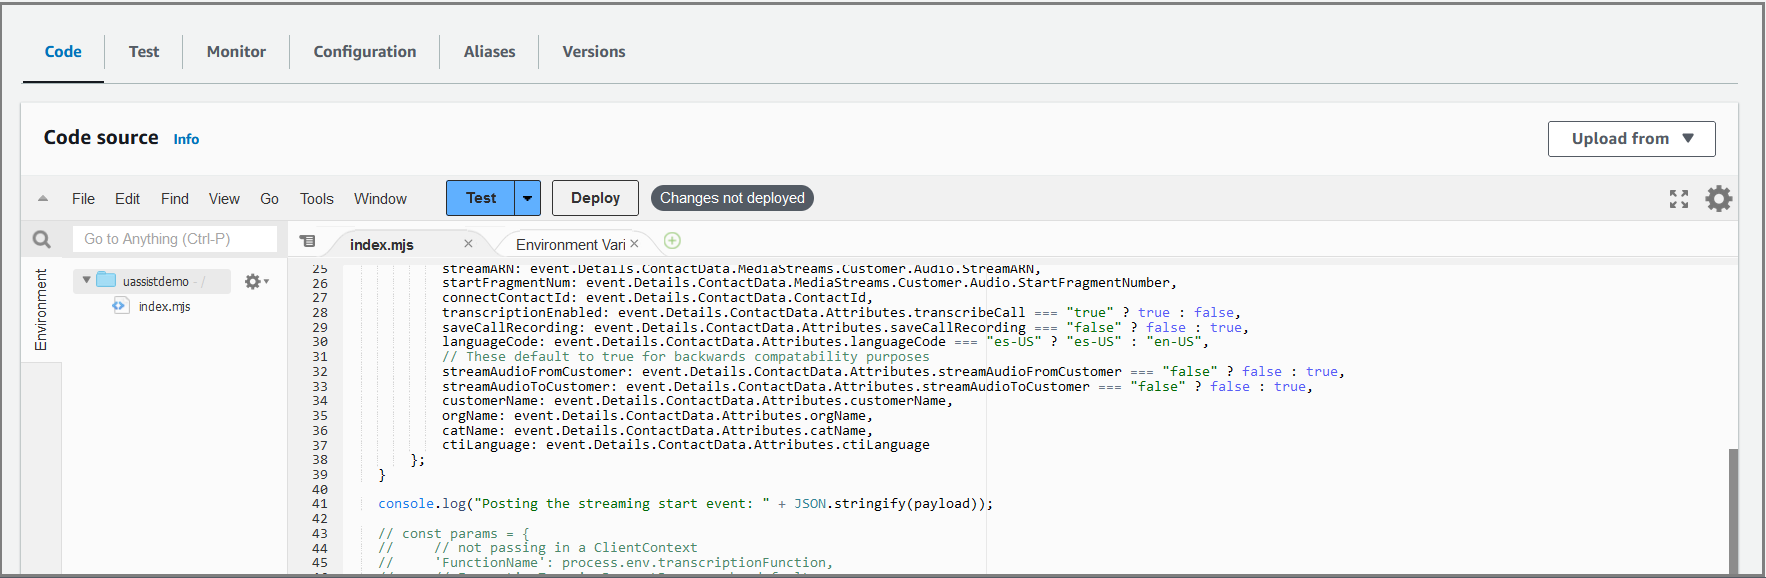
After successfully creating the function, a confirmation message will be displayed. In the Code tab, add the sample Lambda function given above and then click Deploy.
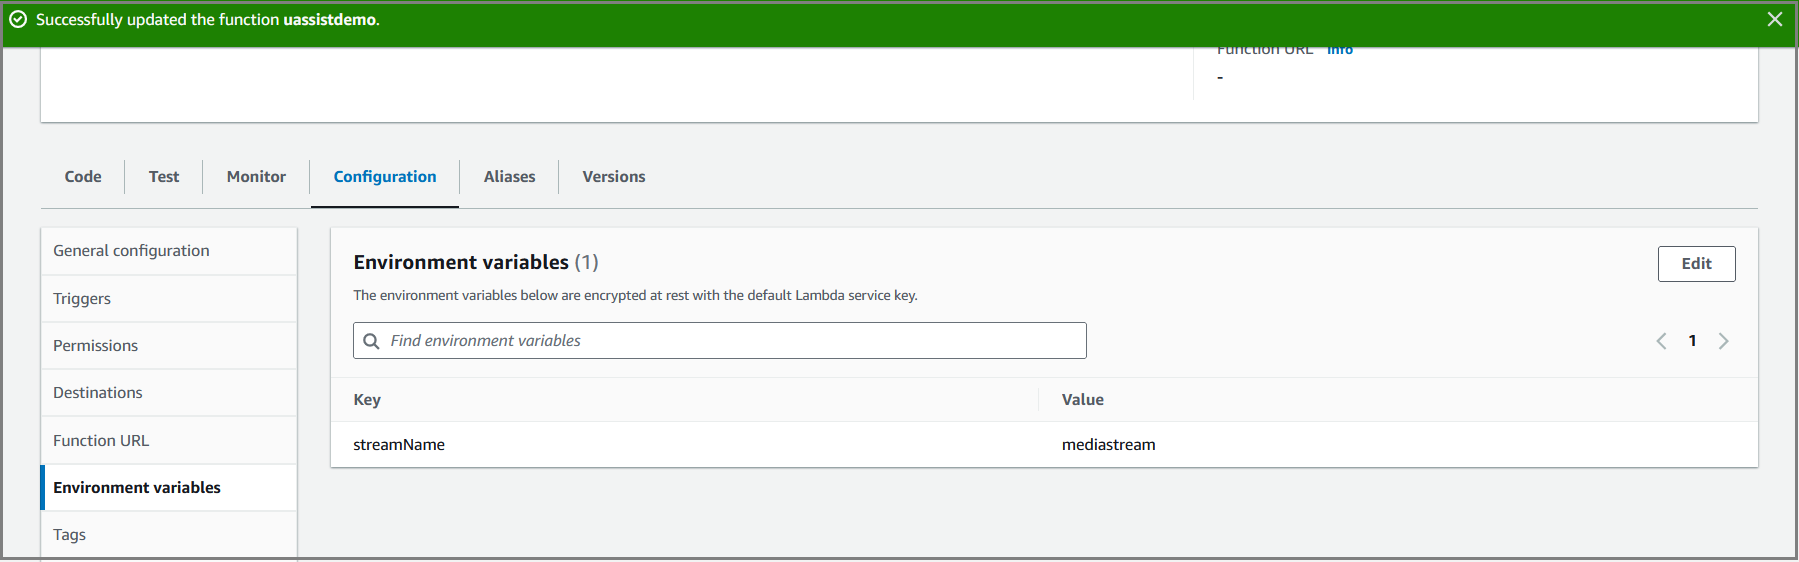
Click Configuration tab and select the Environment Variables option from the left pane.
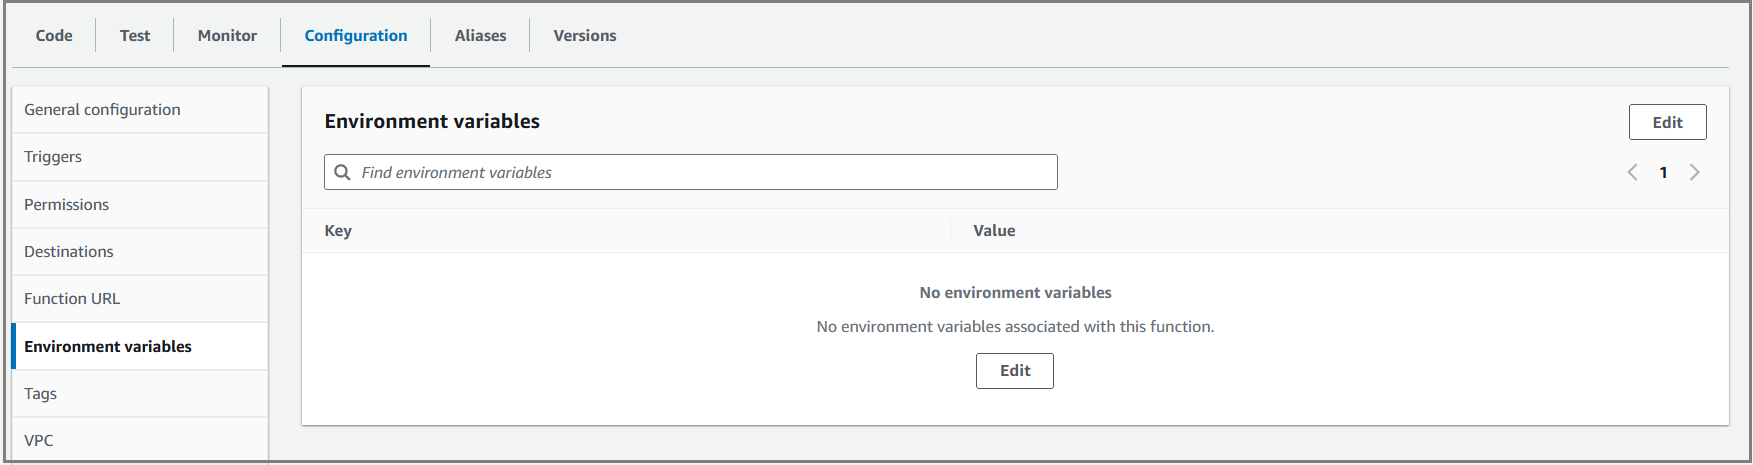
Click Edit to navigate to Edit environment variables page and then click Add environment variable to map Lambda function to the media stream. Mention the value as 'streamName' in the Key field and the Kinesis Stream name provided in the Contact Trace Records field in the Value field.
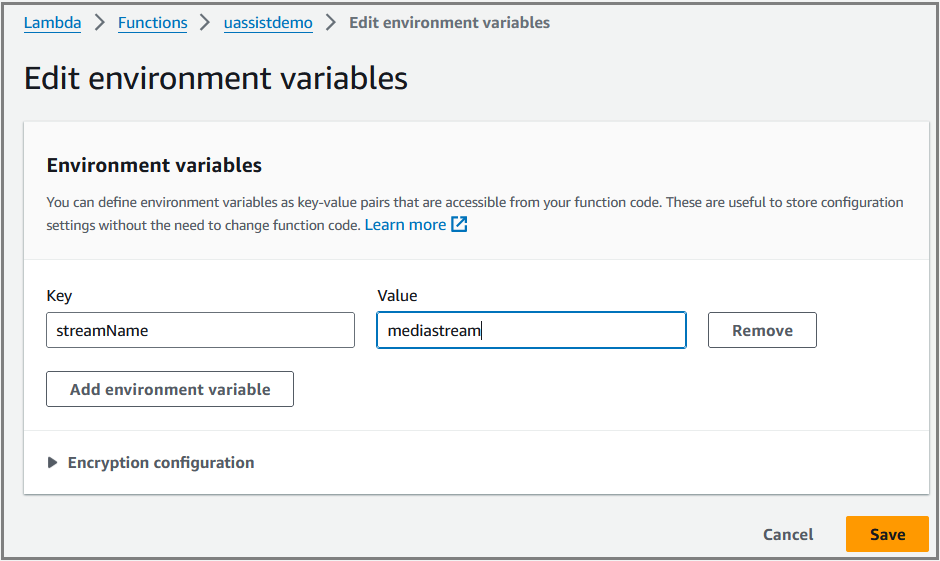
Click Save. The mapped stream name will be listed as shown below.
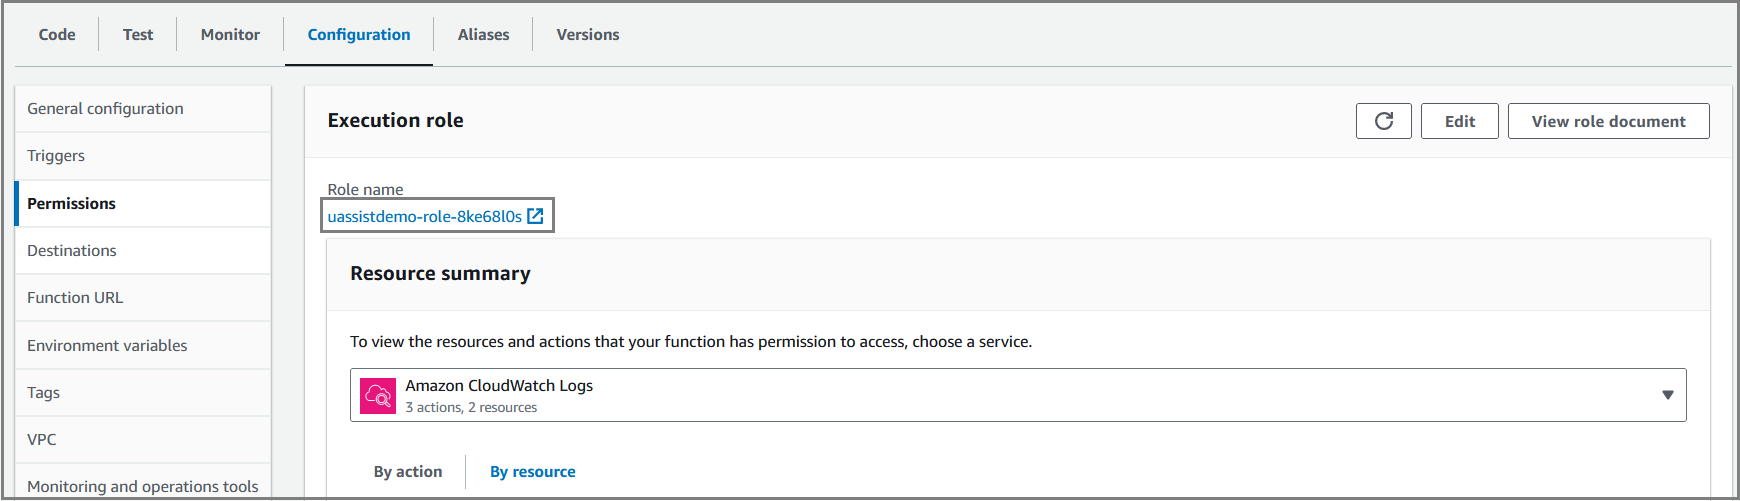
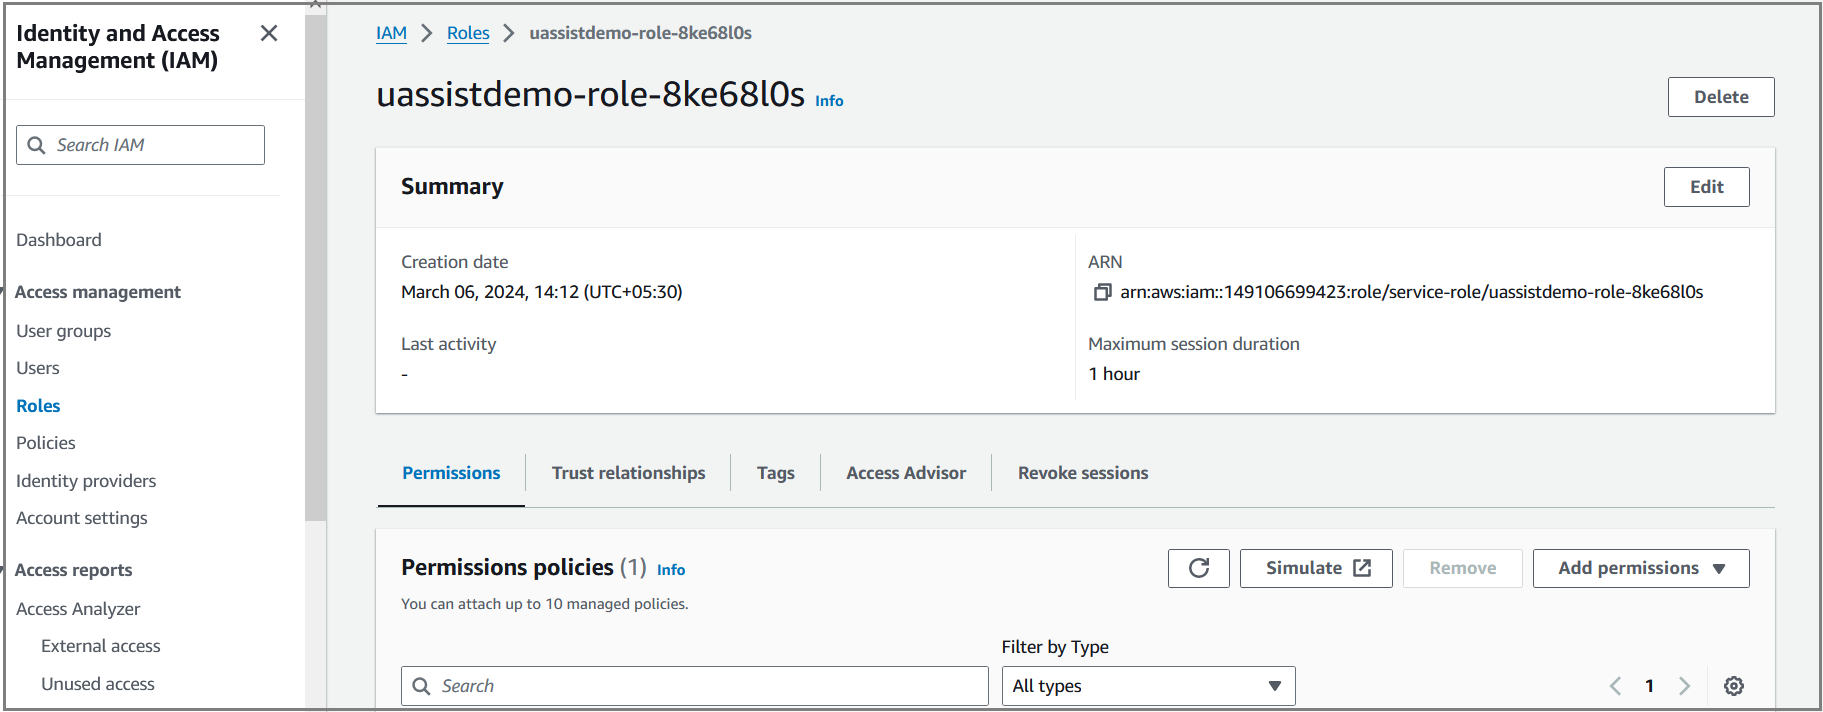
Select the Permissions option from the left pane. Click on the newly created role name. The Identity and Access Management (IAM) page will be opened in a new browser.
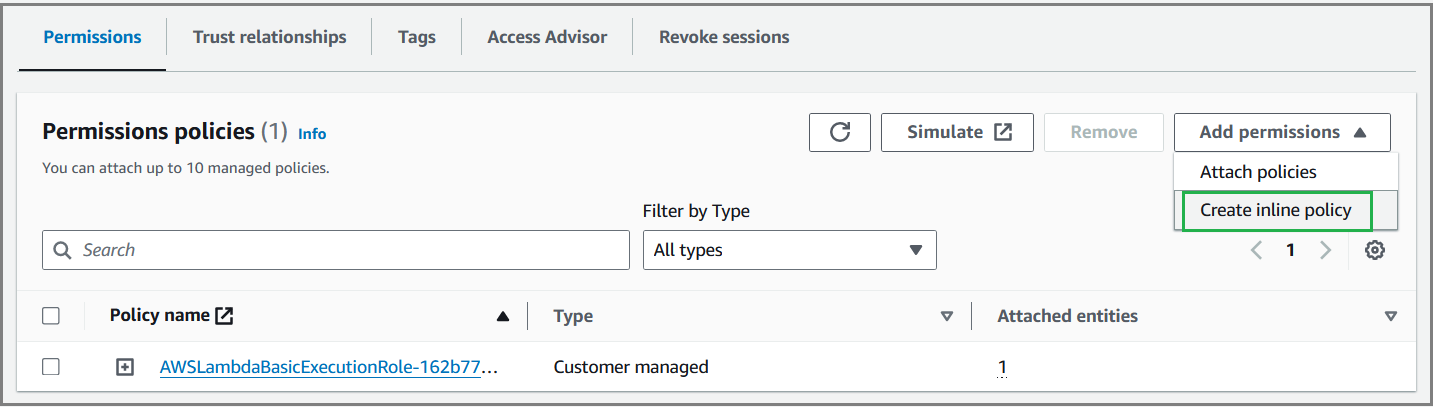
Select Attach Polices from the Add permissions dropdown list to navigate to Specify permissions page. Assign this attached policy ‘AWSLambdaBasicExecutionRole’ to the Lambda function.
Select Create inline policy from the Add permissions dropdown list to navigate to Specify permissions page. Each IAM policy statement applies to the resources that you specify using their Amazon Resource Names (ARNs).
Follow the steps given below to use the ARN resource for Kinesis data streams:
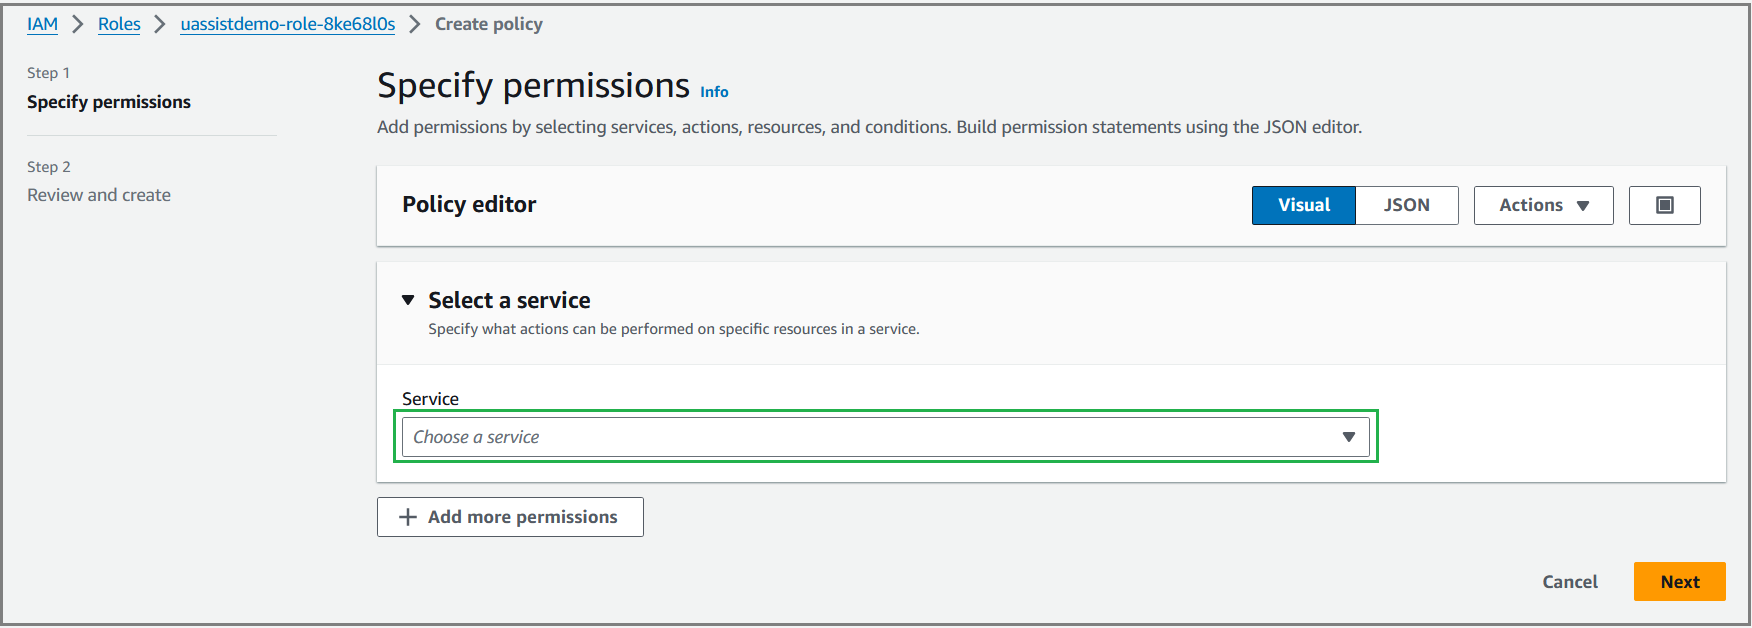
Select Visual tab from the Specify permissions page. Select Kinesis service from the Service dropdown list.
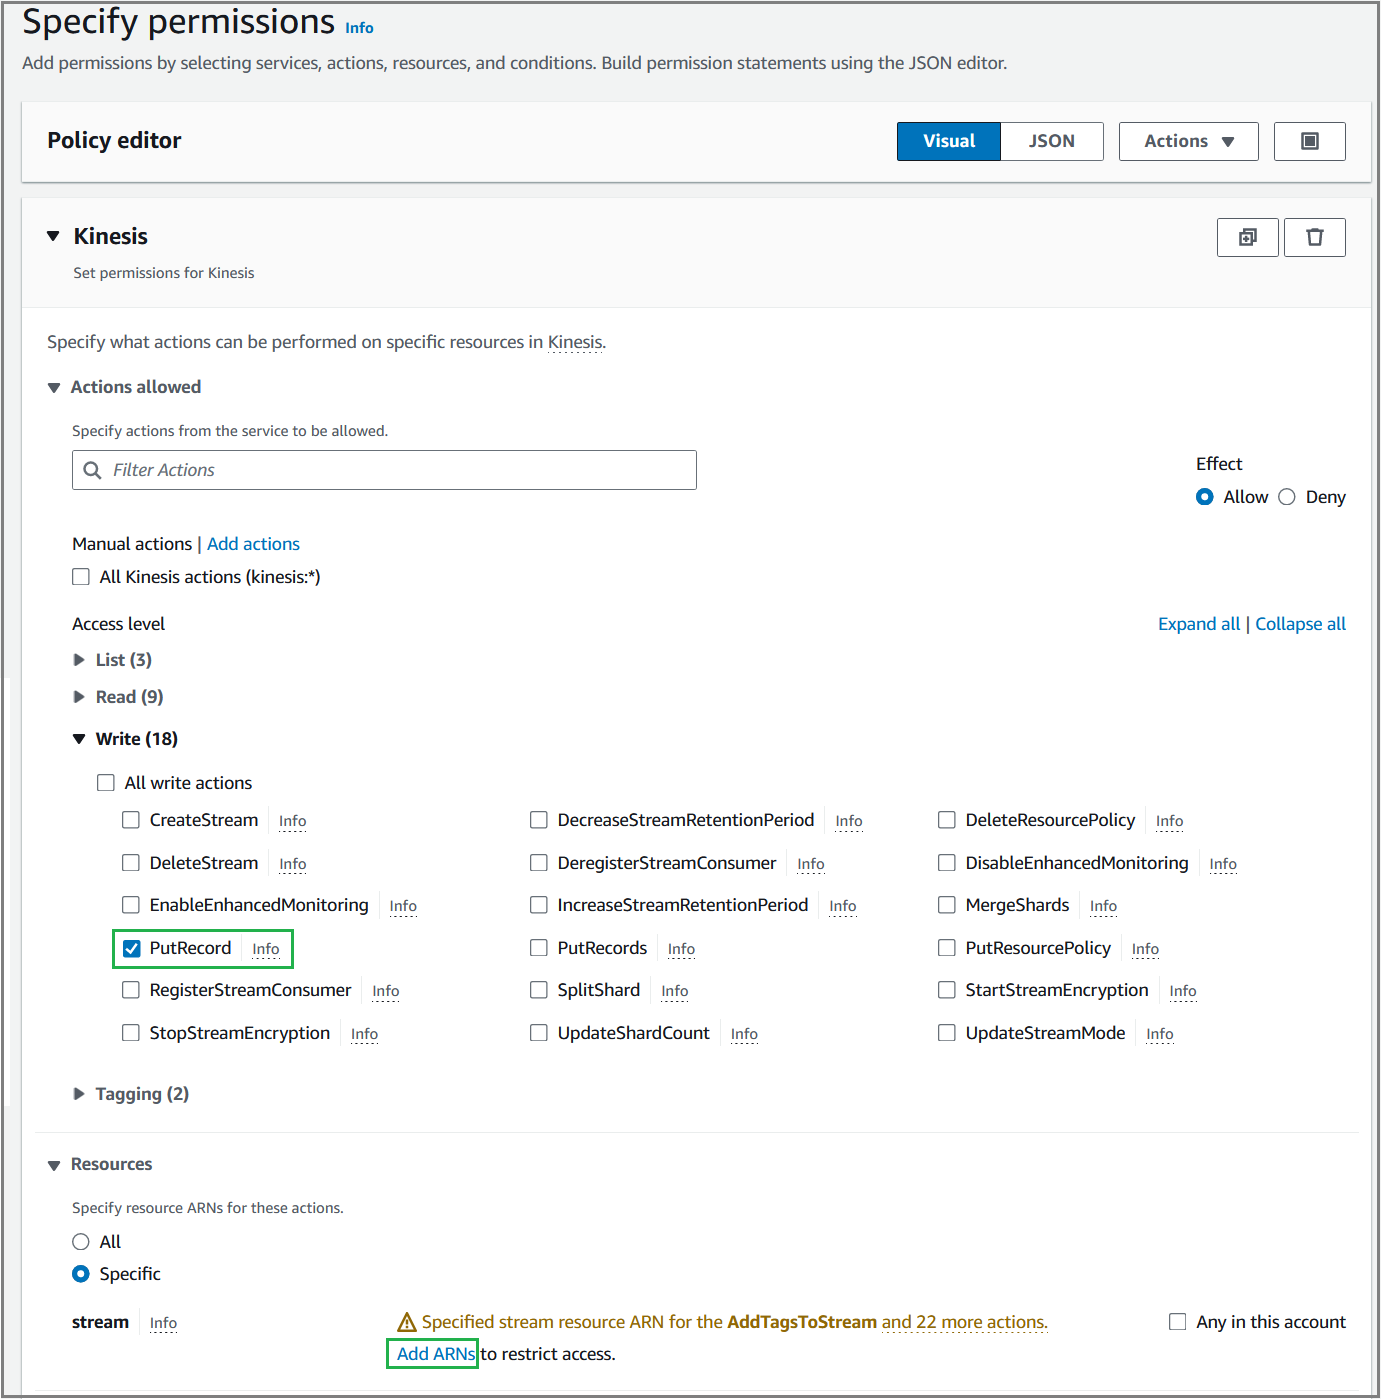
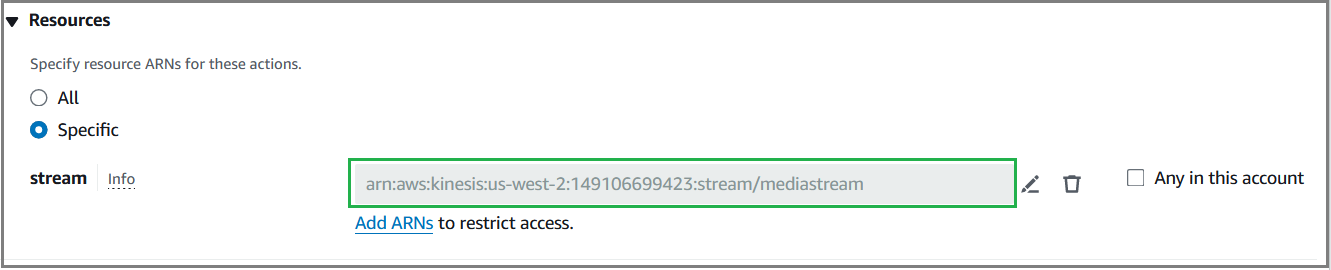
Select the PutRecord option from Write Access level to write records to Kinesis Data Streams and then click Add ARNs in the Resources section to specify stream resource ARN.
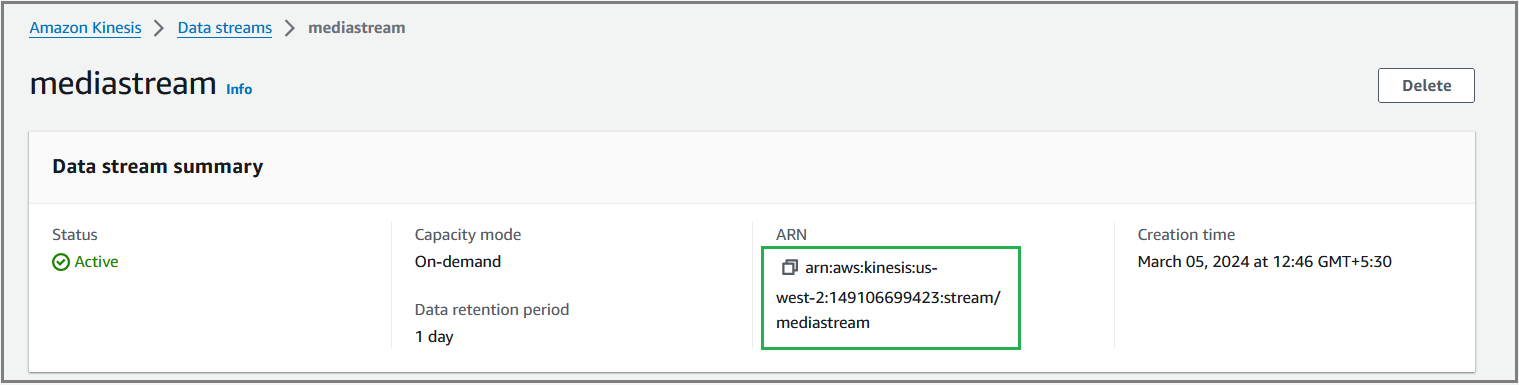
From the Kinesis console page, click on the created data stream link to get an ARN of data stream for contact trace records. Click Copy icon (
 ) from ARN section to copy the data stream's ARN.
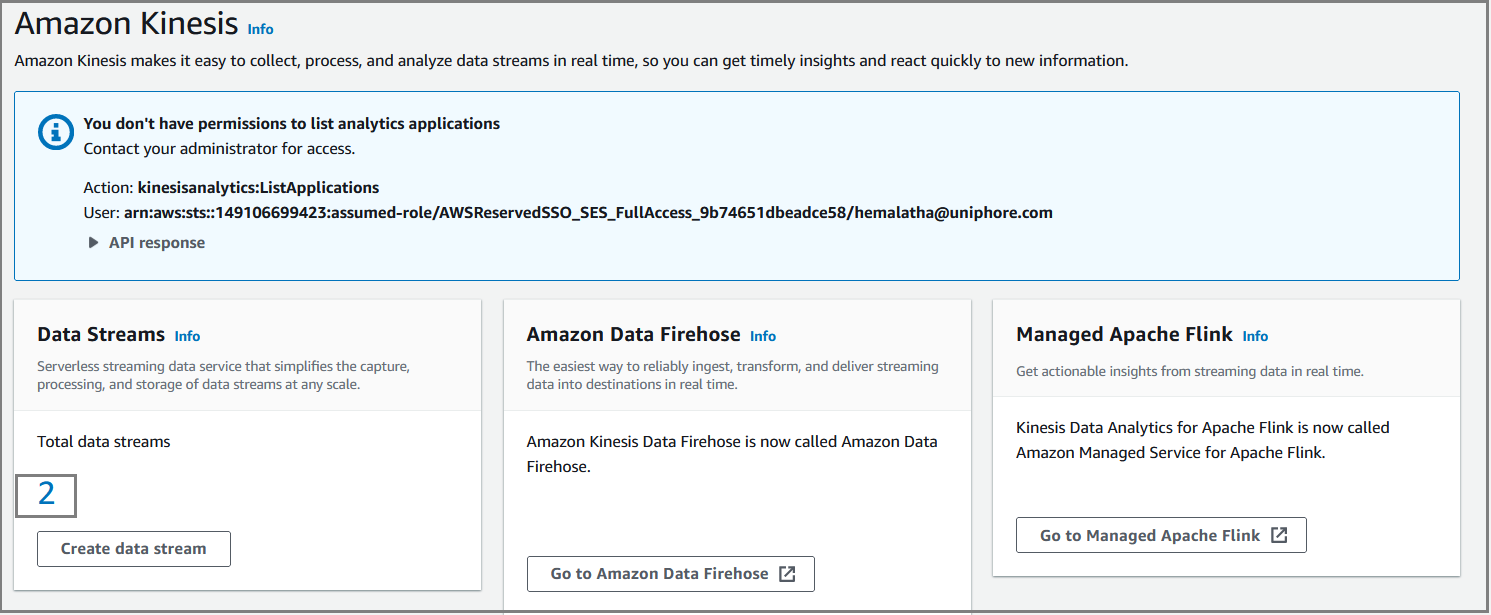
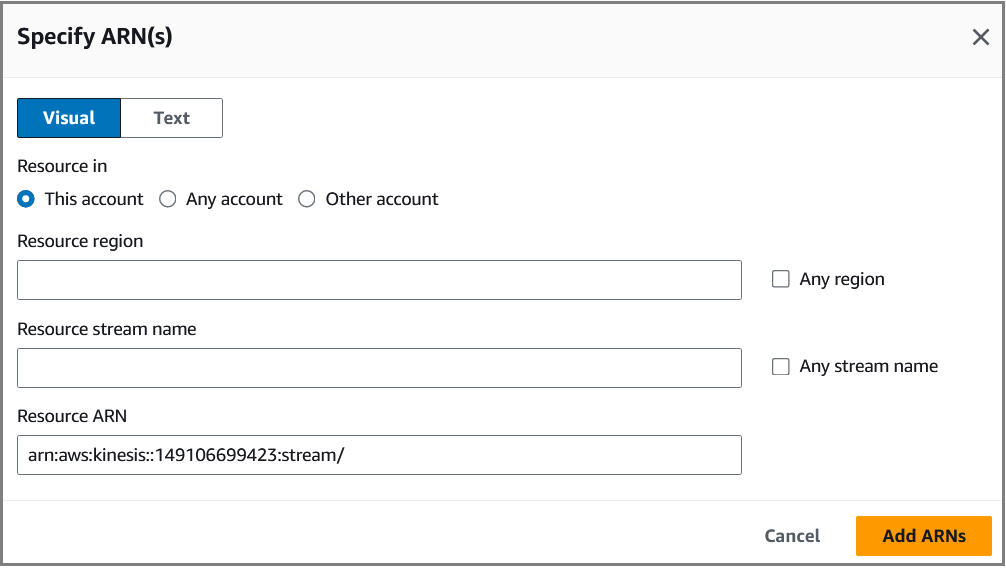
Mention the copied ARN in the Resource ARN field of Specify ARN(s) screen which is shown in step b. If you mention the ARN, the stream name and resource region will be automatically updated.
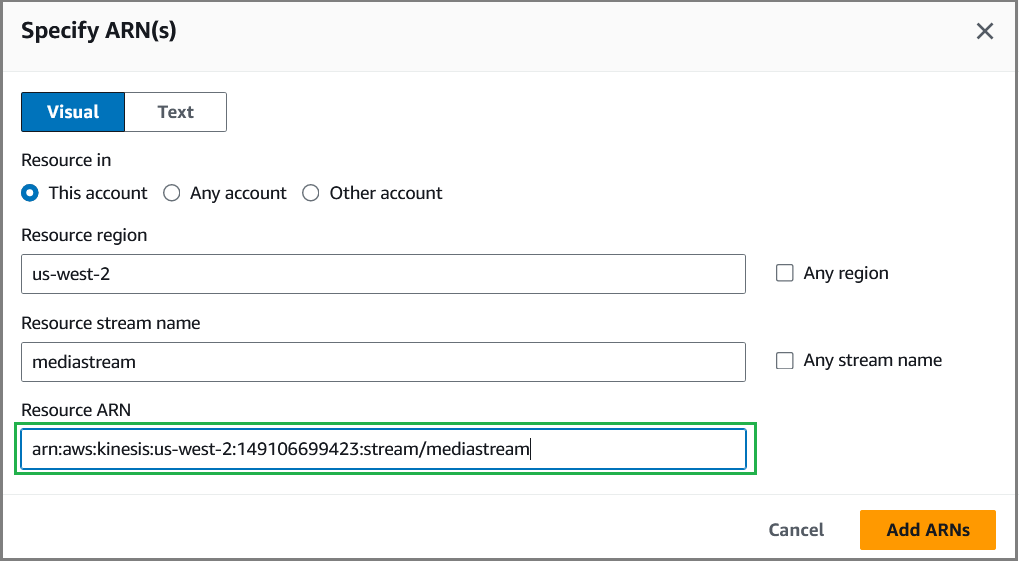
Click Add ARNs to add the resource ARN.
Click Next.
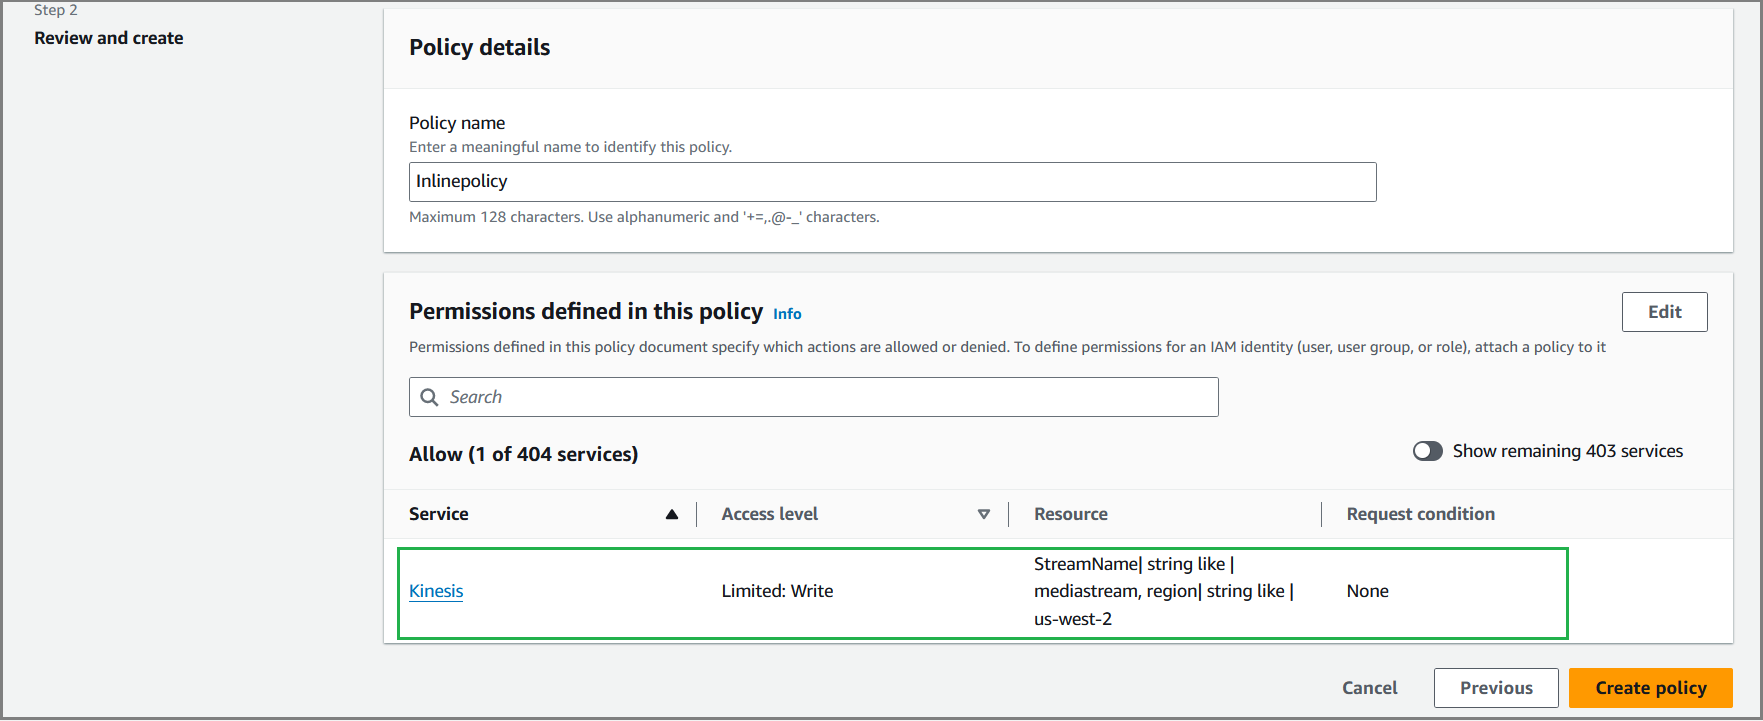
In the Review and Create page, you can view the resource details of Kinesis service. Mention the policy name and click Create Policy. The newly created policy is listed as shown below.
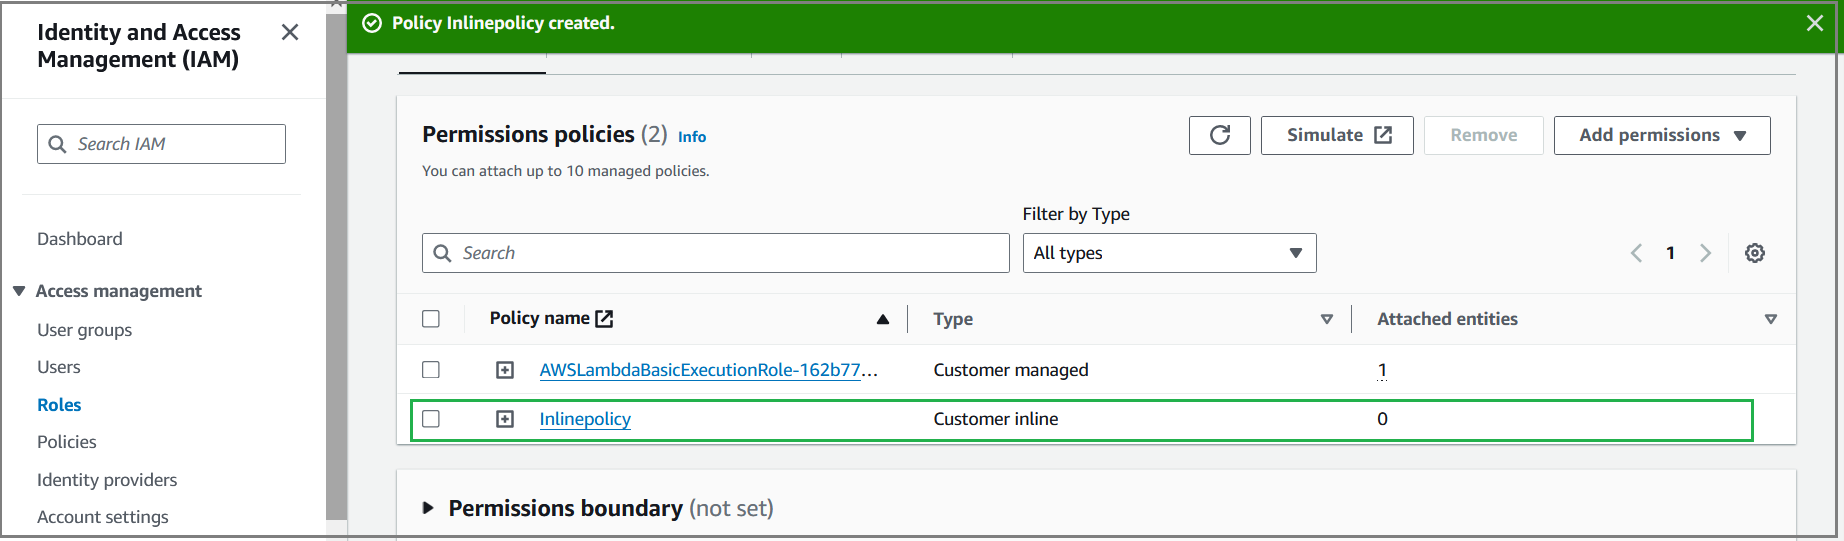
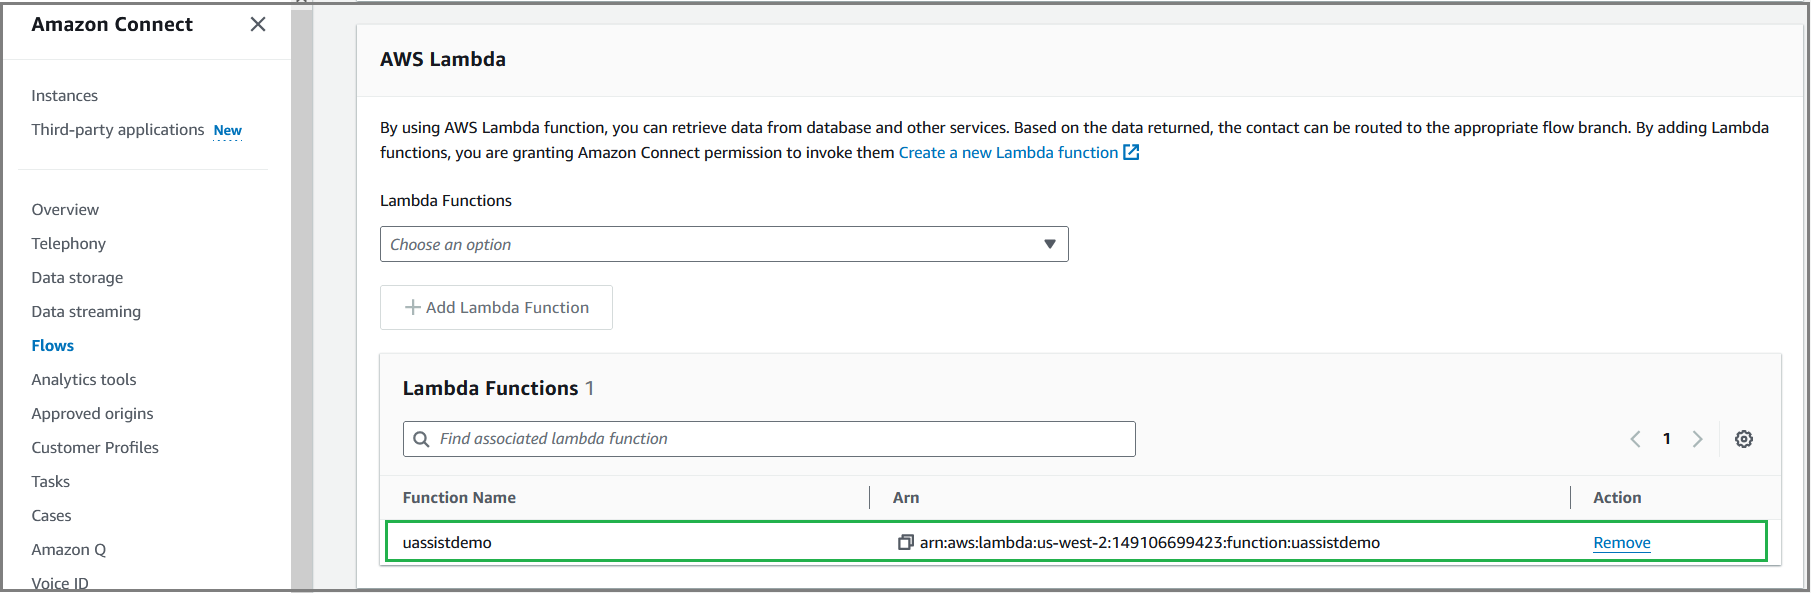
The newly created Lambda function and mapped media stream ARN will be listed in the AWS Lambda section for the created Amazon Connect instance.
Import and Setup Contact Flows
Login to Amazon Connect instance as an Admin using the access URL.

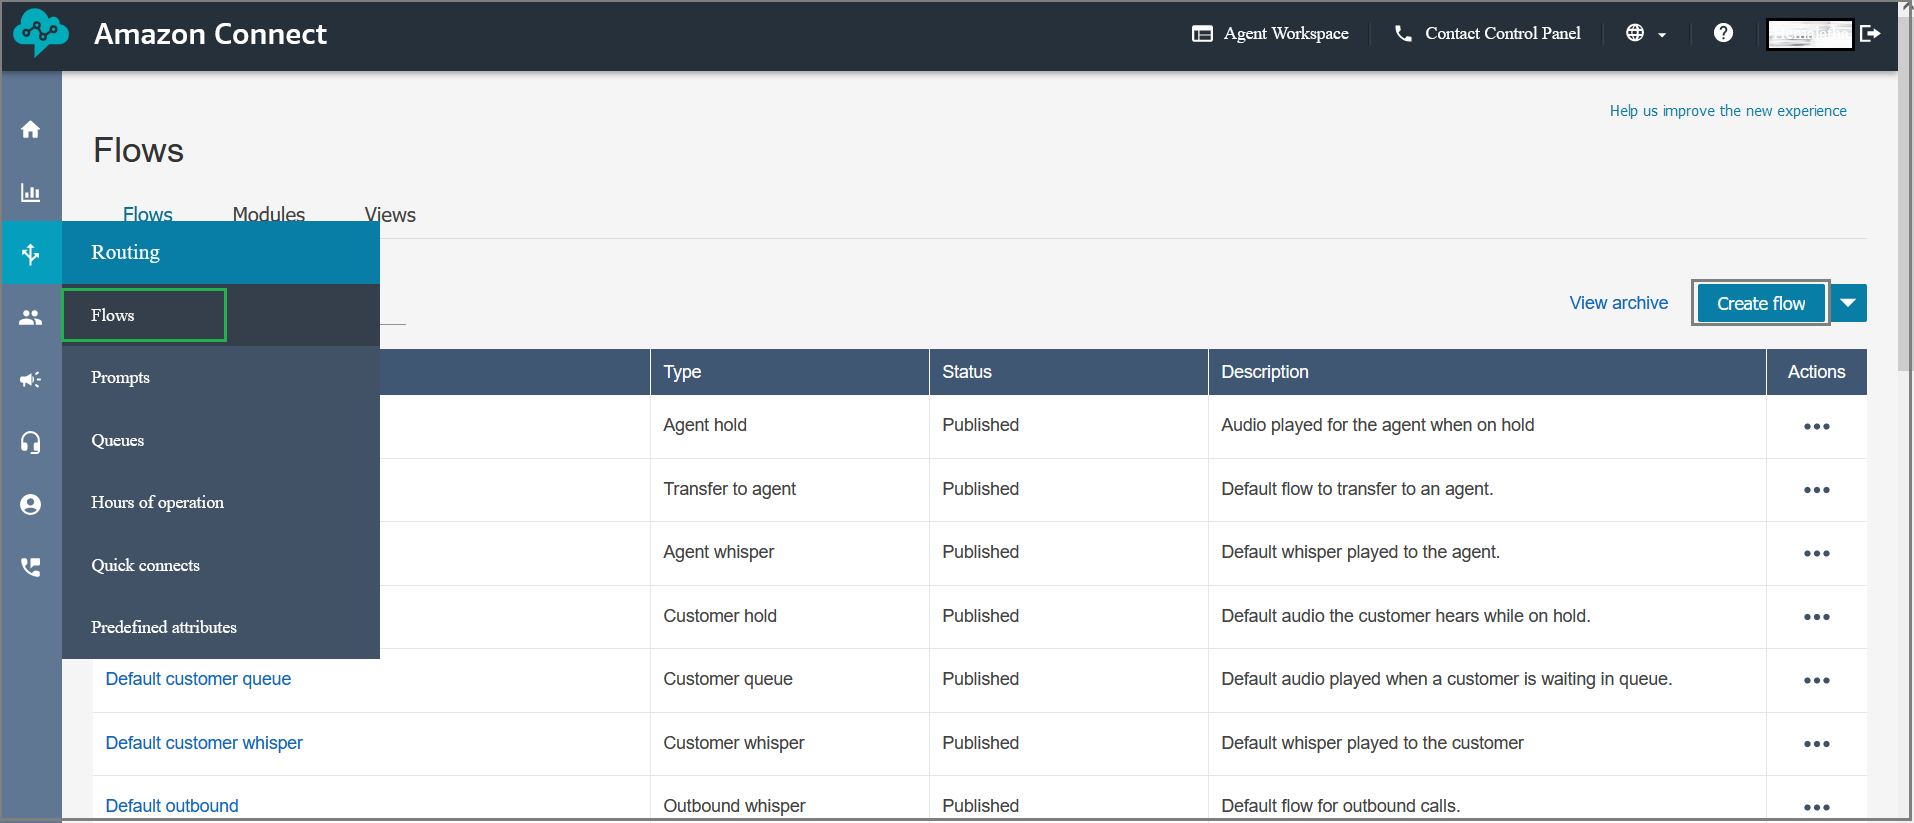
Select Flows from the left pane and then click Create flow.
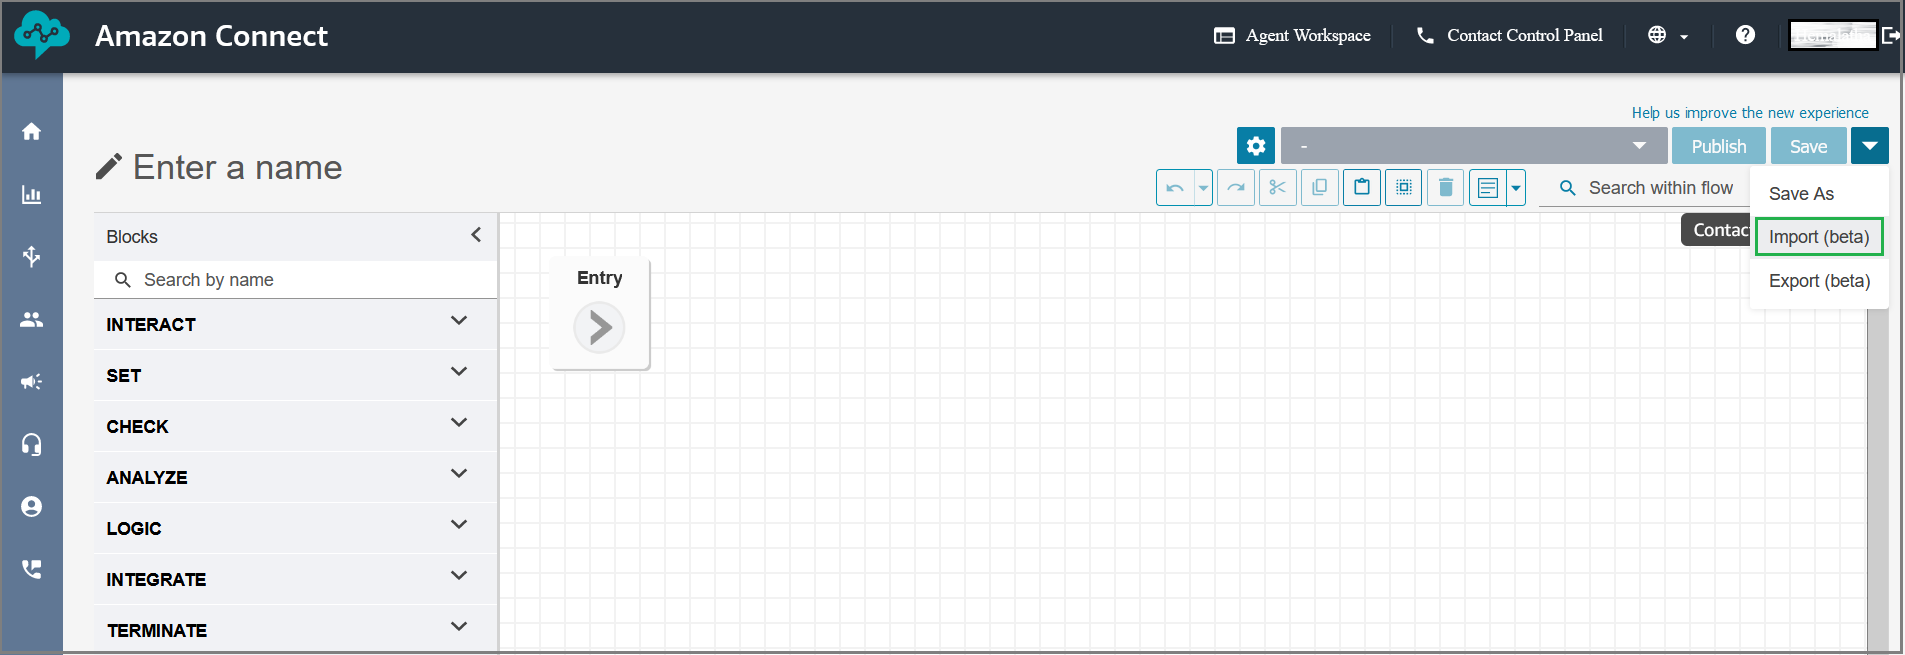
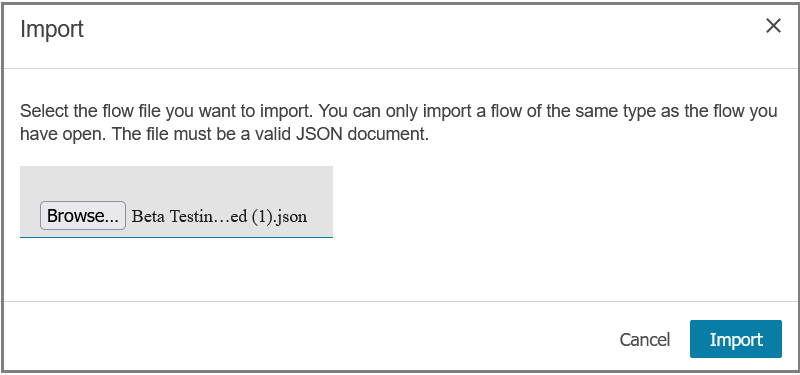
Select Import (beta) from the dropdown in the Flows page.
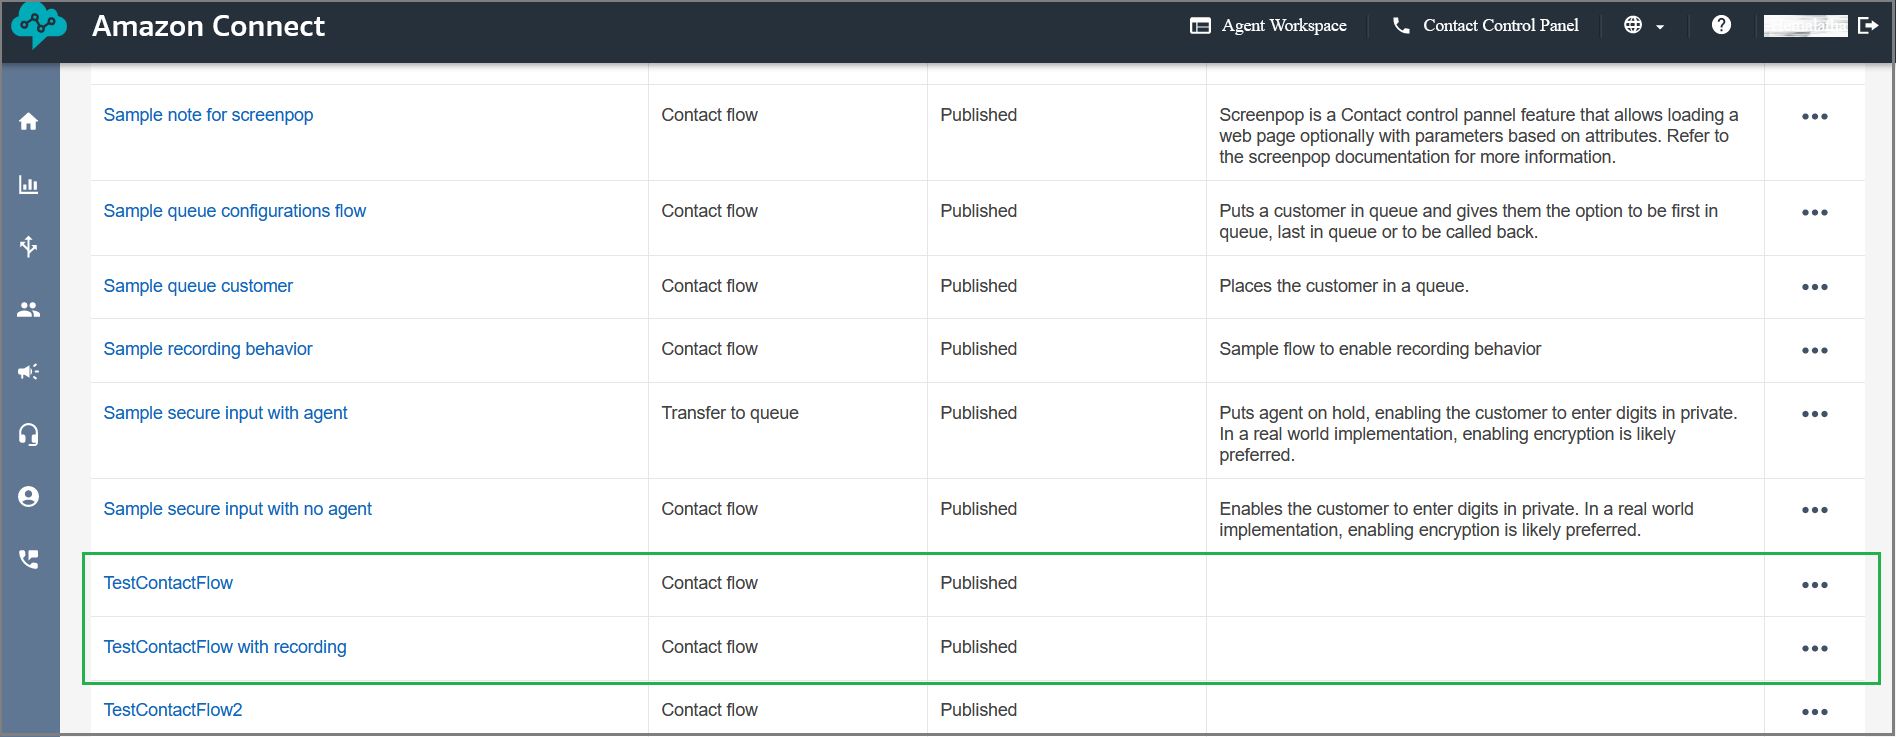
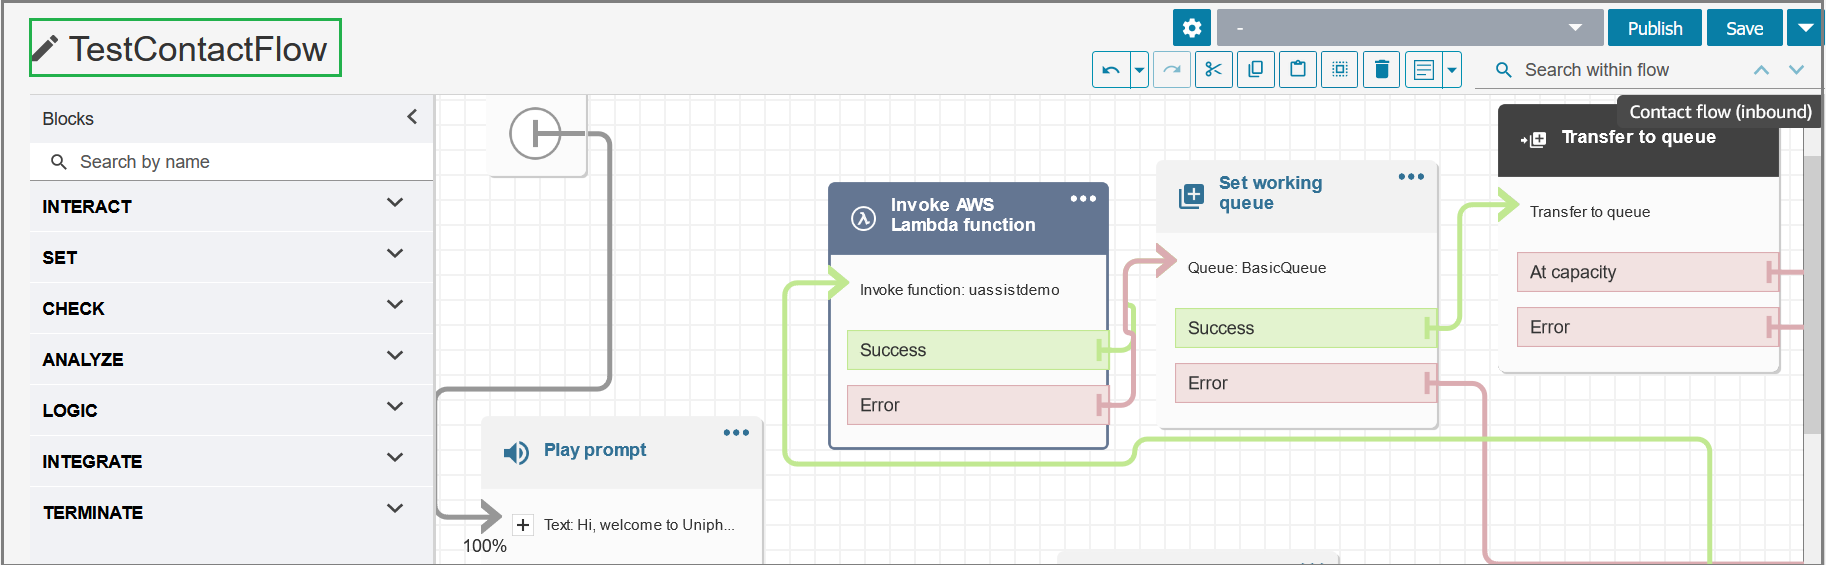
Click Browse to select the sample contact flow and then click Import. The Flow name will be displayed at the top left side of the Flows page.
Use the below sample contact flows (.json) for inbound calls:
Click Ellipsis (
 ) icon in the AWS Lambda function section and select Edit settings. Select the newly created Lambda function from the dropdown.
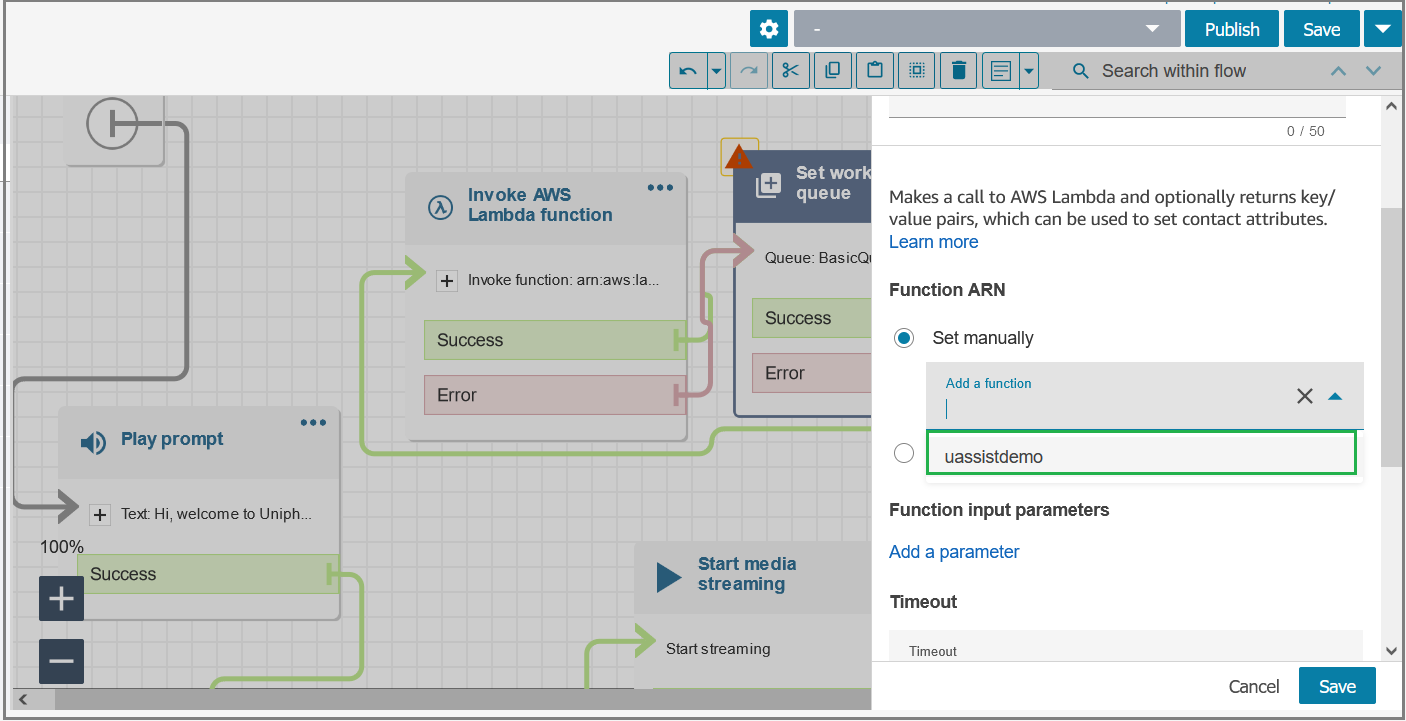
Click Save in the Edit Lambda Settings pop-up window.
Click Ellipsis (
) icon in the Contact Attributes section and select Edit settings. Mention the organization name, category name and CTI language.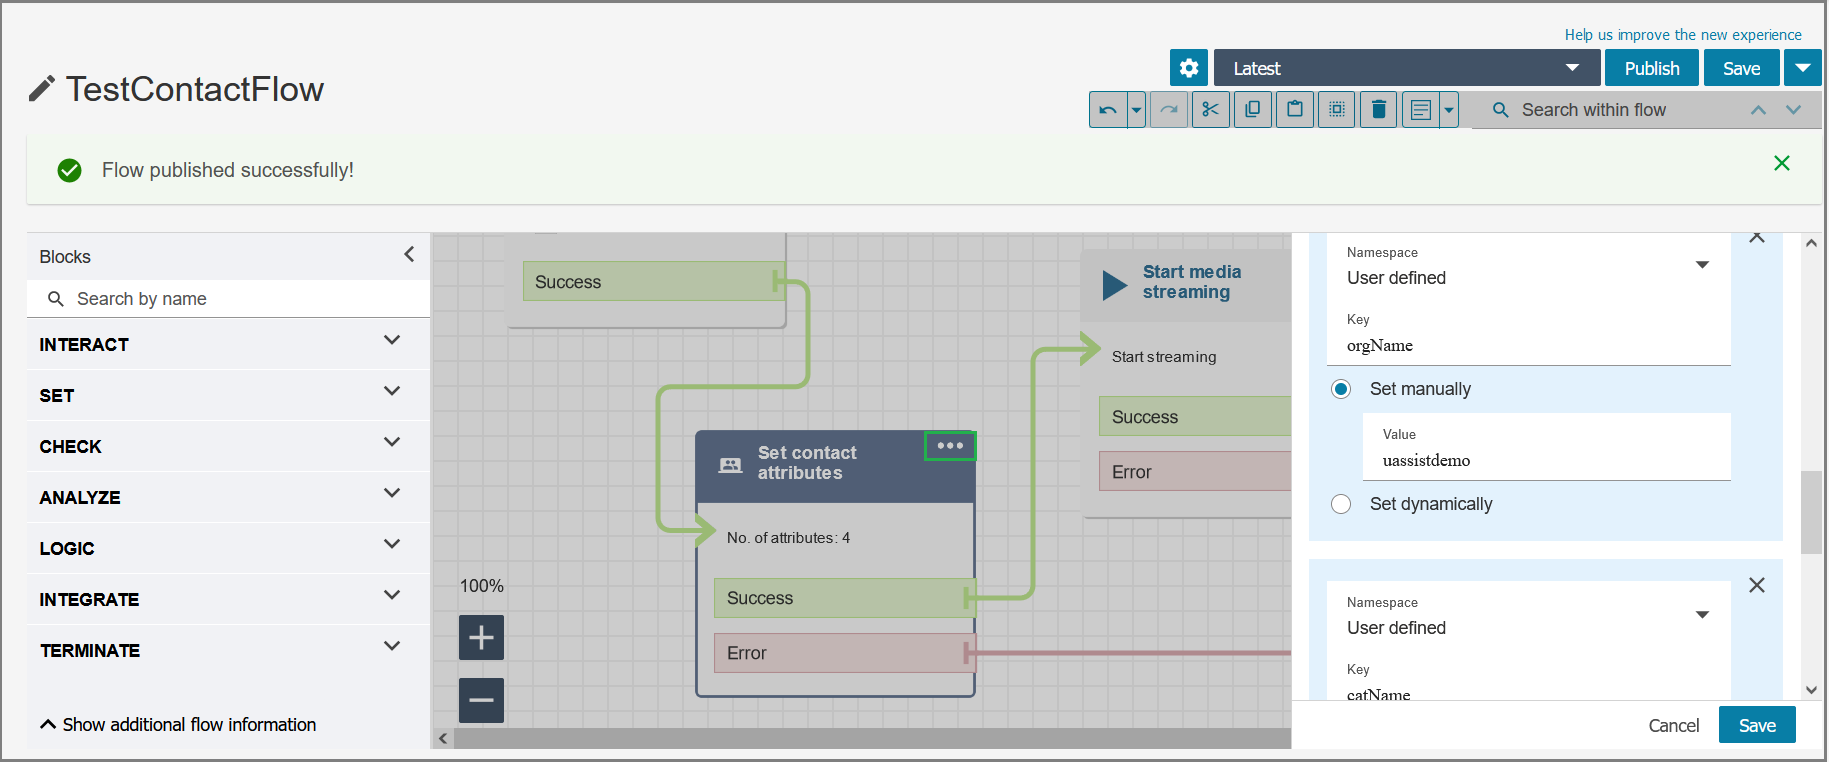
Click Save in the Edit Contact Attributes pop-up window.
Click Ellipsis (
) icon in the Working Queuesection and select Edit settings. If you have defined a specific queue to route customers to specific agents, choose that queue from the drop-down list. By default, the Basic Queue is assigned to the contact flow. For creating a new Queue, click here.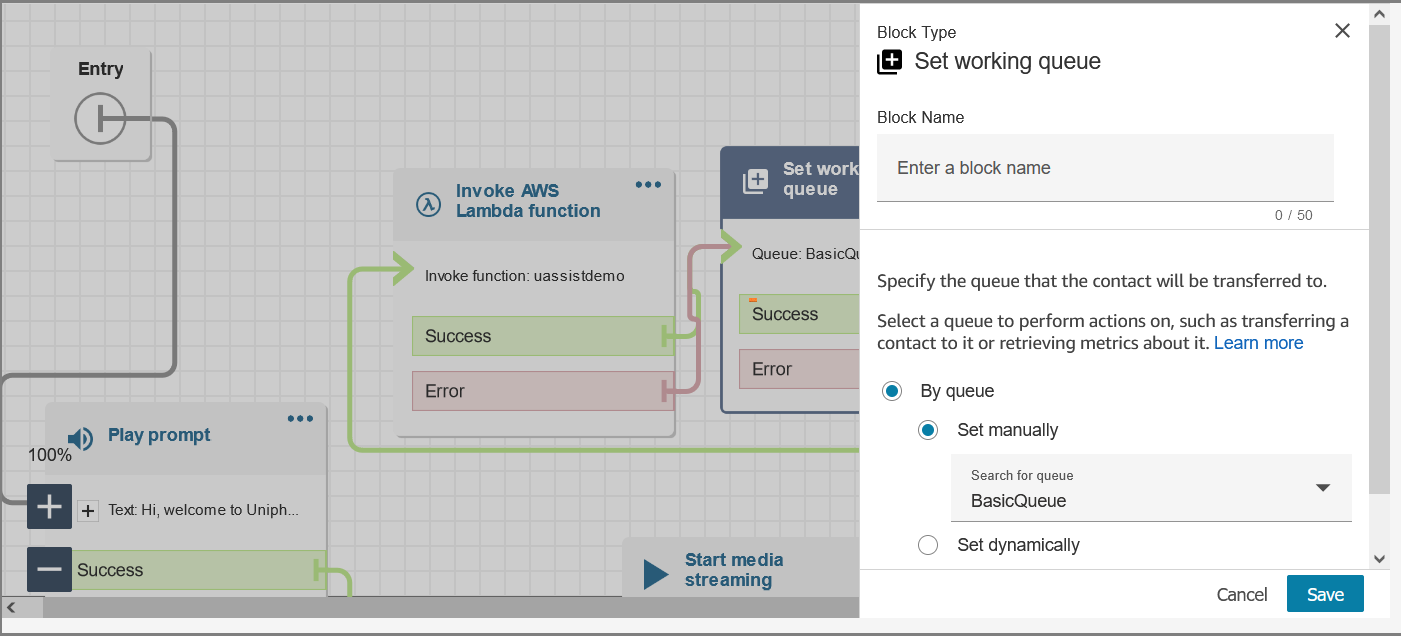
Click Save in the Set Working Queue pop-up window, if you assign any specific queue.
Click Save at the top right side of the Flows page and then click Publish. A confirmation message will be displayed to publish the flow. Click Publish in the message pop-up. The newly published Flow will be listed in the Flows page.