Agent (History Only) Application Settings
The Agent (History Only) Application is a modified instance of the Agent Full Application. You do not need to have a license for the Agent Application in order to use the Agent (History Only) Application.
Like the Agent Full Application, this client is designed for use by call center agents, but it provides only the ability to view a Flow's history. It enables agents to access all the information, choices and input provided by the user, so they can manage calls quickly and efficiently.
You use the following settings tabs to edit or update settings for the Agent (History Only) Application.
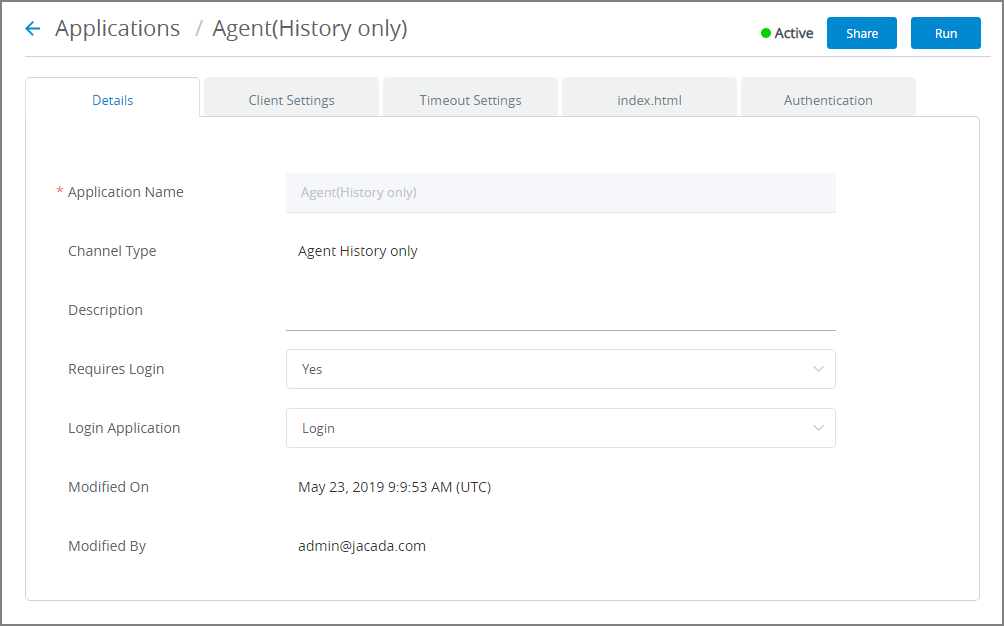
Details Tab
 |
Setting | Description |
|---|---|
Application Name | The name of the application. |
Channel Type | The channel that will be used to run the application. |
Description | A brief description of the application. |
Requires Login | Select Yes to require user login in order to access unsecured Flows. |
Login Application | When Requires Login is selected, you can optionally assign a custom Login Application. Clicking on the dropdown menu lists all Login applications that are available to the account. |
Modified On | The last date and time that changes were made to this Application. |
Modified By | The last Admin who made changes to this Application. |
Editing Agent (History Only) Application Settings
From the Applications page, click the Name link of the relevant Application. The Details panel for the Application is displayed.
Update settings in the Details panel, as required. For details, click here.
Update settings in the Client Settings panel, as required. For details, click here.
Update settings in the Timeout Settings panel, as required. For details, click here.
To customize how UI components appear to a customer (for example, to change the application Title, headers and footers, or add custom Javascript code) edit the index.html panel settings. For more information, click here.
Update the Authentication panel, as required. For more information, click here.
At the lower right corner of the page, click Save. When all entries are valid, a confirmation message is displayed. To exit editing at anytime without saving changes, click Cancel.