Timeout Settings for Applications
You can configure the maximum length of time allowed for various application activities before a timeout is reported from Interact.
The Timeout Settings panel displays all activities whose duration can be monitored and controlled by an application in one location.
Timeout configuration is available for the following applications:
Agent (Full)
Agent (History Only)
Agent Assistant
Manager Application
Customer Assistant
Mobile Web
Web Self Service
UAD
When you make changes in the Timeout Settings panel of an application, they are applied only to that application. Timeout Settings for other applications are not affected.
 |
Setting | Description |
|---|---|
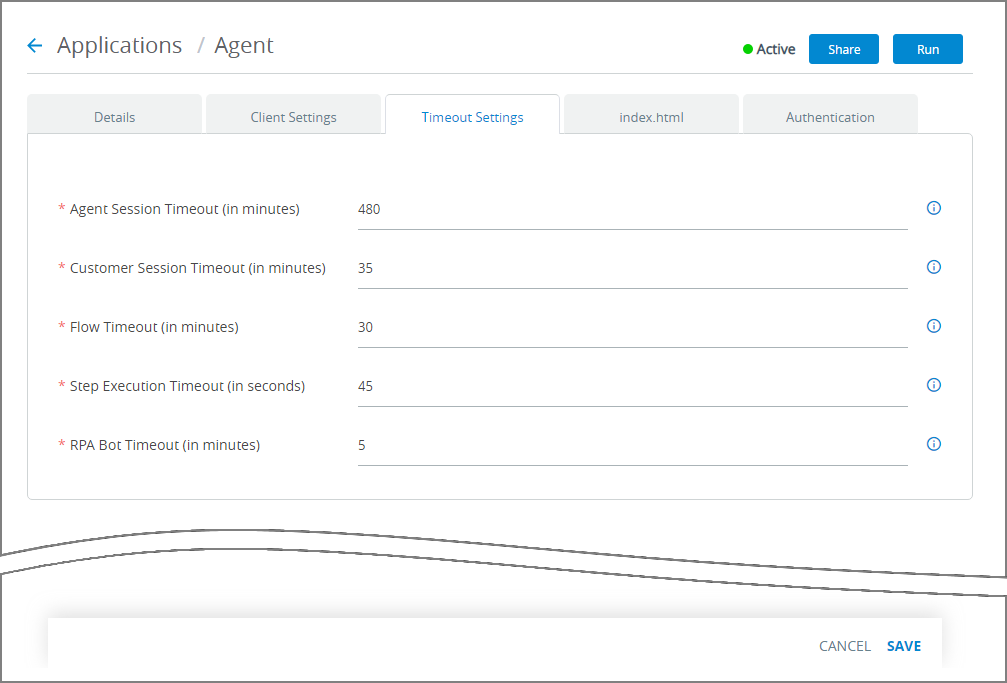
Agent Session Timeout (in minutes) | The maximum idle time period before X‑Platform reports an Agent Session as abandoned. |
Customer Session Timeout (in minutes) | The maximum idle time period before X‑Platform reports a Customer Session as abandoned. |
Flow Timeout (in minutes) | The maximum idle time period before X‑Platform reports a Flow as abandoned. For a Flow, idle time means it is not being navigated by the user. After the Flow Timeout is reached, if the user attempts to continue it, an error message is displayed. |
Step Execution Timeout (in seconds) | The maximum time allowed by the application for any Step that uses client-side services (e.g., Integration Points, RPA) before it returns a timeout notification. This mechanism can help to ensure ideal performance when an application contains Concurrent Flow Steps. |
RPA Bot Timeout (in minutes) | The maximum idle time allowed for any RPA Bot which has been acquired for execution by the application. After the RPA Bot Timeout is reached, the idle Bot will be released from memory. |
Editing Timeout Settings
From the Applications page, click the Name link of the Application whose timeout settings you want to change. The settings tabs for the Application are displayed.
Click on the Timeout Settings tab. The Timeout Settings panel is displayed. X‑Platform provides default timeout settings for each Application, which you can change according to your needs.
Enter a new timeout value for each setting you want to change.
Note
Default timeout values for each setting may differ, depending on the current application.
When finished, click Save at the lower right of the page. The new settings will be saved for the application and will become effective immediately.