Working with the RPA Sequence Editor
X-Designer's intuitive RPA Sequence Editor makes it easy to add and change any sequence of Robotic Process Automation (RPA) Steps within a Flow.
The RPA Sequence Editor supports manual creation of a Sequence, and can also be used to edit Steps that were created by the RPA Recorder and RPA Capture features.
About the RPA Sequence Editor
The RPA Sequence Editor displays all the Resources that are currently available for use in your Covered Applications.
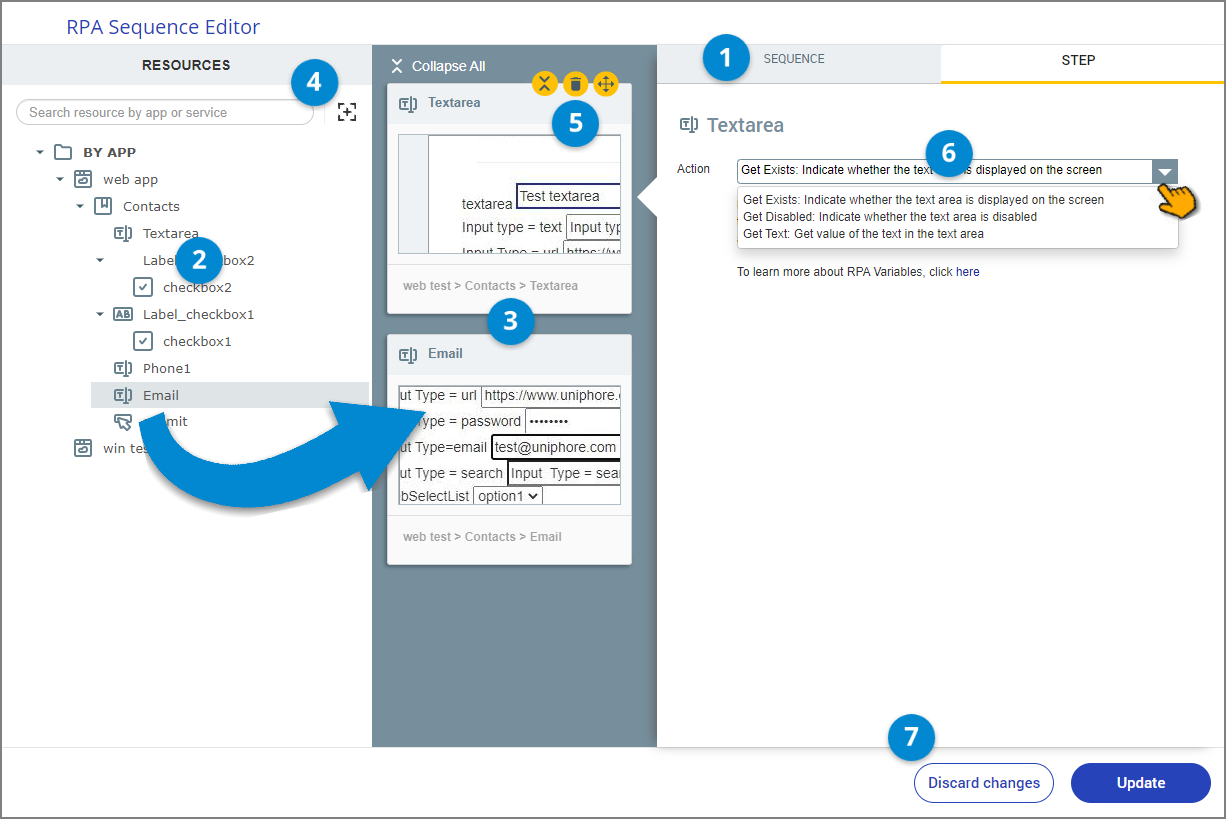
The left panel of the Editor lists your Resources, the center panel provides a canvas for building an RPA Sequence, and the right panel enables you to configure the Sequence and set the action for a selected Resource.
 |
Item | Feature | Description | ||
|---|---|---|---|---|
1 | Sequence Settings (Sequence Tab) | 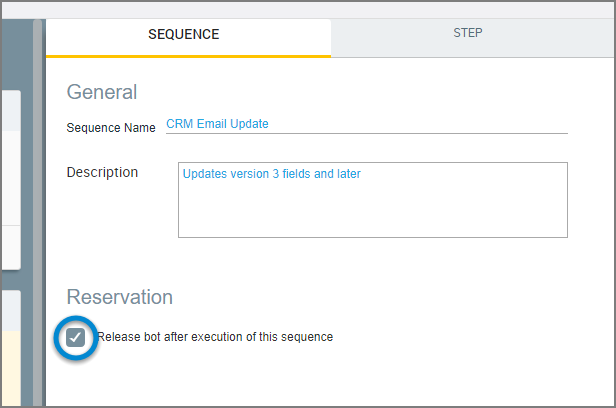 Use the Sequence tab to provide a Name and Description for the RPA Sequence and to optionally request that X‑Platform release the Bot after completion of this Sequence. Releasing the Bot frees up all associated resources and enables it to be executed by other Services. For more information, see Bot Releasehere. | ||
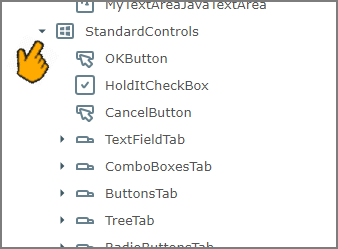
2 | Resources List | This list displays all Resources that are currently available in your Covered Applications (i.e., UI objects defined from Windows, web and other applications) in a hierarchical tree.
Clicking on a specific UI control will display all available Actions for it in the Step tab. | ||
3 | Canvas | The center of the screen is the canvas for building your RPA Sequence. Drag and drop elements for your Sequence from the Resource list on the left to the canvas. The most recently dropped element becomes the selected element for assigning Actions and Mapping parameters in the Step panel. By default, each element is displayed together with an icon that helps to identify it in the Sequence. | ||
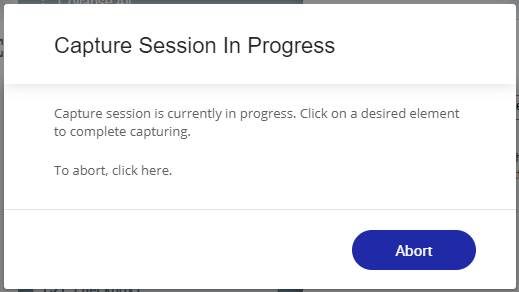
4 | RPA Capture | Click the RPA Capture
While live capture is running, you can switch from X-Designer to any Covered Application and select one or more UI elements to capture. | ||
5 | Resource Actions | To Collapse, Delete or Move an element on the canvas, click the desired icon in the upper right corner when the element is active:  | ||
6 | Step Action (Step Tab) | You select the Action that will be applied to the currently selected Resource element using the Action dropdown list:
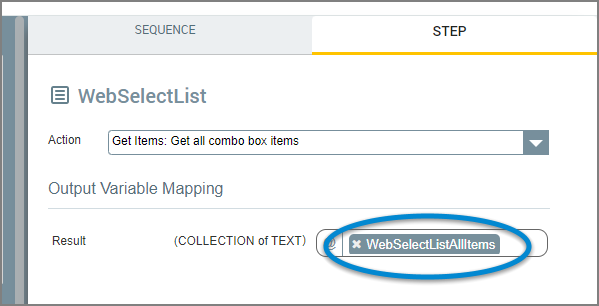
Depending on the Action you select, you also may need to specify additional parameters (e.g., an Output Variable Mapping) that are required by Action to take for this Step:
When required, enter a value or press '@' in the field to select (or create) a variable from the list of available Session or User Variables. The Action and Mapping parameter options that are available will change according to the Resource that is currently active on the canvas. | ||
7 | Create/Update/Discard | Click Create or Update to save the Sequence. Click Discard changes to cancel your work. |