Upload Audio Files in S3
Follow the procedure listed below to upload files in S3 using AWS:
Open the
Uniphore AWSaccount portal in a browser.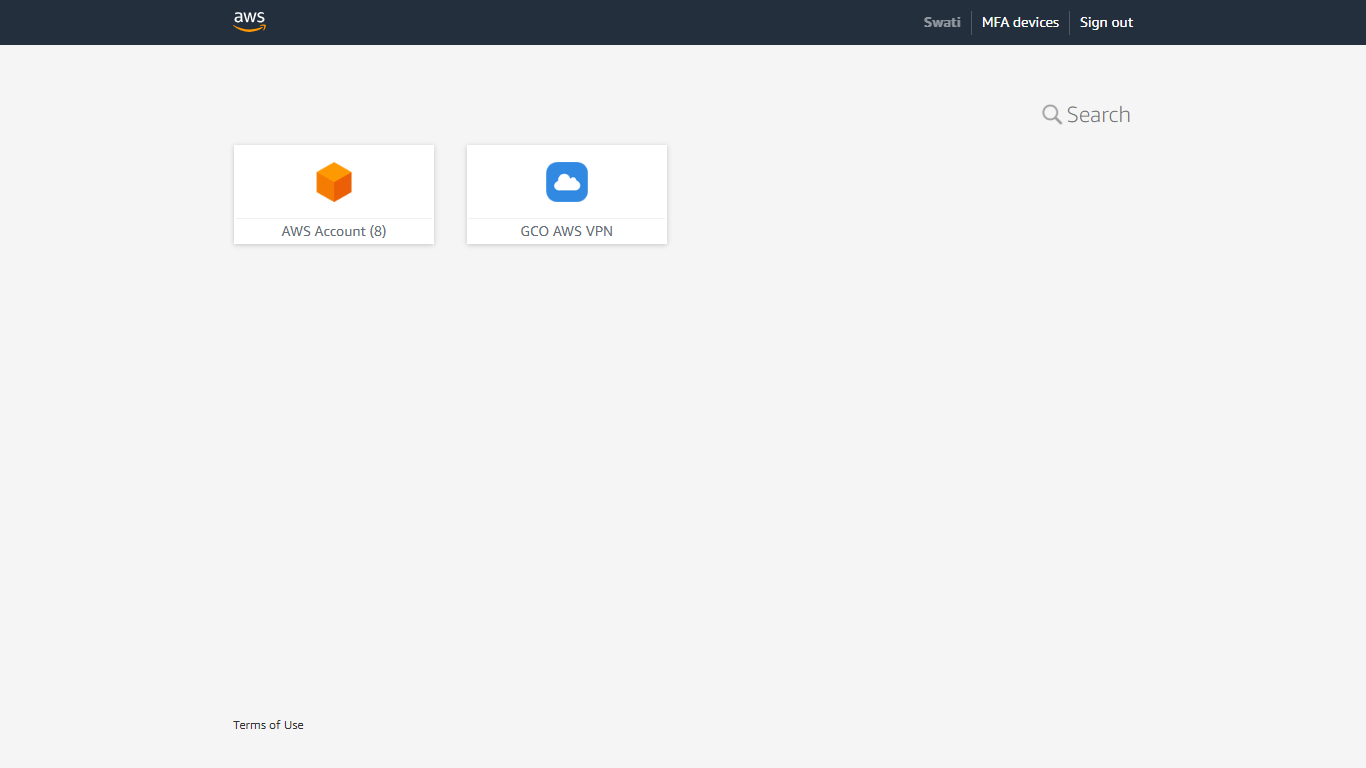
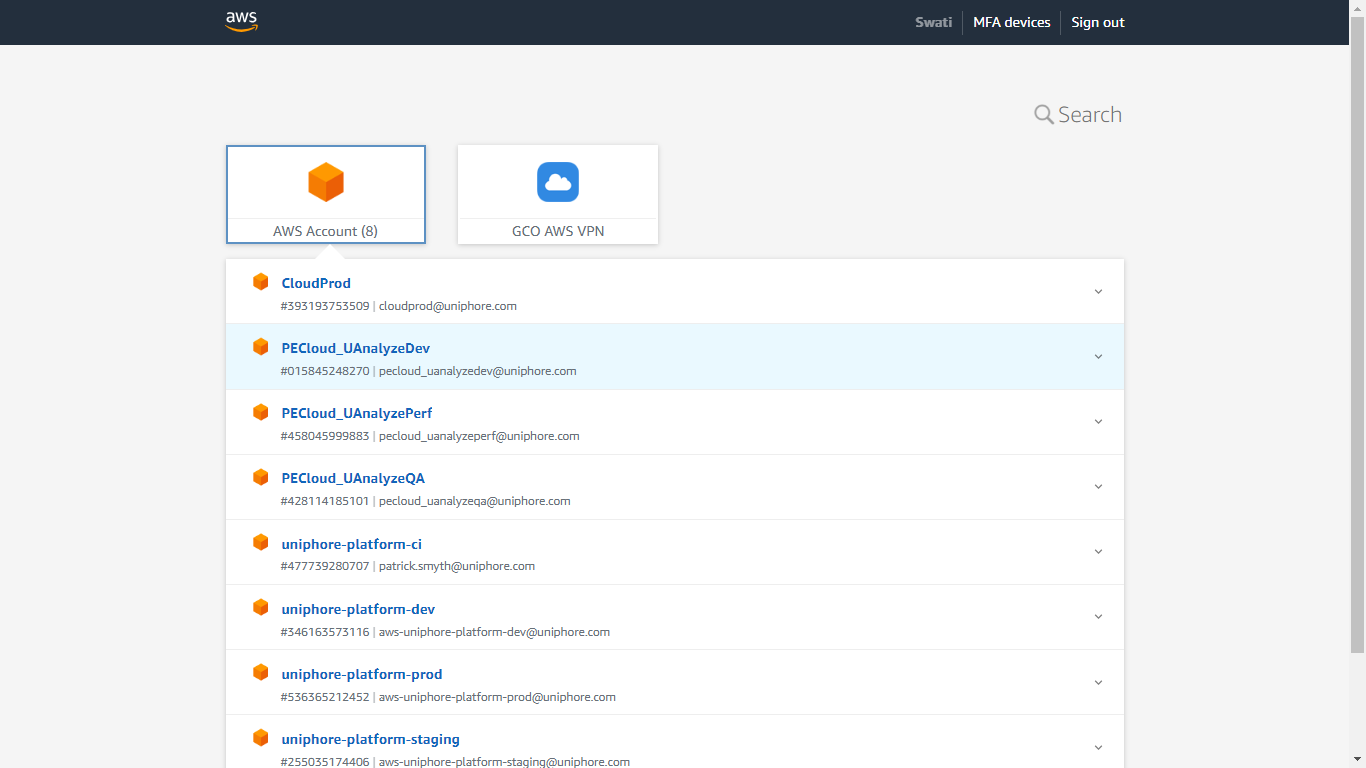
Click AWS Account
Select the account that has the S3 bucket.
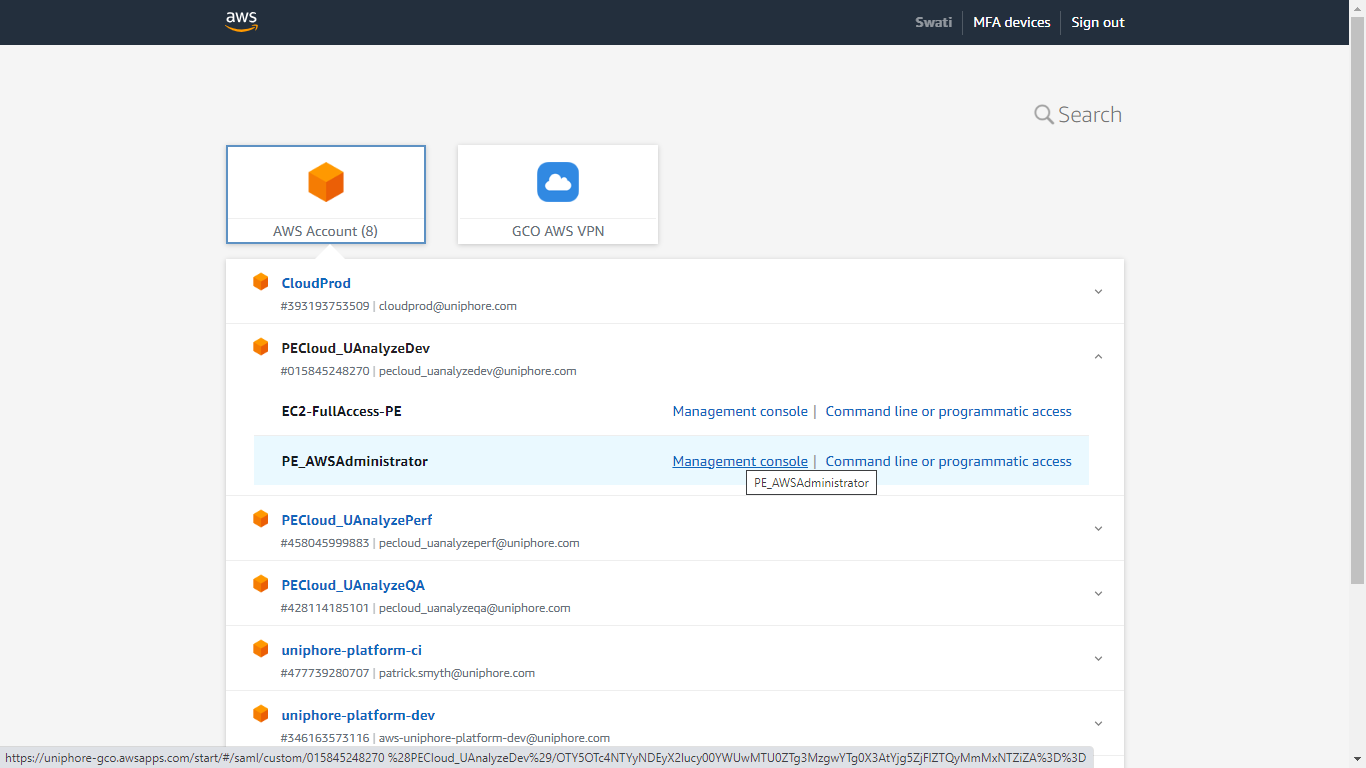
Select the required role and click Management Console.
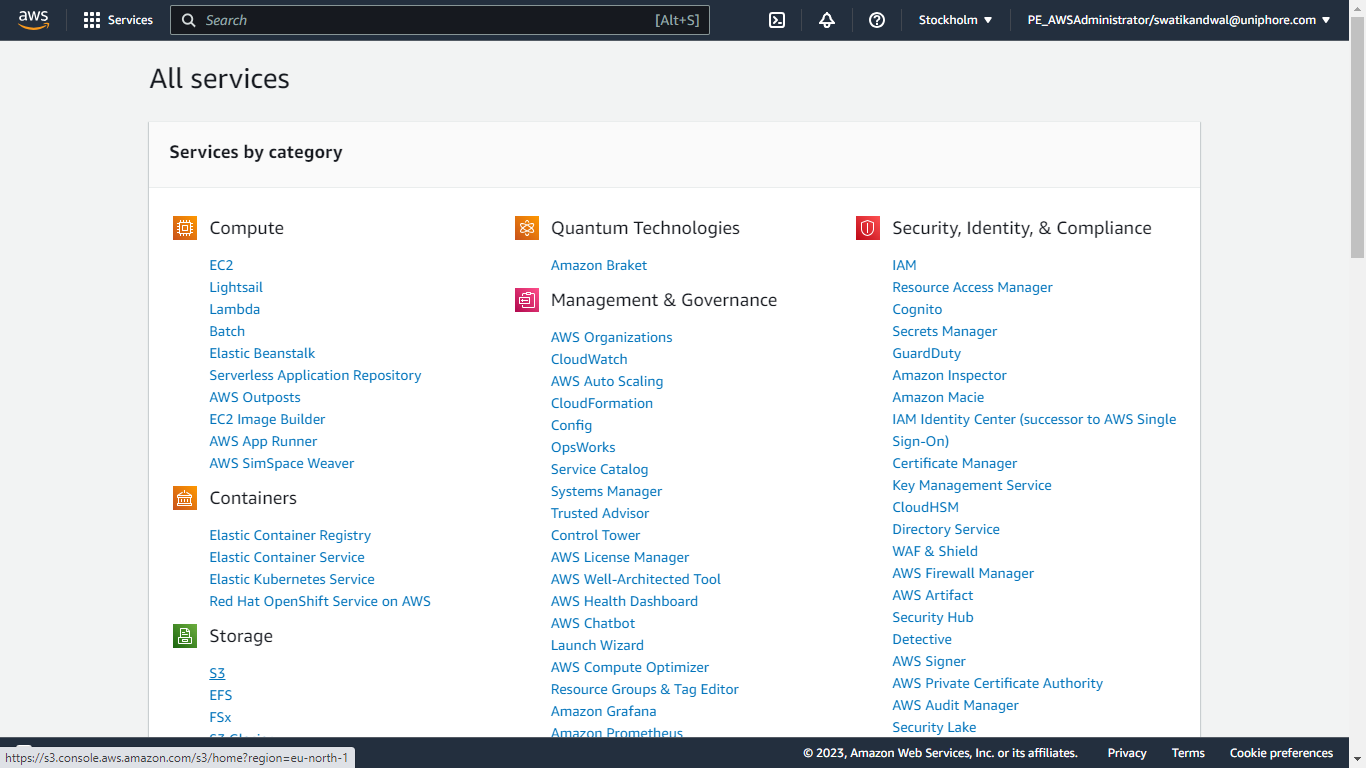
Click S3 under the Storage section.
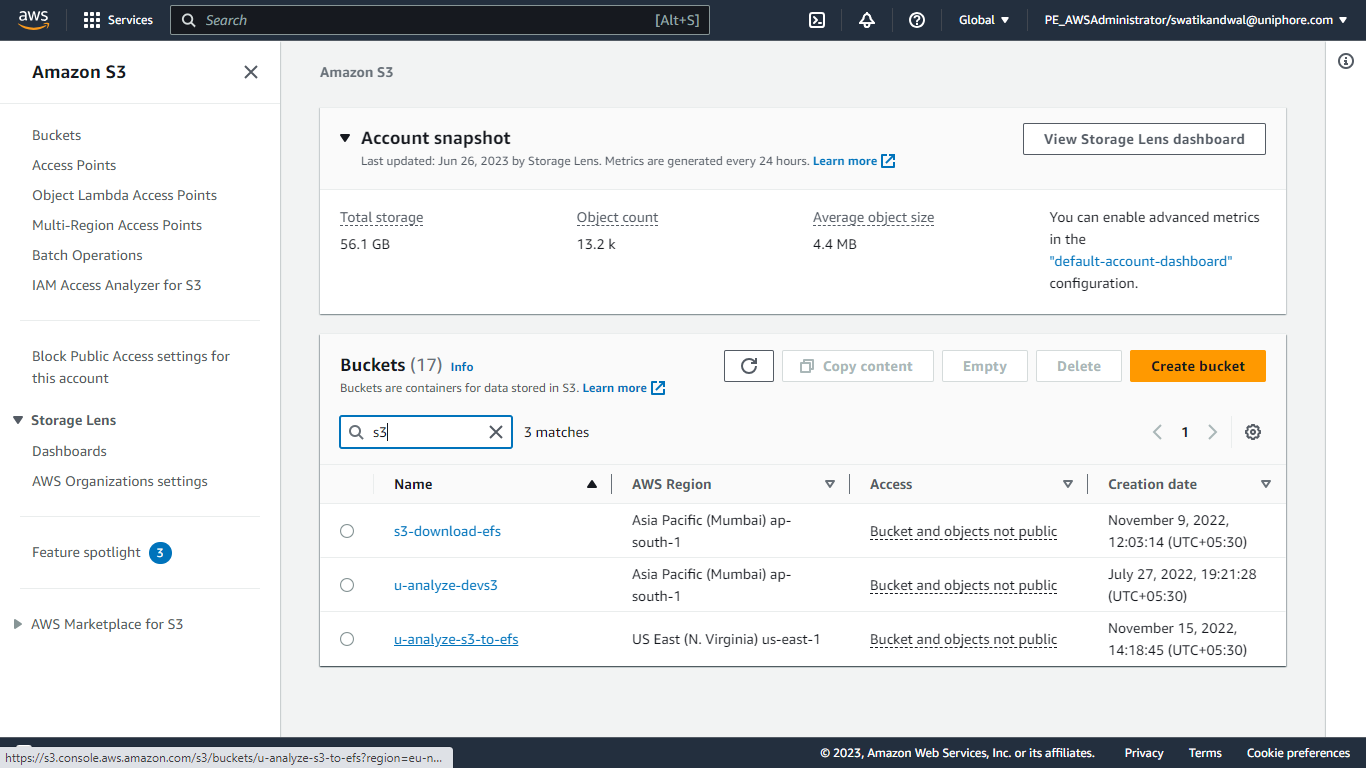
Search for the required S3 bucket and click it.
Click the
audio-repofolder.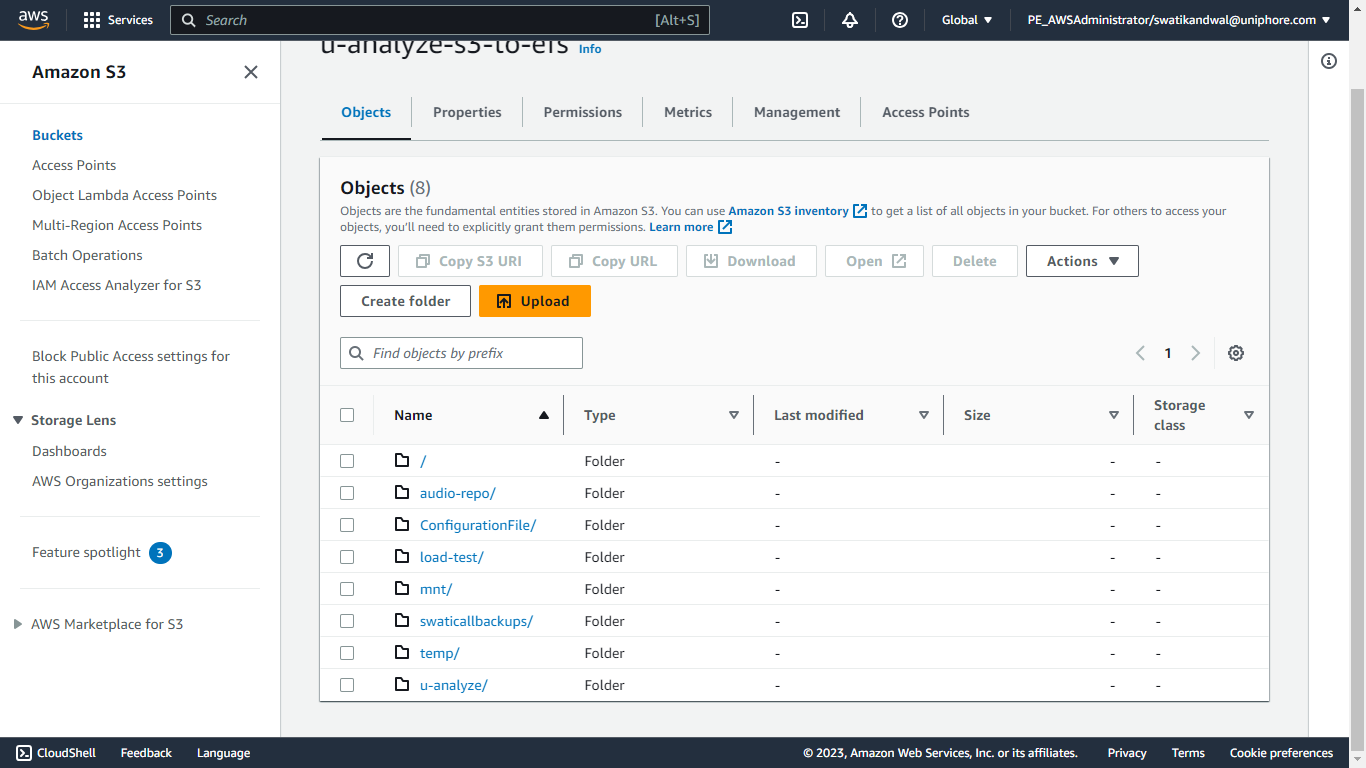
Click
new/Folder.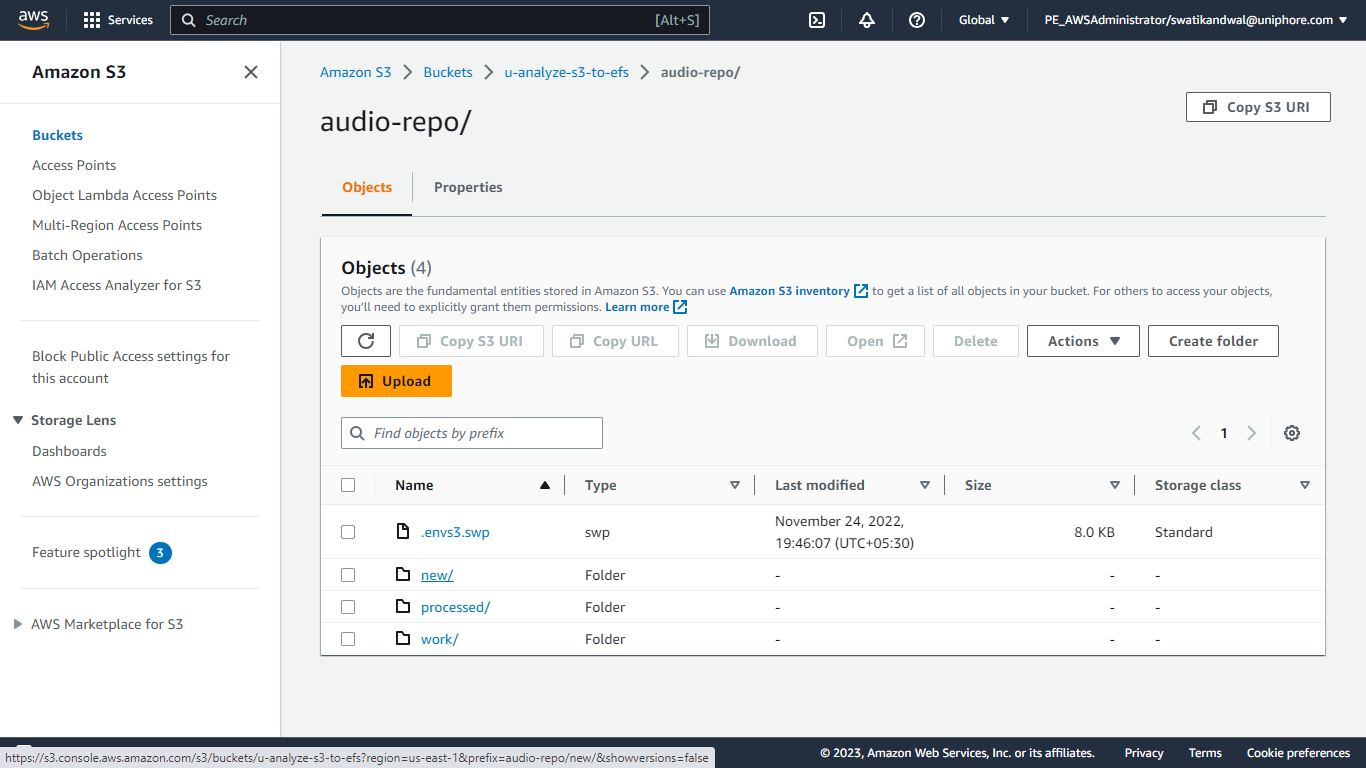
Click the tenant specific to the customer.

Click on the required organization (
org/) folder.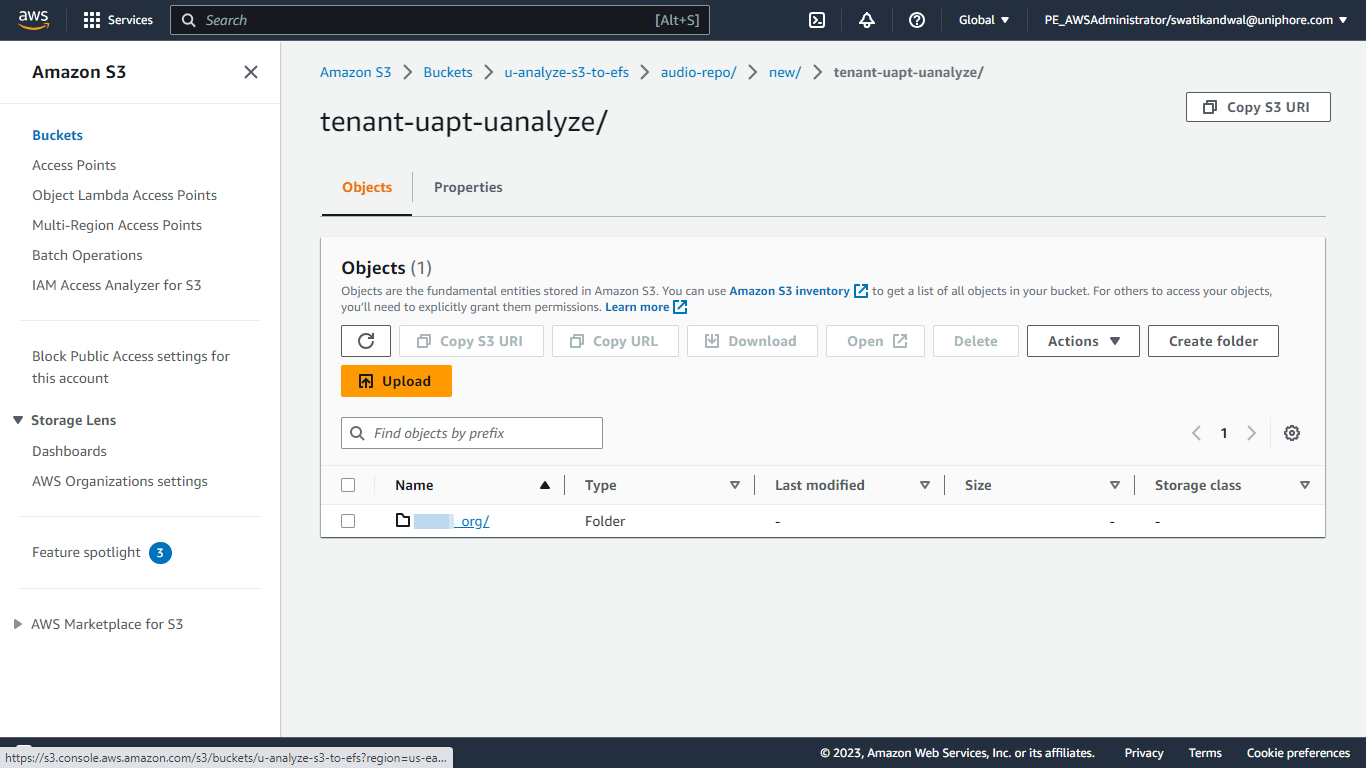
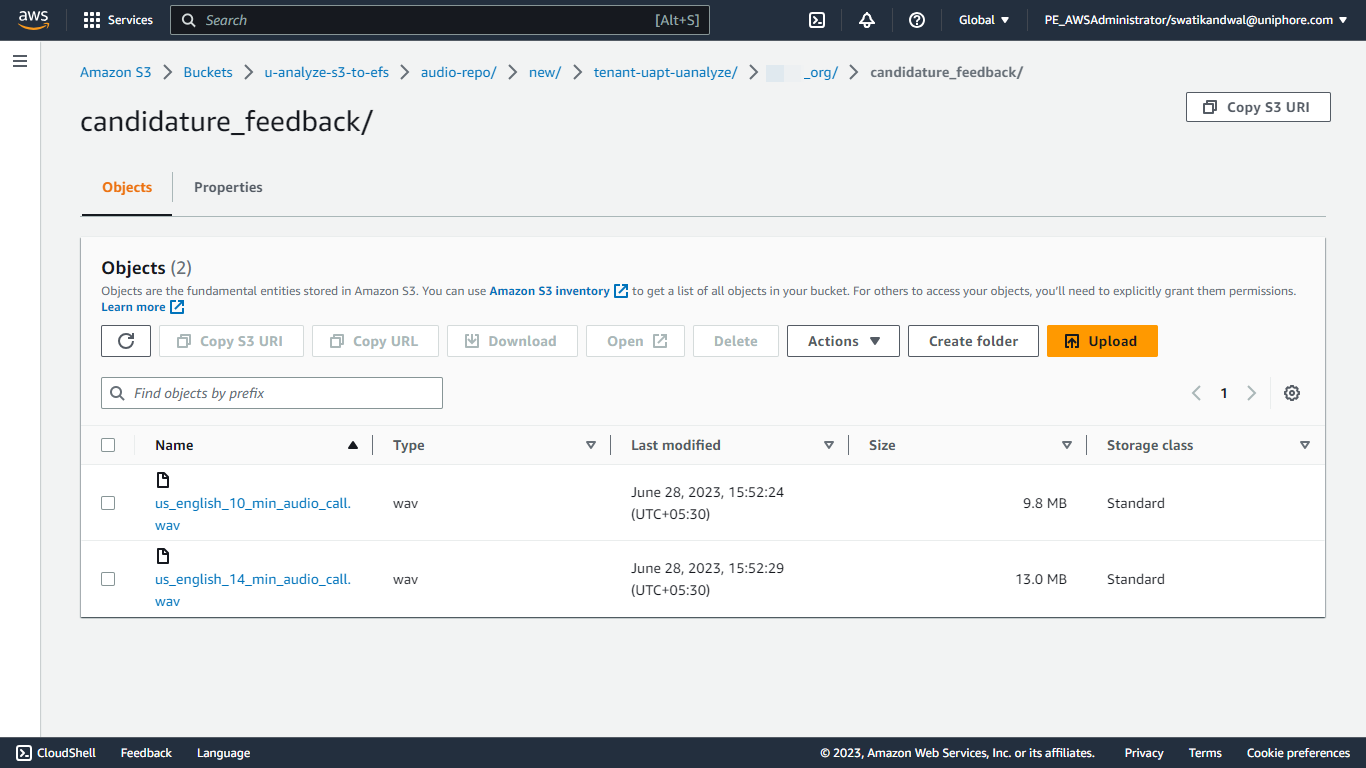
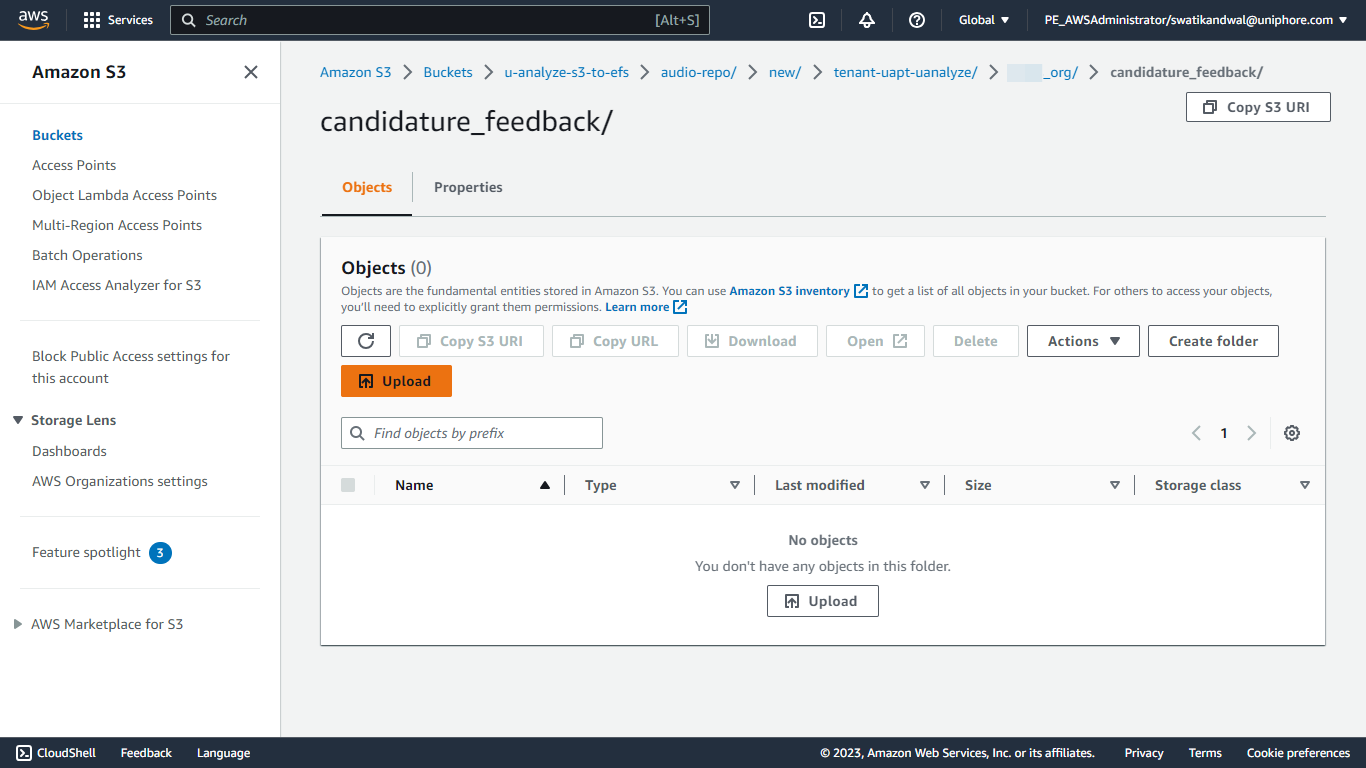
Click the required category folder. For e.g.
candidature_feedback/.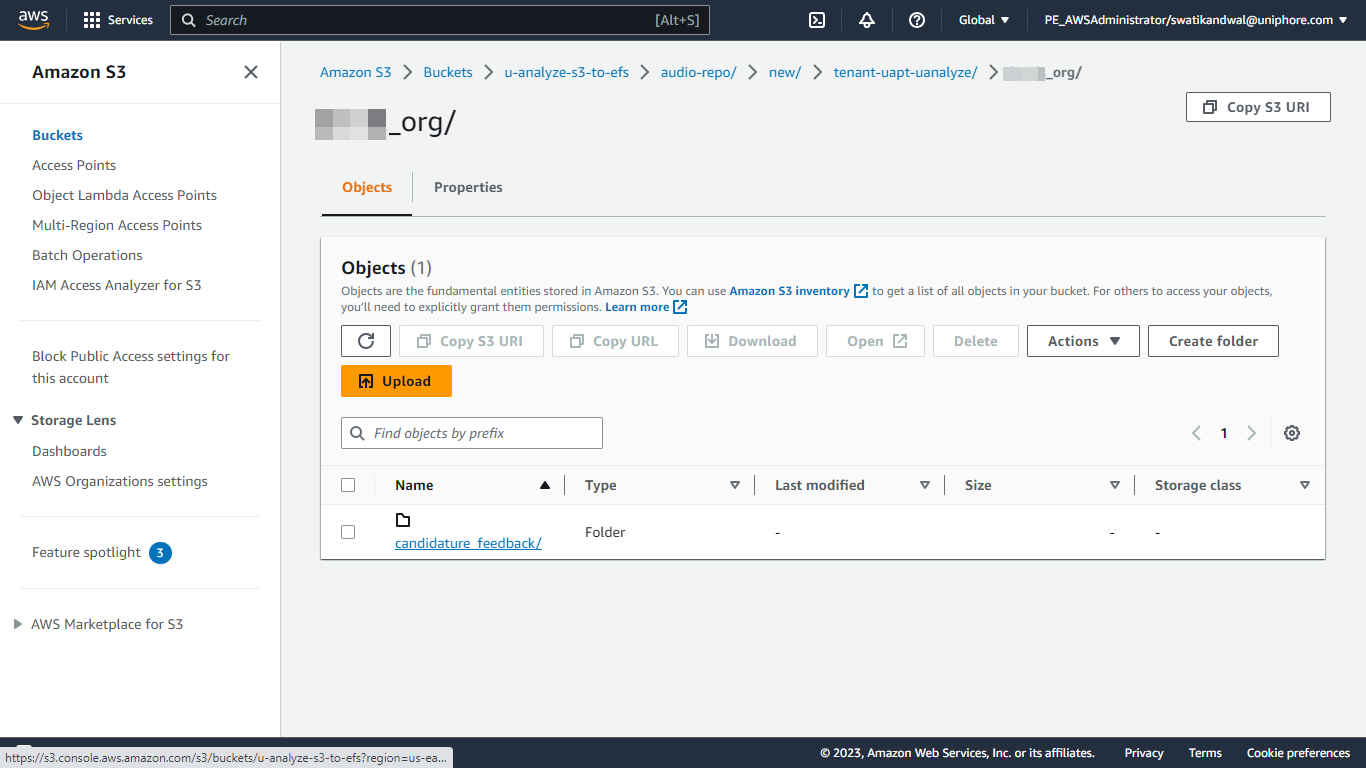
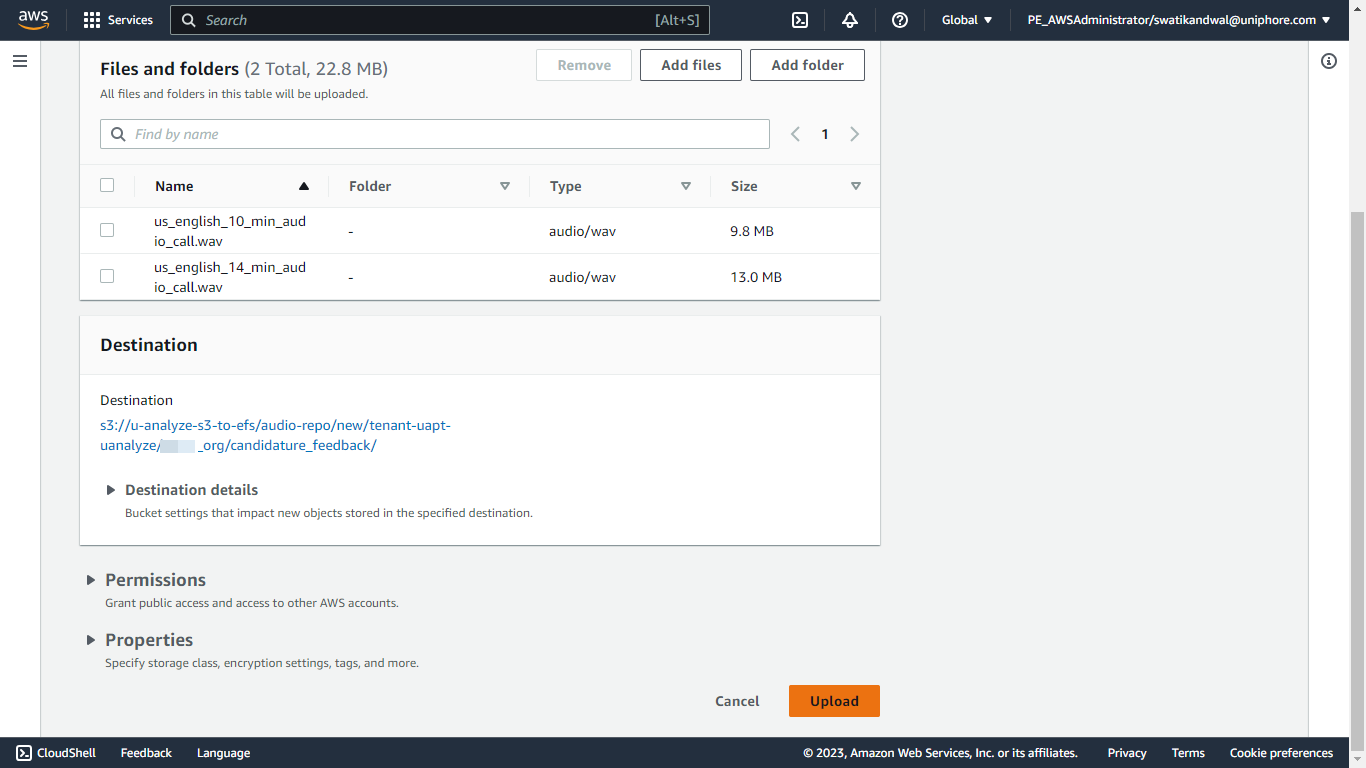
Click Upload.
Click Add files.
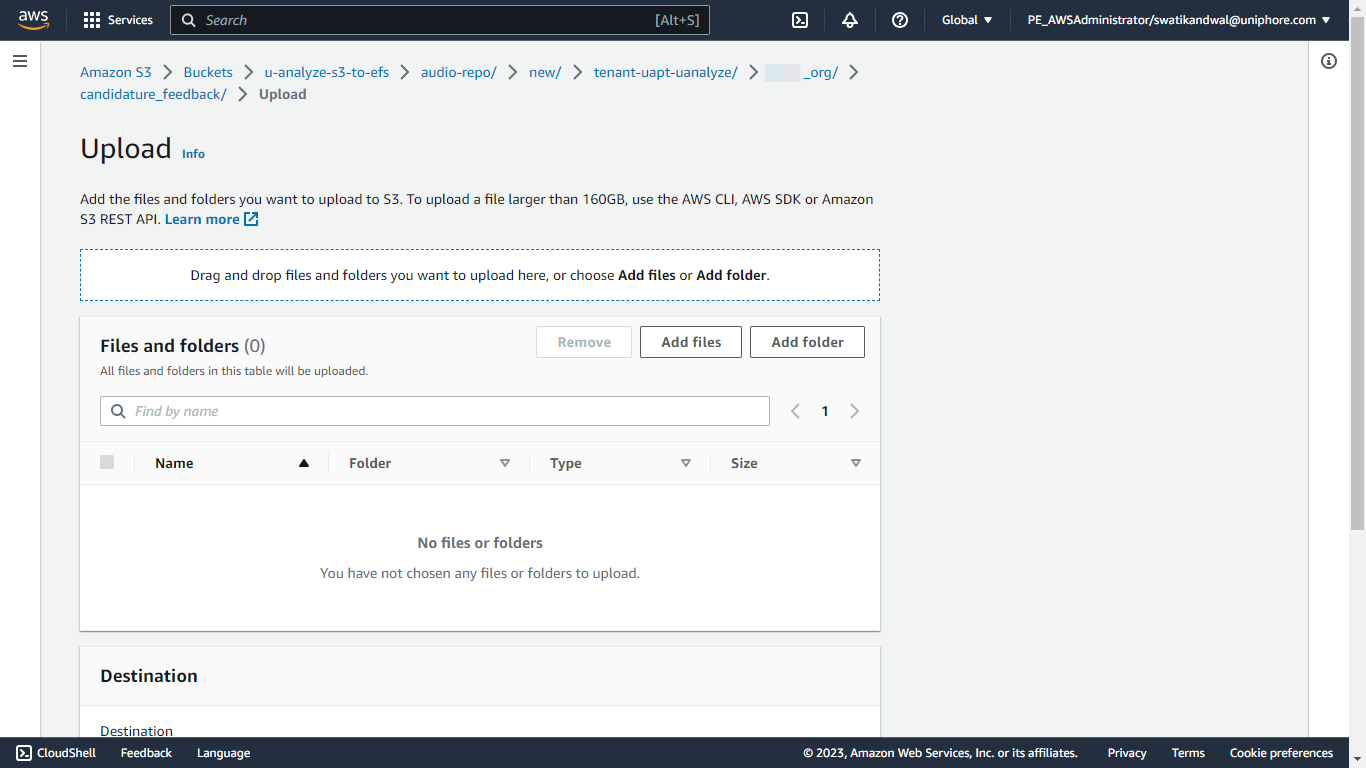
Select the required audio files from your audio files folder and click Open.

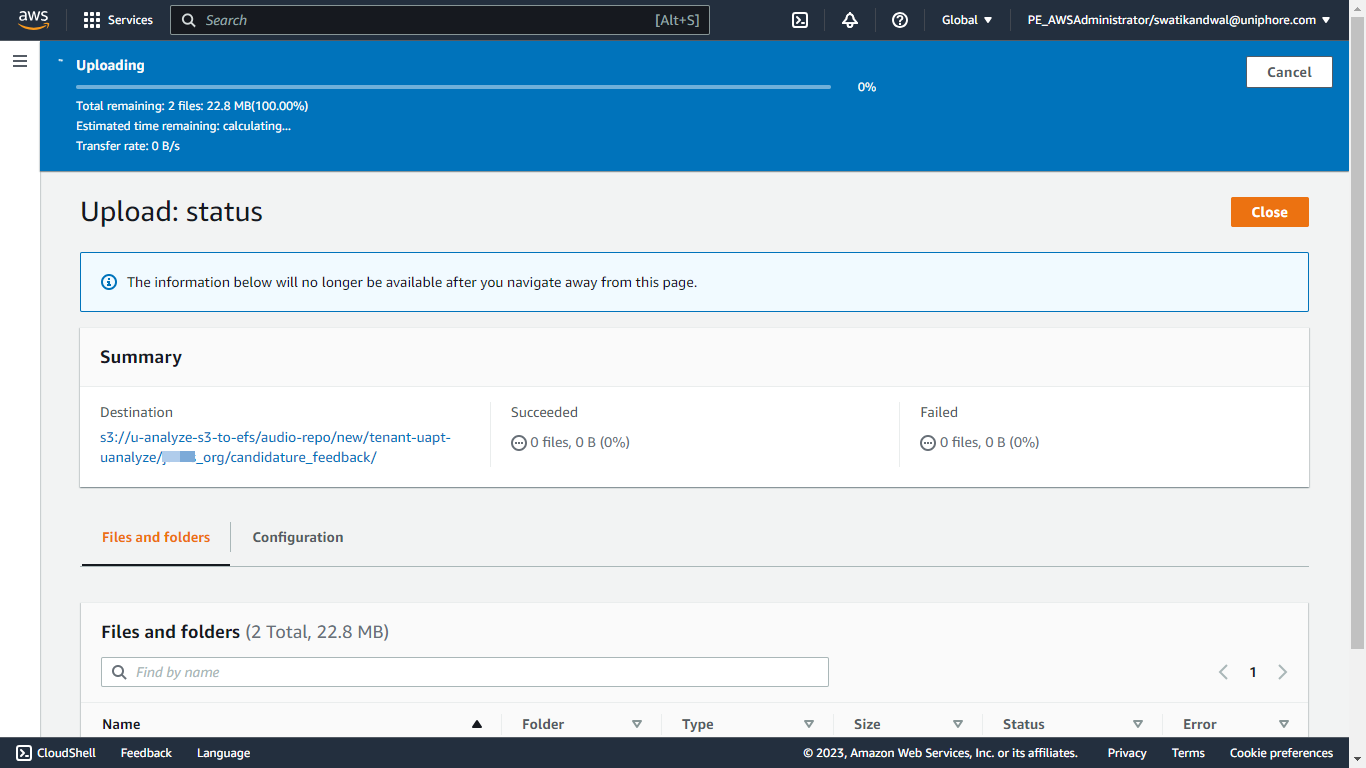
Click on Upload.
The upload status window opens up.
Once files are uploaded successfully click Close.
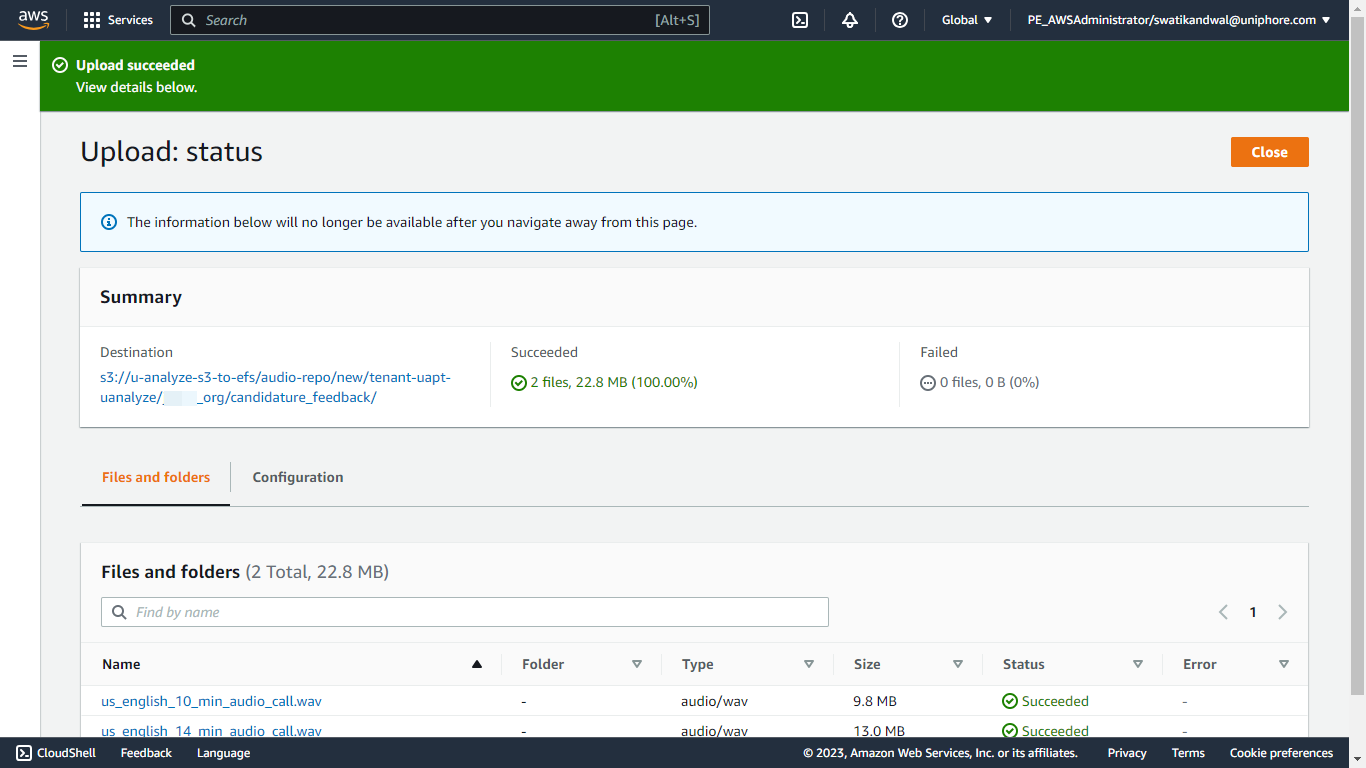
The files are uploaded to
/tenant/org/categoryin S3 bucket.