Modifying Images in the Library
After you have uploaded an image to your library, you can modify its details, replace it, and also add new size instances.
To modify an image, click its Name in the relevant row of the Images Library page. A editor for the selected Image is displayed:
 |
Modifying Image Details
Image Name - Logical name assigned to the image.
Description - Notes or comments about the image.
Category - A user defined identifier for the image. This parameter is used for search purposes.
Column | Description/Notes |
|---|---|
Actions | Clicking these links opens new pages that allow you to perform the following actions:
|
Screen Size | Dimensions recommended for various devices. |
Image Size | Actual size of the uploaded image (in pixels). |
Last modification date | Date on which image details were last updated. |
Modified by | Username of the administrator who last updated image details. |
Preview | An icon showing a preview of the uploaded image. |
Update Image Fields
At the top of the Image editor, enter the updated parameter(s) in the relevant field(s).
At the upper right corner of the page, click Save. A confirmation message is displayed. The Images page appears, with the row of the relevant image updated accordingly.
Upload Additional Image Instances
If an image has not yet been uploaded for a specific screen size, the Add link appears in the Actions column of that screen size. Clicking this link enables you to add an image for the relevant screen size.
Add an New Screen Size for an Image
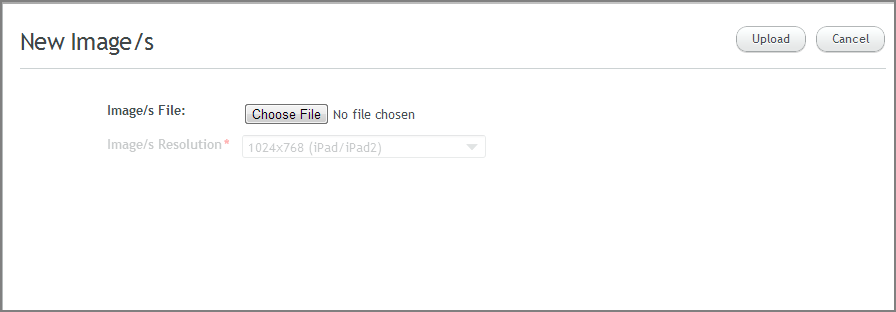
From the Image editor, at the left side of the relevant row, click Add. The New Image/s dialog is displayed, with the relevant screen size pre-selected.

Click Choose File. Then, navigate to and select the relevant file. The file path is displayed on the New Image/s dialog.
At the upper right corner of the page, click Upload. The Image dialog reappears, with the row of the screen size updated accordingly.
Change or Remove an Image
If an image has been uploaded for a specific screen size, the Replace and Delete links appear in the Actions column of that screen size. These links enable you to replace or remove the currently uploaded picture.
Note
The image for the Default screen size cannot be removed, but it may be replaced.
From the Image editor, at the left side of the relevant row, click Replace. The New Image/s dialog opens, with the relevant screen size pre-selected.
Click Choose File. Then, navigate to and select the relevant file. The file path is displayed in the New Image/s dialog.
At the top right corner of the page, click Upload. The Image editor reappears, with the row of the screen size updated accordingly.
From the Image editor, at the left side of the relevant row, click Delete. A warning popup is displayed.
Click Yes. The image is removed. (An Add link will also appear now at the left side of the row.)