Managing the Image Collection
A user with the Role of Flow Admin or higher can perform the following activities:
Add images
Delete images
Export an image collection
Adding Images to the Collection
The Add button on the Images page enables you to add new pictures to your images collection. You can add one image at a time, by uploading individual images, or you can add multiple images simultaneously, by uploading a .zip file containing a collection of images that are relevant to a specific screen size.
Important
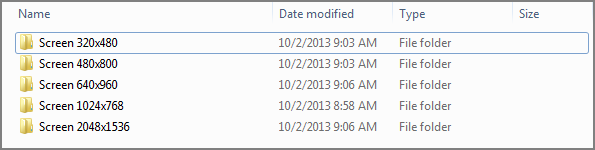
Before adding images, ensure that the image directory is set up according to the requirements that are detailed here.
From the Images page, click Add. The New Image page opens:
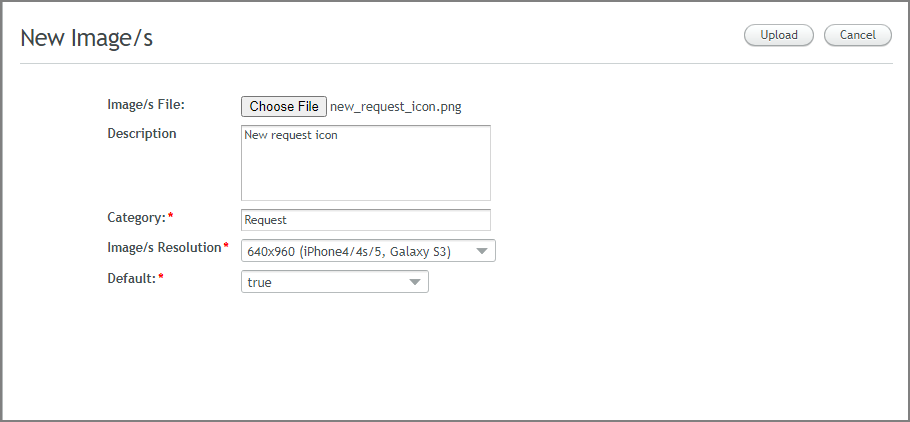
Click Choose File. From the Open dialog, navigate to the image of the appropriate size, and click Open. The name of the selected file is displayed to the right of the Choose File button.
Note
The supported image formats are JPG and PNG.
If desired, in the Description field, enter relevant notes or comments.
In the Category field, enter an appropriate identifier for the image. This parameter will be used later for search purposes.
From the Image Resolution dropdown list, select the appropriate screen size. Make sure that the size selected matches the size of the image selected.
The Default selection allows you to upload an image that is not connected to any specific screen size. This image is intended for use when there is no image defined for a specific screen size.
From the Default dropdown list, select false or true. When true is selected, the image is used when no image is defined for a specific screen size. When false is selected, the first instance of the image that is uploaded is used as the default.
At the top right corner of the page, click Upload. A confirmation message appears, and the Images page reappears with the new row displayed.
Important
To ensure that an image is displayed in the proper resolution on the user's device, it is recommended to upload multiple instances of the same image in different sizes.
You can upload multiple image files by compressing them in a ZIP file.
From the Images page, click Add. The New Image page opens.
Click Choose File. From the Open dialog, navigate to the relevant .zip file, and click Open. The name of the selected file is displayed to the right of the Choose File button.
Note
The selected file must be in a standard ZIP format. The RAR format is not supported.
If desired, in the Description field, enter relevant notes or comments.
In the Category field, enter an appropriate identifier for the images. This parameter will be used later for search purposes.
From the Image Resolution dropdown list, select the appropriate screen size. Make sure that the size selected matches the size of the images being uploaded.
The Default selection allows you to upload images that are not connected to any specific screen size. These images are intended for use when there is no image defined for a specific screen size.
From the Default dropdown list, select false or true. When true is selected, the image is used when no image is defined for a specific screen size. When false is selected, the first instance of the image that is uploaded is used as the default.
At the top right corner of the page, click Upload. A confirmation message appears, and the Images page reappears, with the new rows displayed.
Repeat the procedure until you have uploaded all the .zip files in your images directory.
The rows of the Images page are updated accordingly.
Exporting the Image Collection
The Export button enables you to export your entire image collection, so you can have a backup file or create a secondary environment with same images. The image collection is exported as a single .zip file that holds one folder for each screen size. Each folder contains all the images that are defined for that screen resolution.
 |
At the upper right side of the Images page, click Export. A file named images.zip is created and stored in your local Downloads folder.
Deleting Images From the Collection
The Delete button enables you to remove all uploaded instances of a specified image from your image collection.
Note
Images that are currently being used in approved Interactions may not be deleted.
From the Images page, at the left side of the Images page, select the checkbox(es) in the row(s) of the image(s) that you want to remove.
The Delete button is enabled.
Click Delete. A warning popup is displayed.
Click Yes. The selected image row is removed from the Images page, and the images are deleted from the server.