Configuration
This topic contains detailed configuration guidelines to enable call recording for Genesys Cloud:
Step | Reference | Description |
|---|---|---|
1 | Configure the Genesys Cloud admin portal to enable Recording and Voice Transcription. | |
2 | On the Genesys Admin Portal configure the AudioHook connection between Genesys and the Audio Connector, and then create a new OAuth client to use as authentication between Genesys and the Audio Connector. | |
3 | On the Uniphore Cloud Admin portal, deploy the Genesys Cloud Media Integration for the customer account. | |
4 | Enable the AudioHook integration on the Genesys Cloud admin portal. |
Also see Genesys Cloud Recording Control to determine recording control once the integration has been configured.
Note
This topic provides a number of setup and configuration steps using Genesys Cloud admin tools and processes. These are subject to regular changes and although the configuration steps covered here will be maintained to ensure the correct process is followed, there may be some differences present.
In this topic we make reference to the online Genesys Documentation: https://developer.genesys.cloud
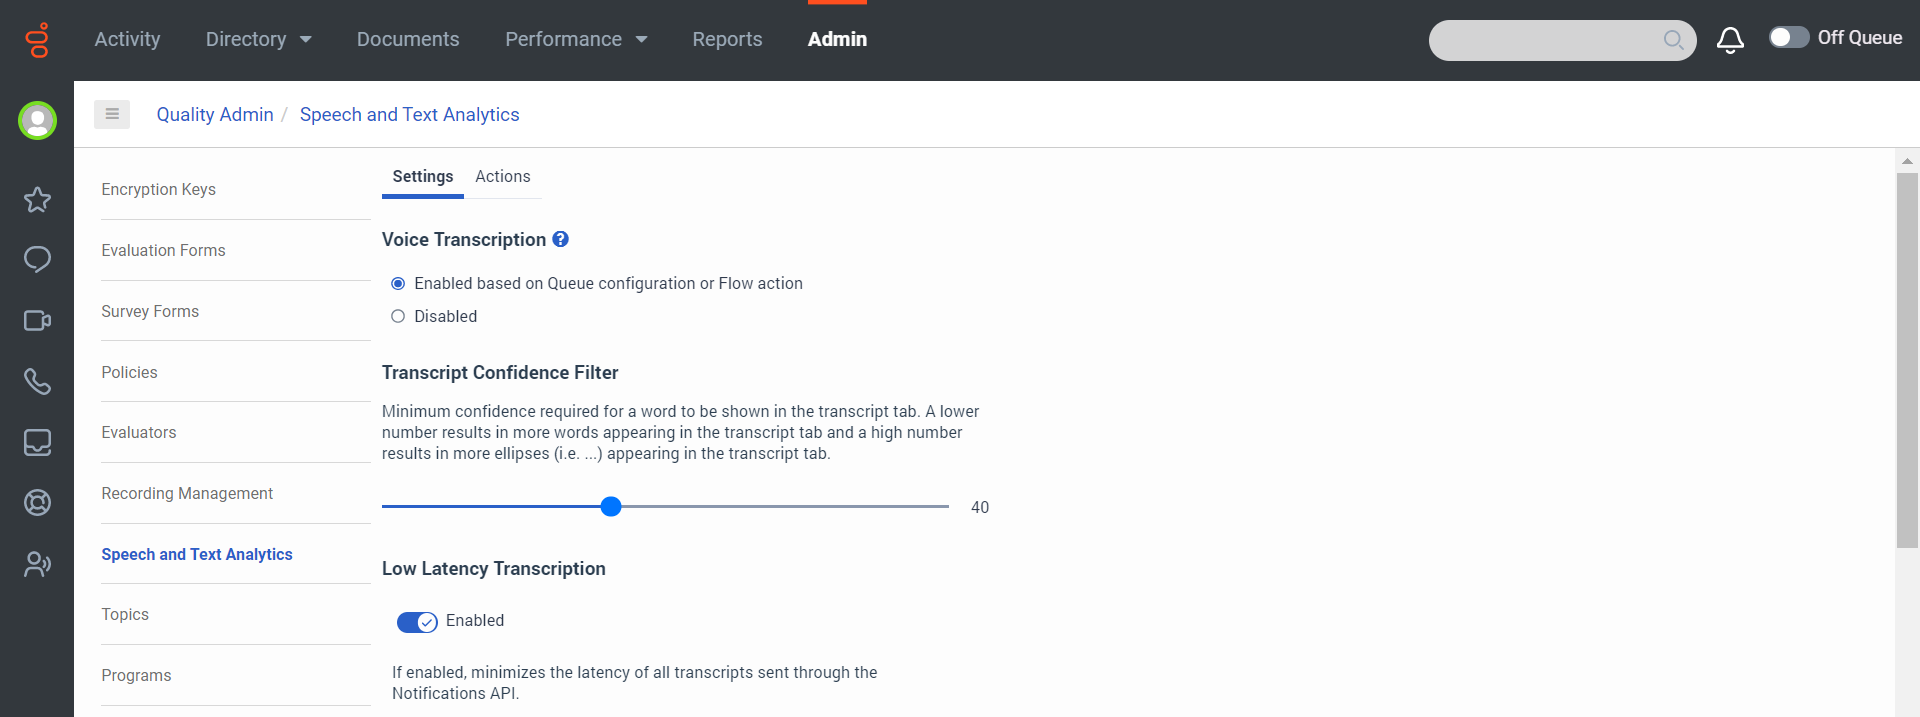
Enable Recording and Voice Transcription
Enable Recording in Genesys Cloud
To Enable Recording in Genesys Cloud:
|

Enable Voice Transcription in Genesys Cloud
To Enable Voice Transcription in Genesys Cloud:
|
Configure AudioHook and OAuth Client
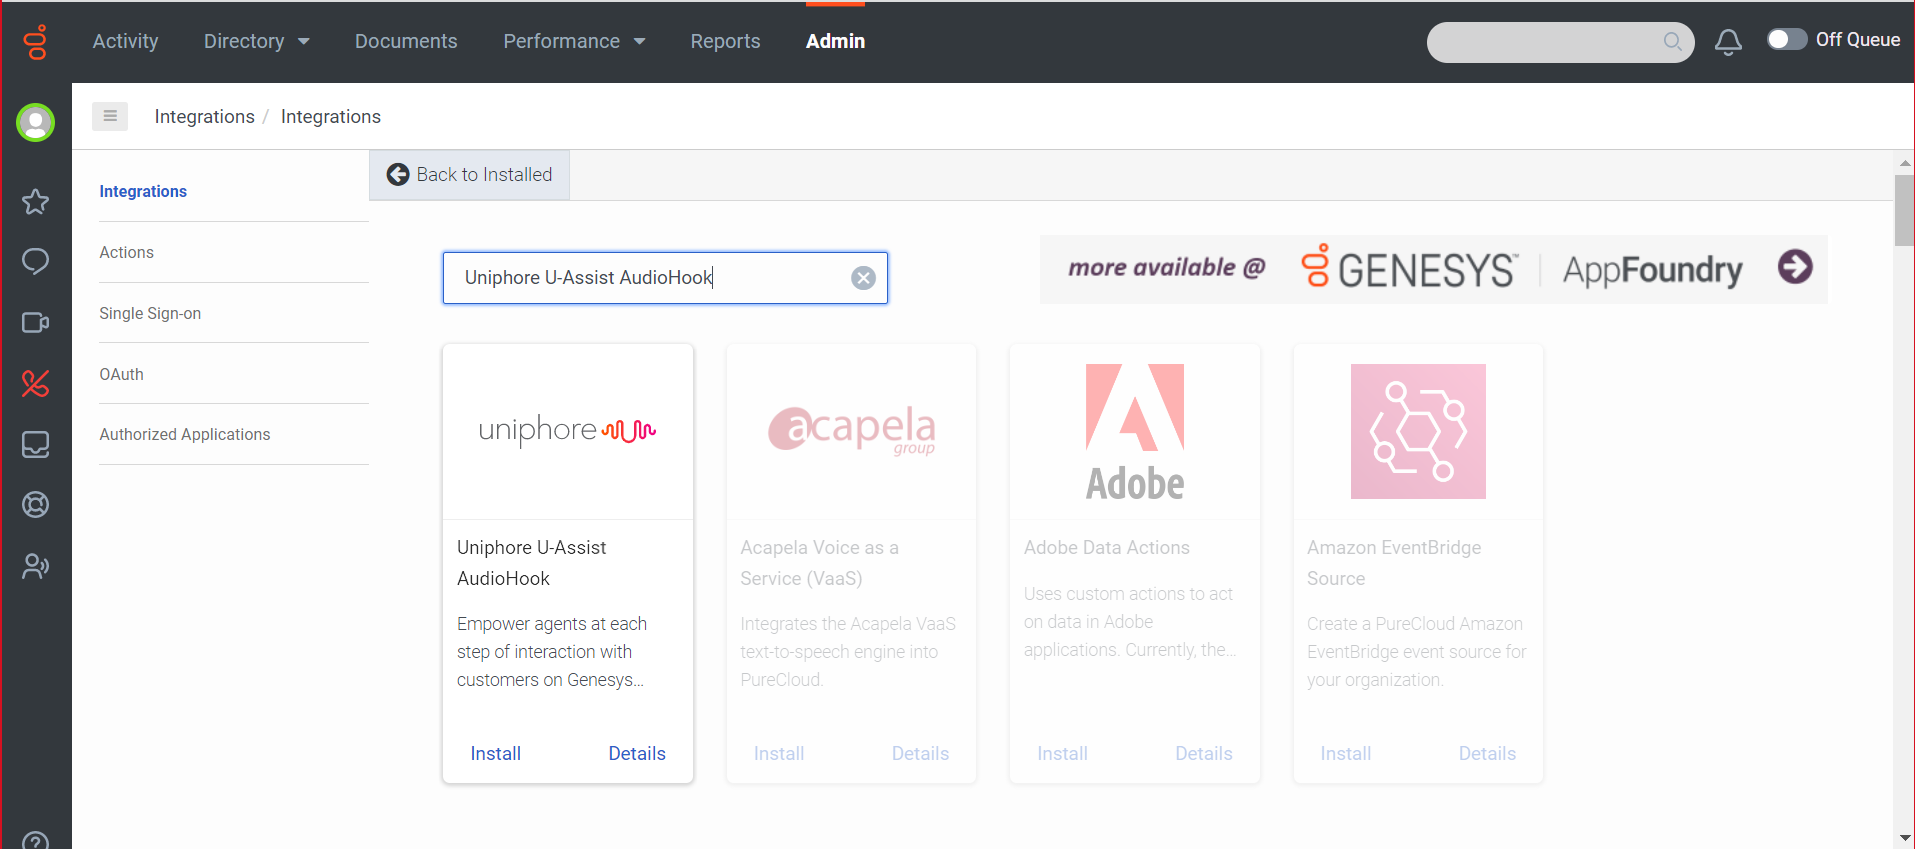
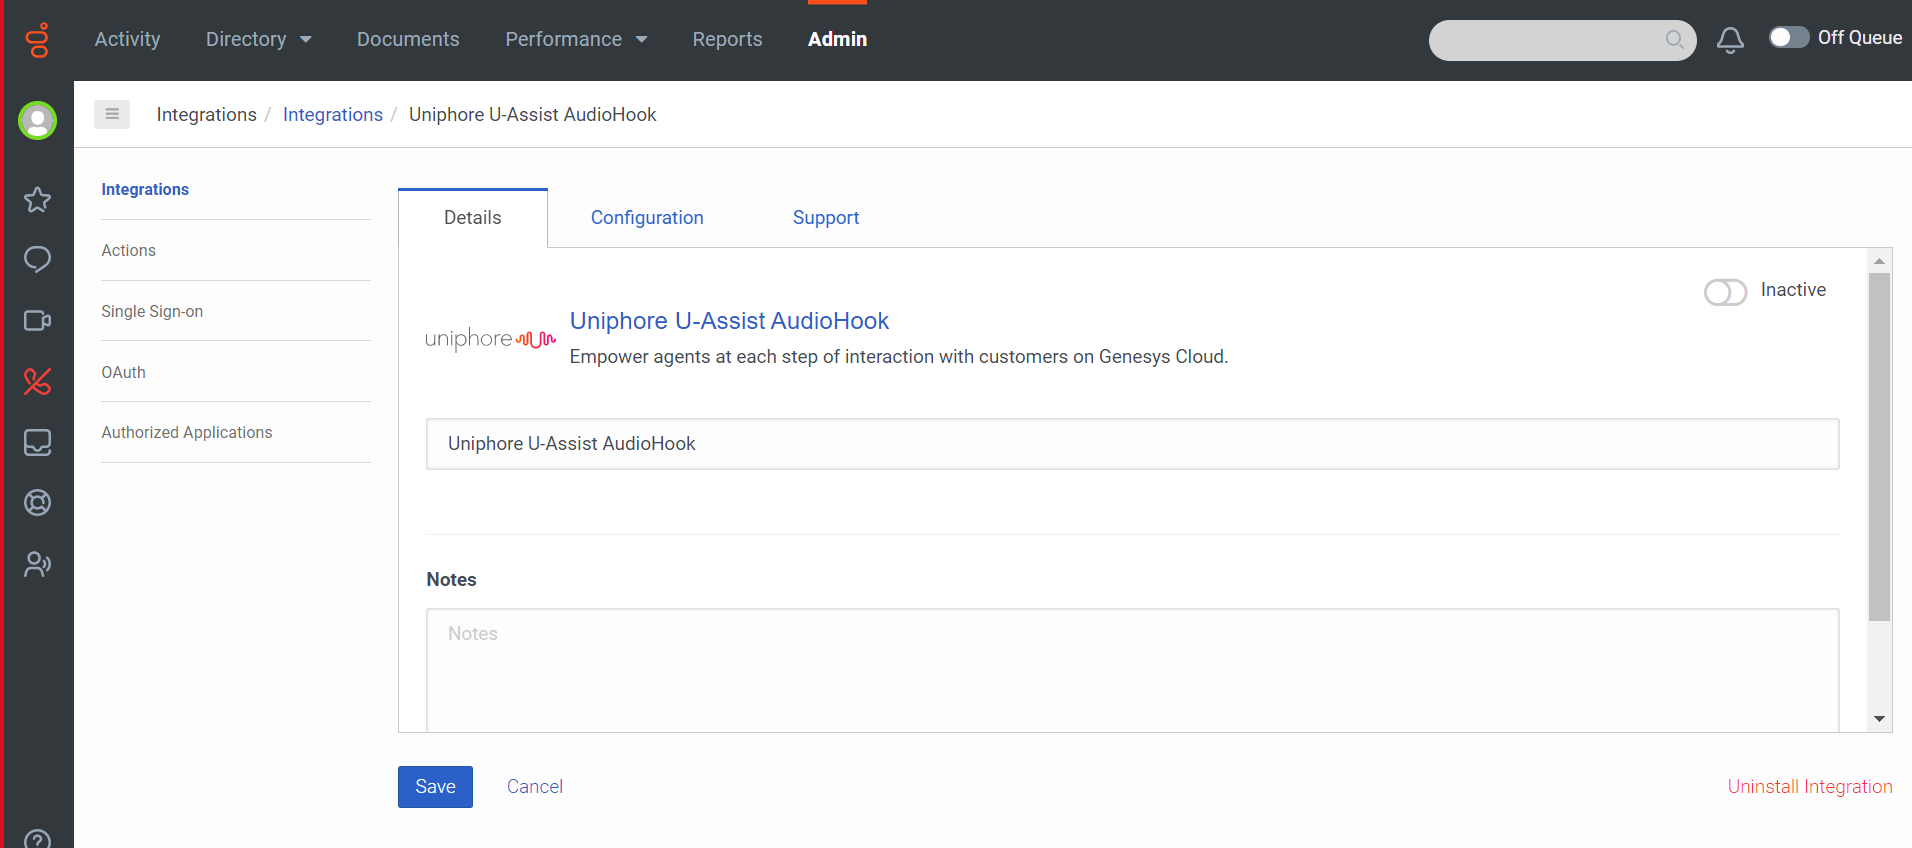
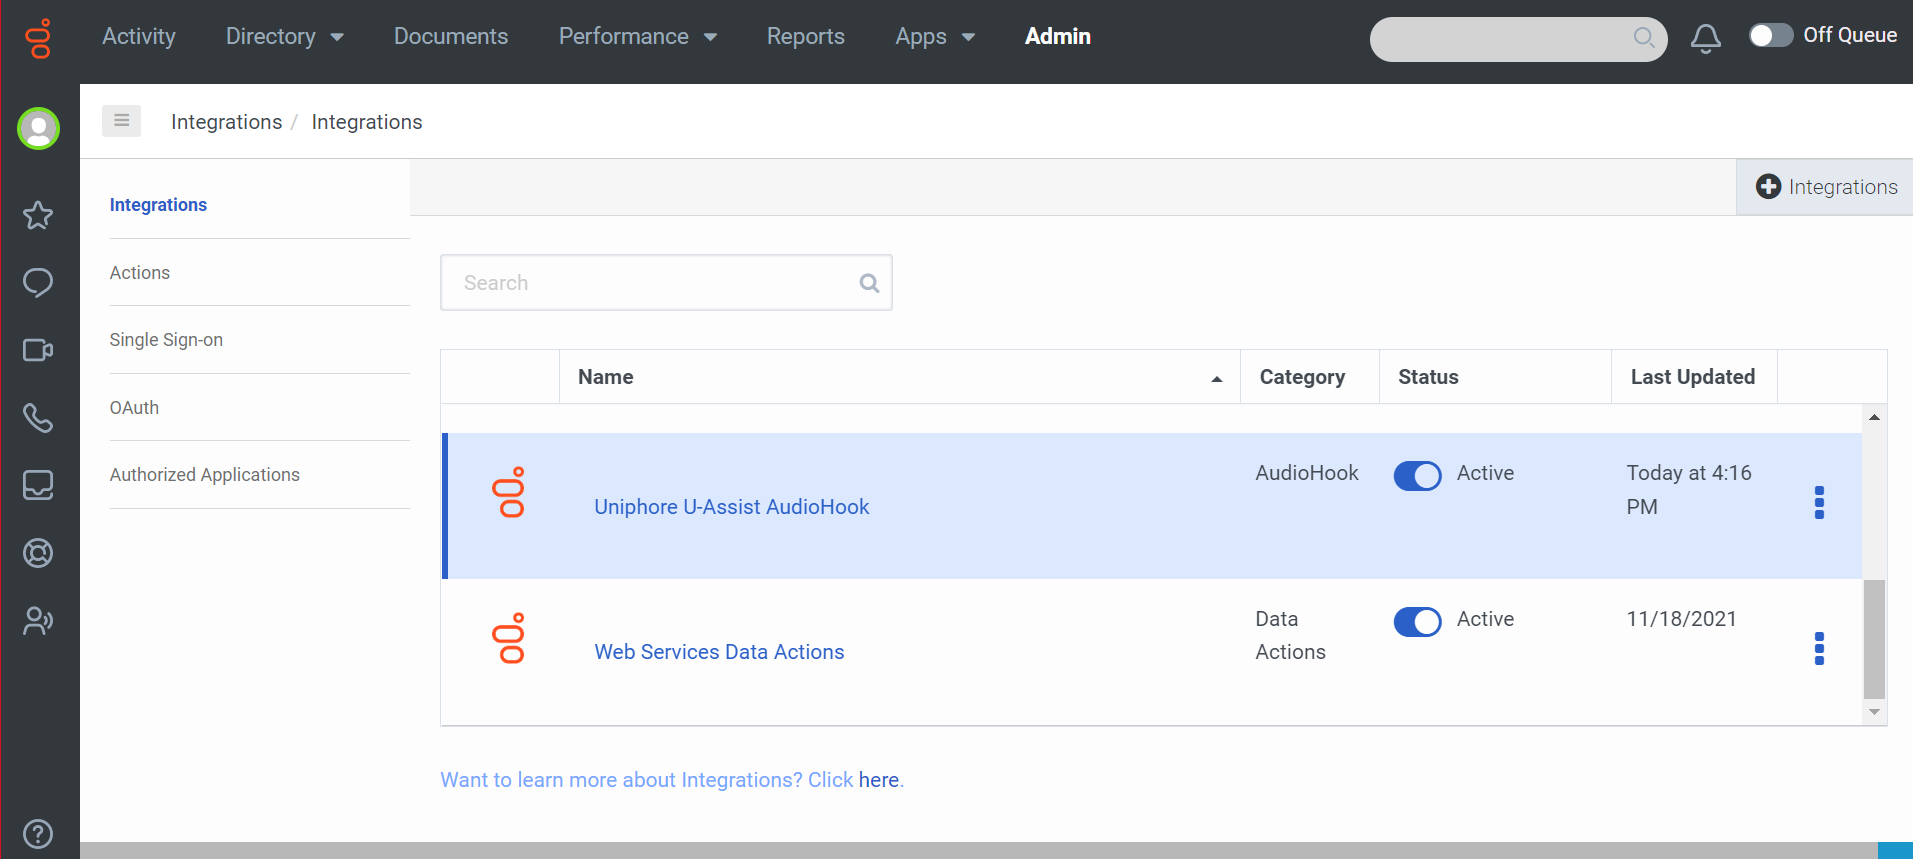
Create a New AudioHook Instance
To Create a New AudioHook Instance:
NoteThe U-Capture integration with Genesys Cloud is built on top of the U-Assist Integration, don't be alarmed that the AudioHook instance is named Uniphore U-Assist AudioHook. |

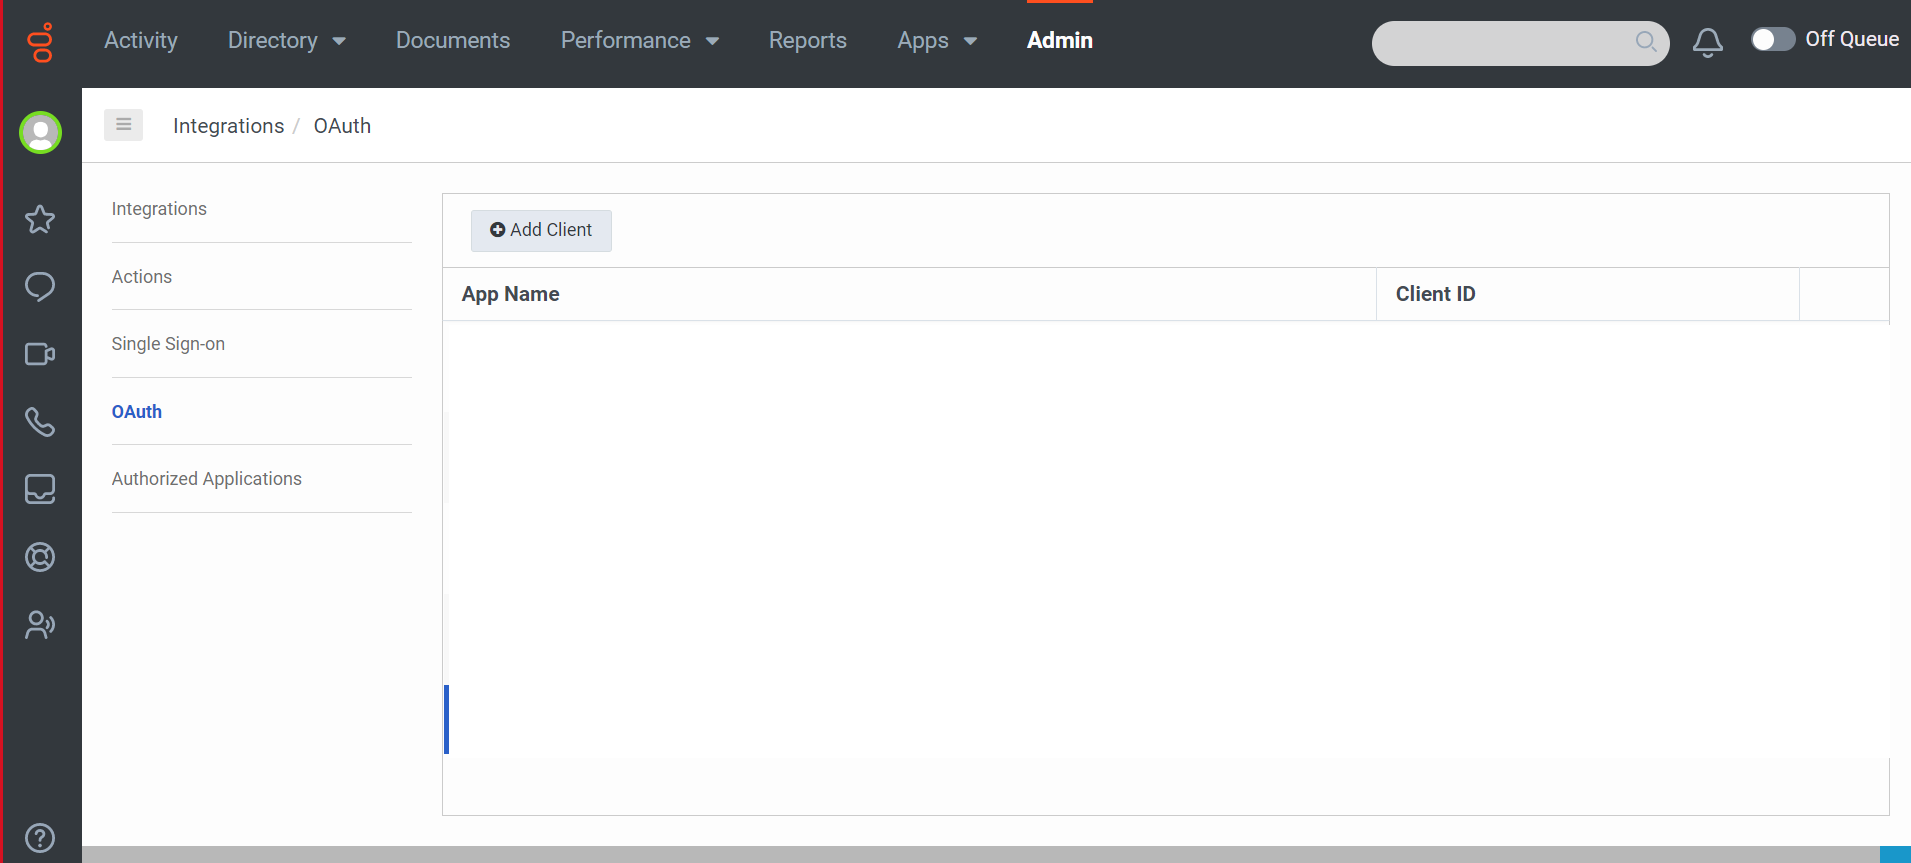
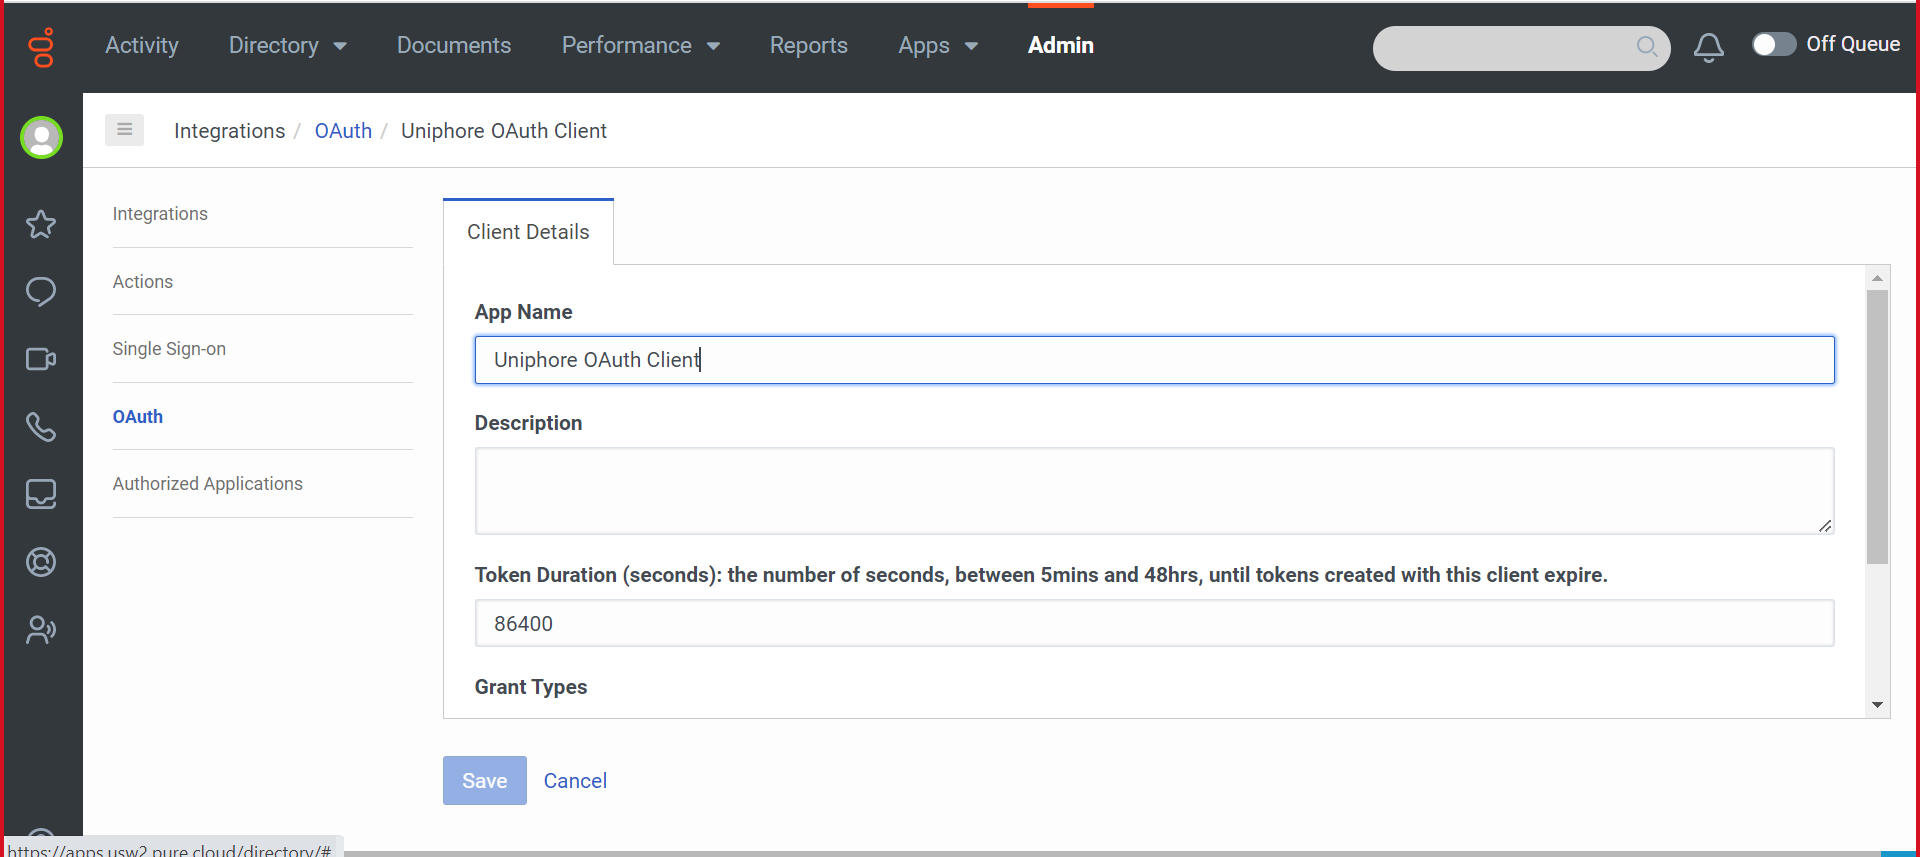
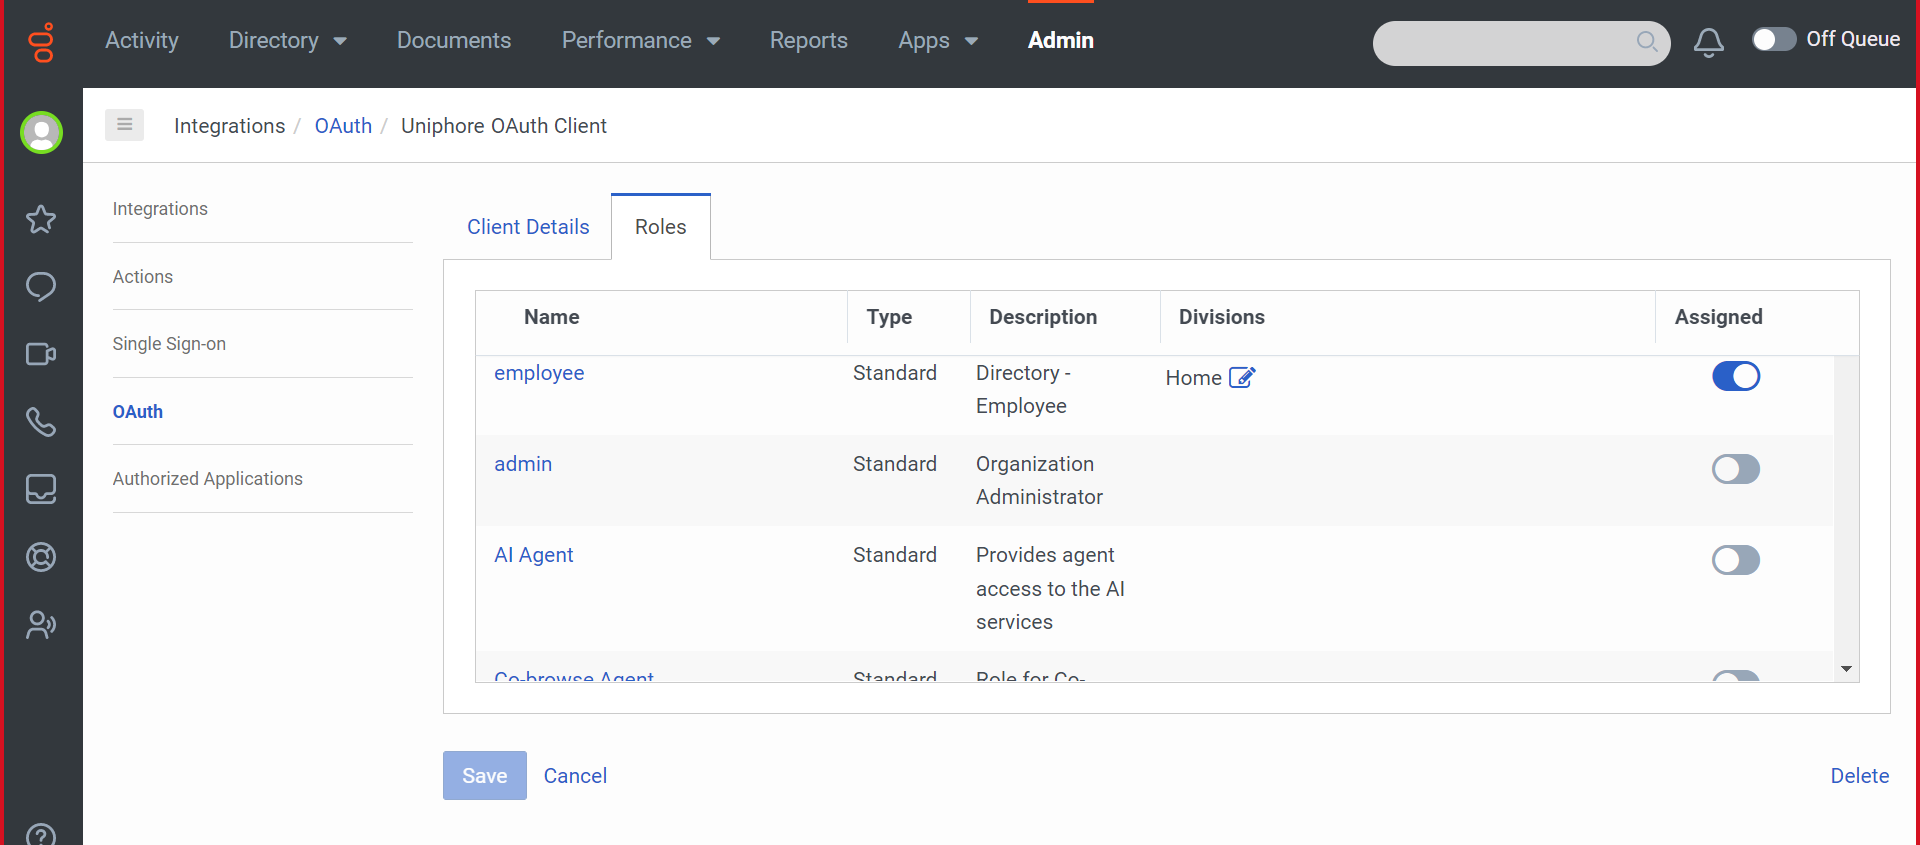
Create a New OAuth Client
To Create a New OAuth Client:
For more information on creating an OAuth client in Genesys, see Create an OAuth client by Genesys. |

Deploy the Genesys Cloud Media Integration
U-Capture cloud integrations must be deployed in Uniphore's Cloud Admin portal, this will make the integration available in the tenant and enable call recording for Genesys Cloud.
Go to Uniphore's Cloud Admin portal and log in with super-admin credentials.
Go to Accounts on the left and then click on the customer's Account Name to open the account.

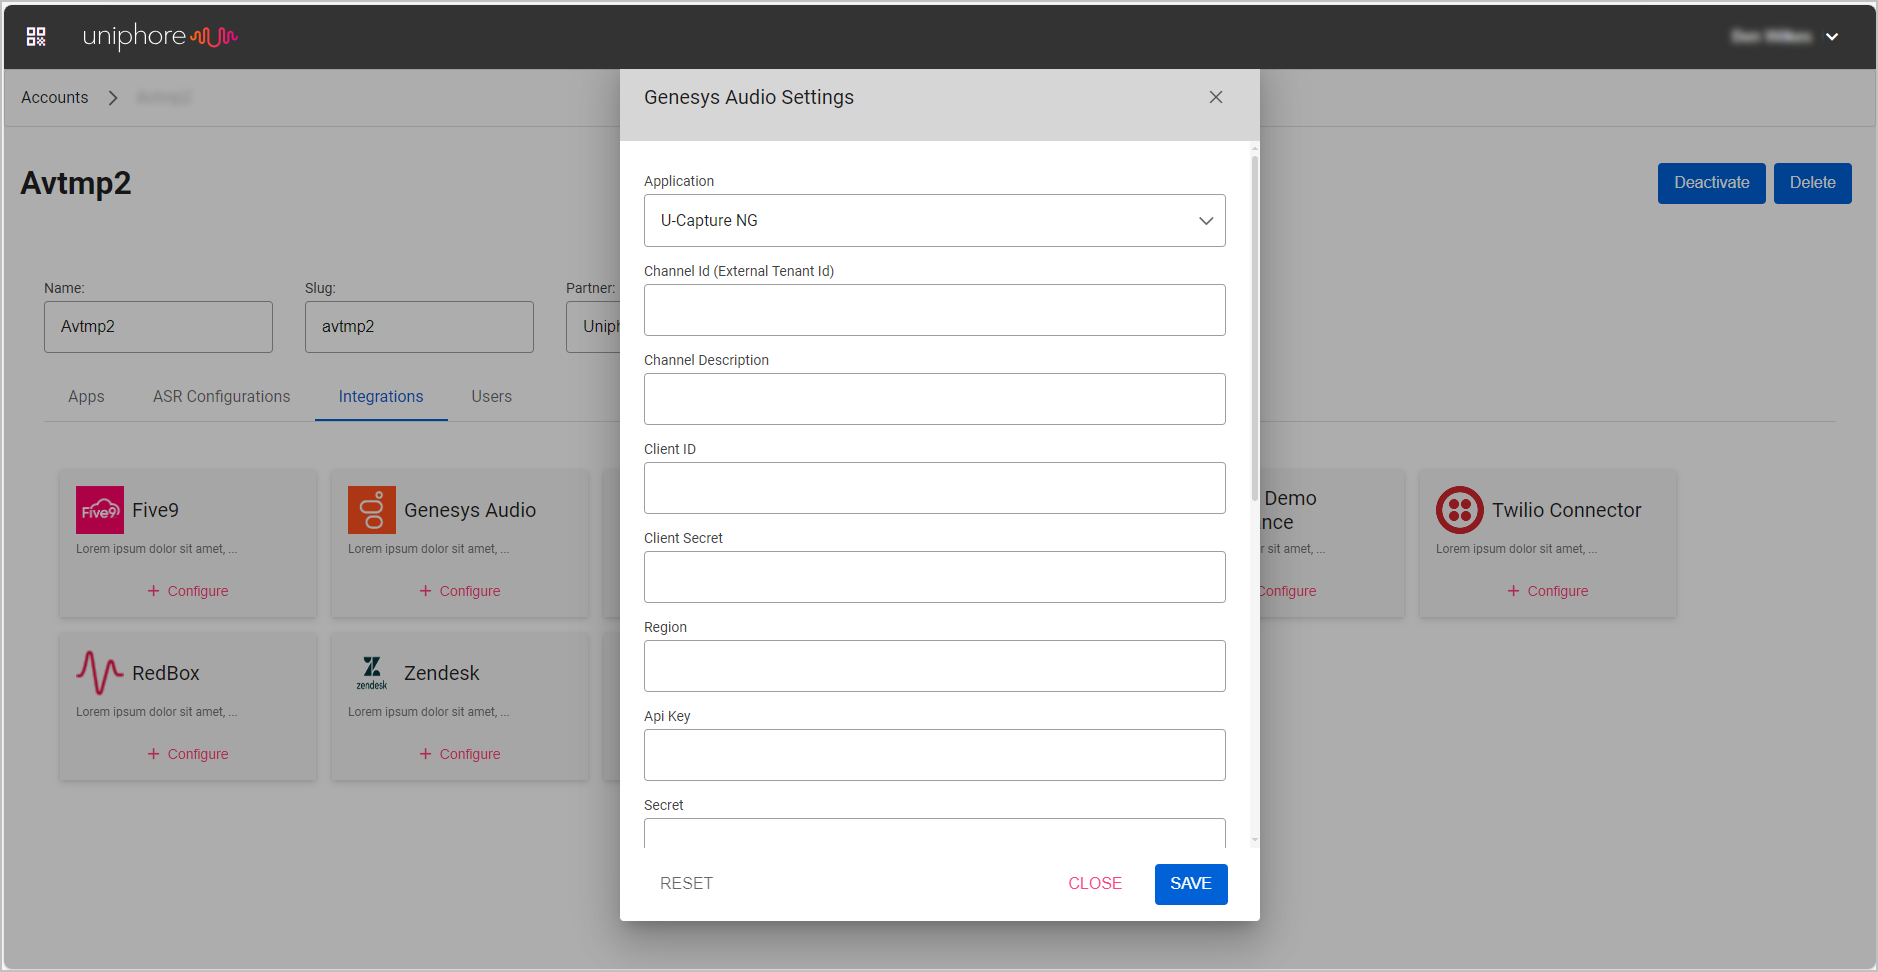
Click the Integrations tab and click the + Configure button under Genesys Audio, then enter the following:
Application - Set to U-Capture NG.
Channel Id (External Tenant Id) - Enter the Genesys Organization ID, to get this go to the Genesys Pure Cloud portal > Admin > Organization Settings > Organization Details > Advanced.
Channel Description - Enter a short description.
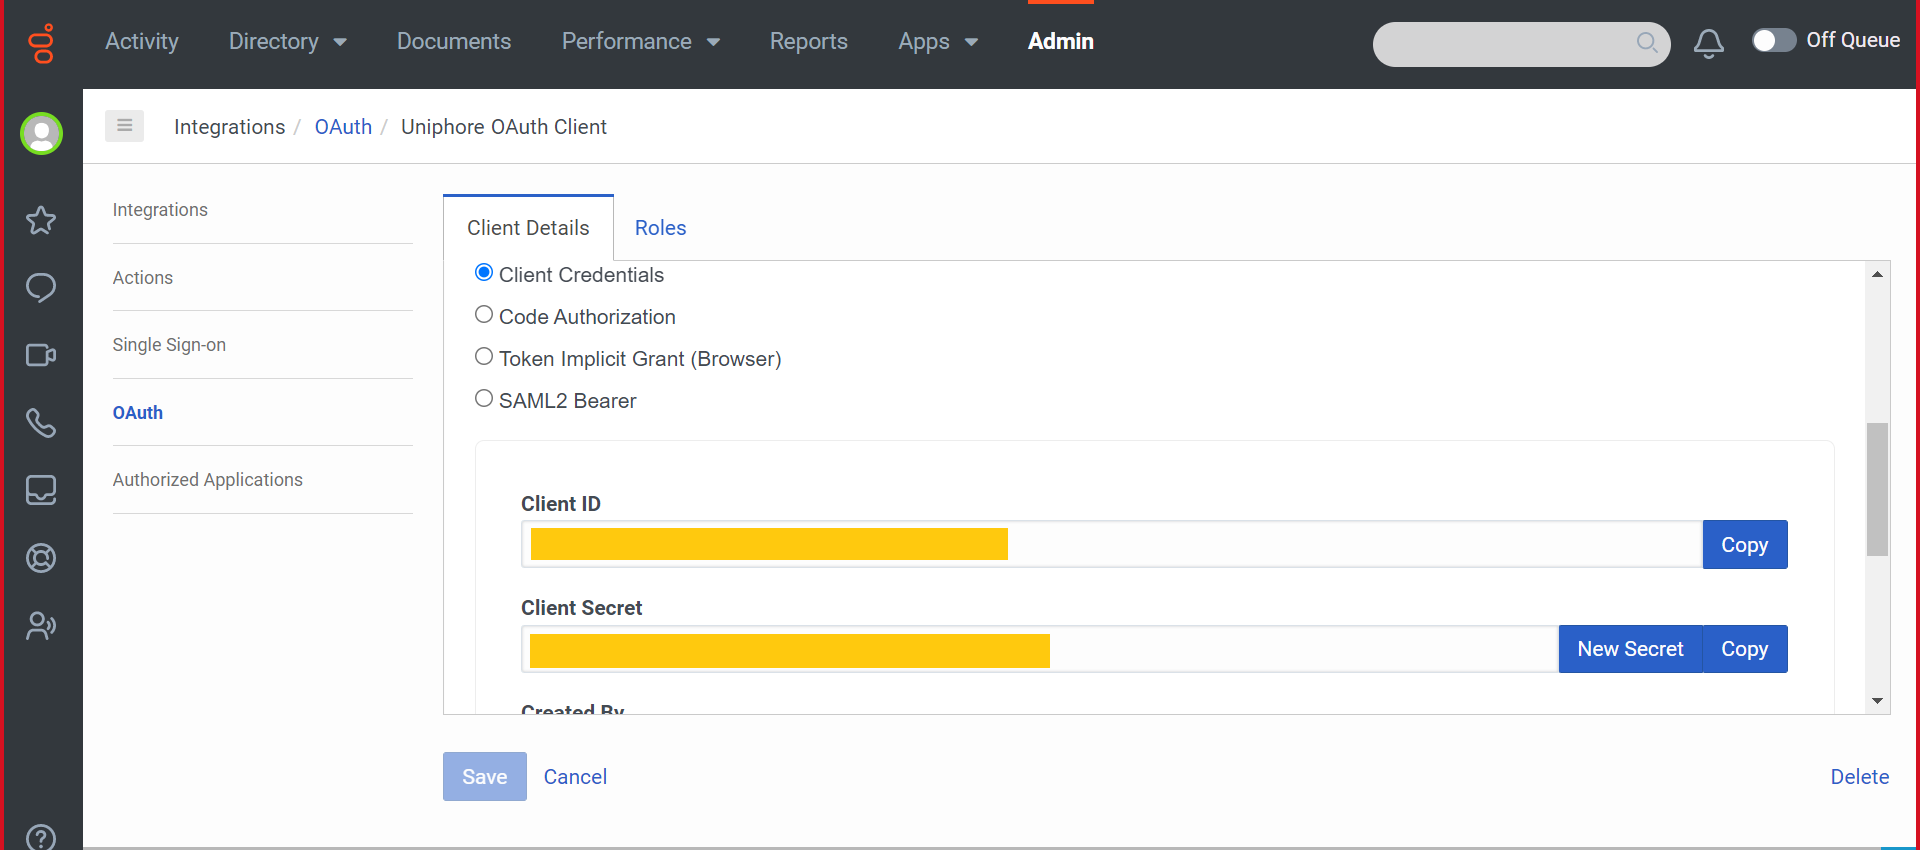
Client ID - Set to the Client ID of the OAuth client, see Configure AudioHook and OAuth Client for details.
Client Secret - Set to the Client Secret of the OAuth client, see Configure AudioHook and OAuth Client for details.
Region - Enter the region of the Genesys Instance, this should be available in the URL, for example "https://login.usw2.pure.cloud/oauth/token" where usw2.pure.cloud would be the value to use here.
For more information on Genesys regions, see the Genesys Platform API documentation.
API Key - Generate and enter an API key, this can be simple tokens/identifiers, UUIDs, or base-64 encoded octet sequences. This API Key will be used later when enabling the AudioHook Integration on the Genesys cloud portal - see Enable the AudioHook.
Secret - Generate and enter a secret, this must be a base-64 encoded octet sequence. This Secret will be used later when enabling the AudioHook Integration on the Genesys cloud portal - see Enable the AudioHook.
Users URL - This parameter is not currently used, enter a mock value.
Channel URL - This parameter is not currently used, enter a mock value.
Token URL - This parameter is not currently used, enter a mock value.
Skill URL - This parameter is not currently used, enter a mock value.
Language URL - This parameter is not currently used, enter a mock value.
Default Language Code - Select the EUU language code from the drop down.
Environment - Select the Prod (for production) environment from the drop down.
When ready, click Save to deploy the Genesys Cloud Integration.
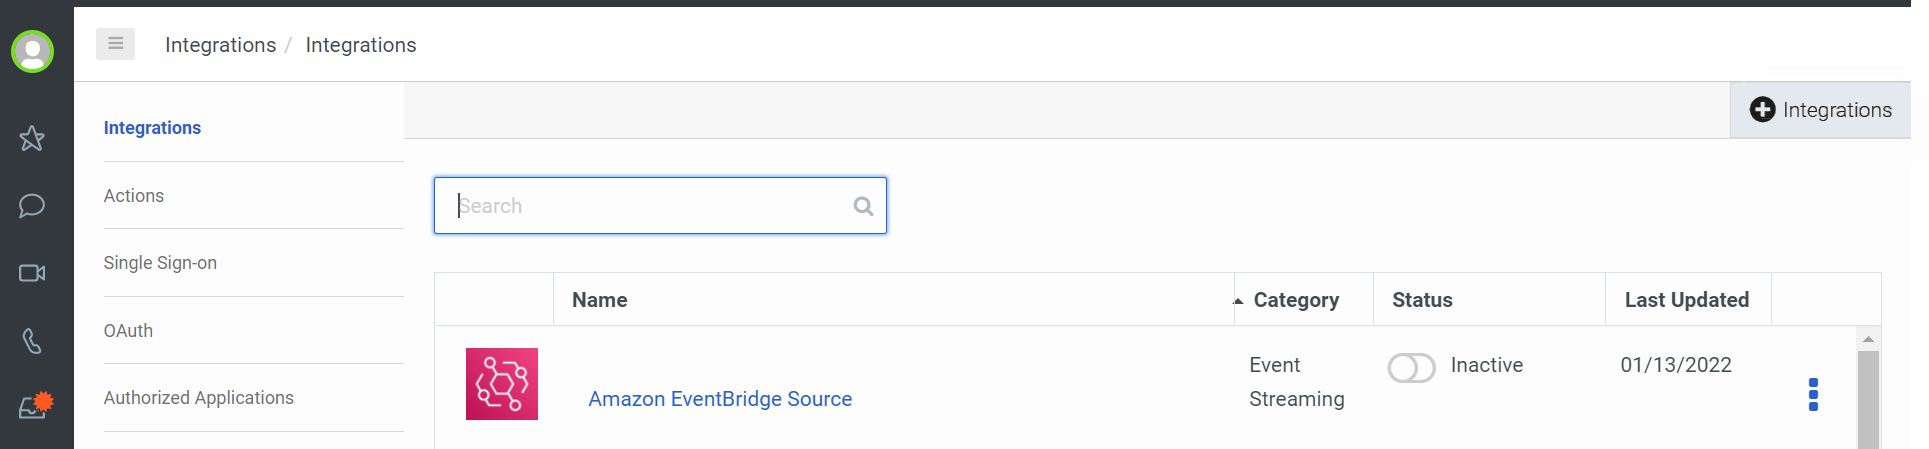
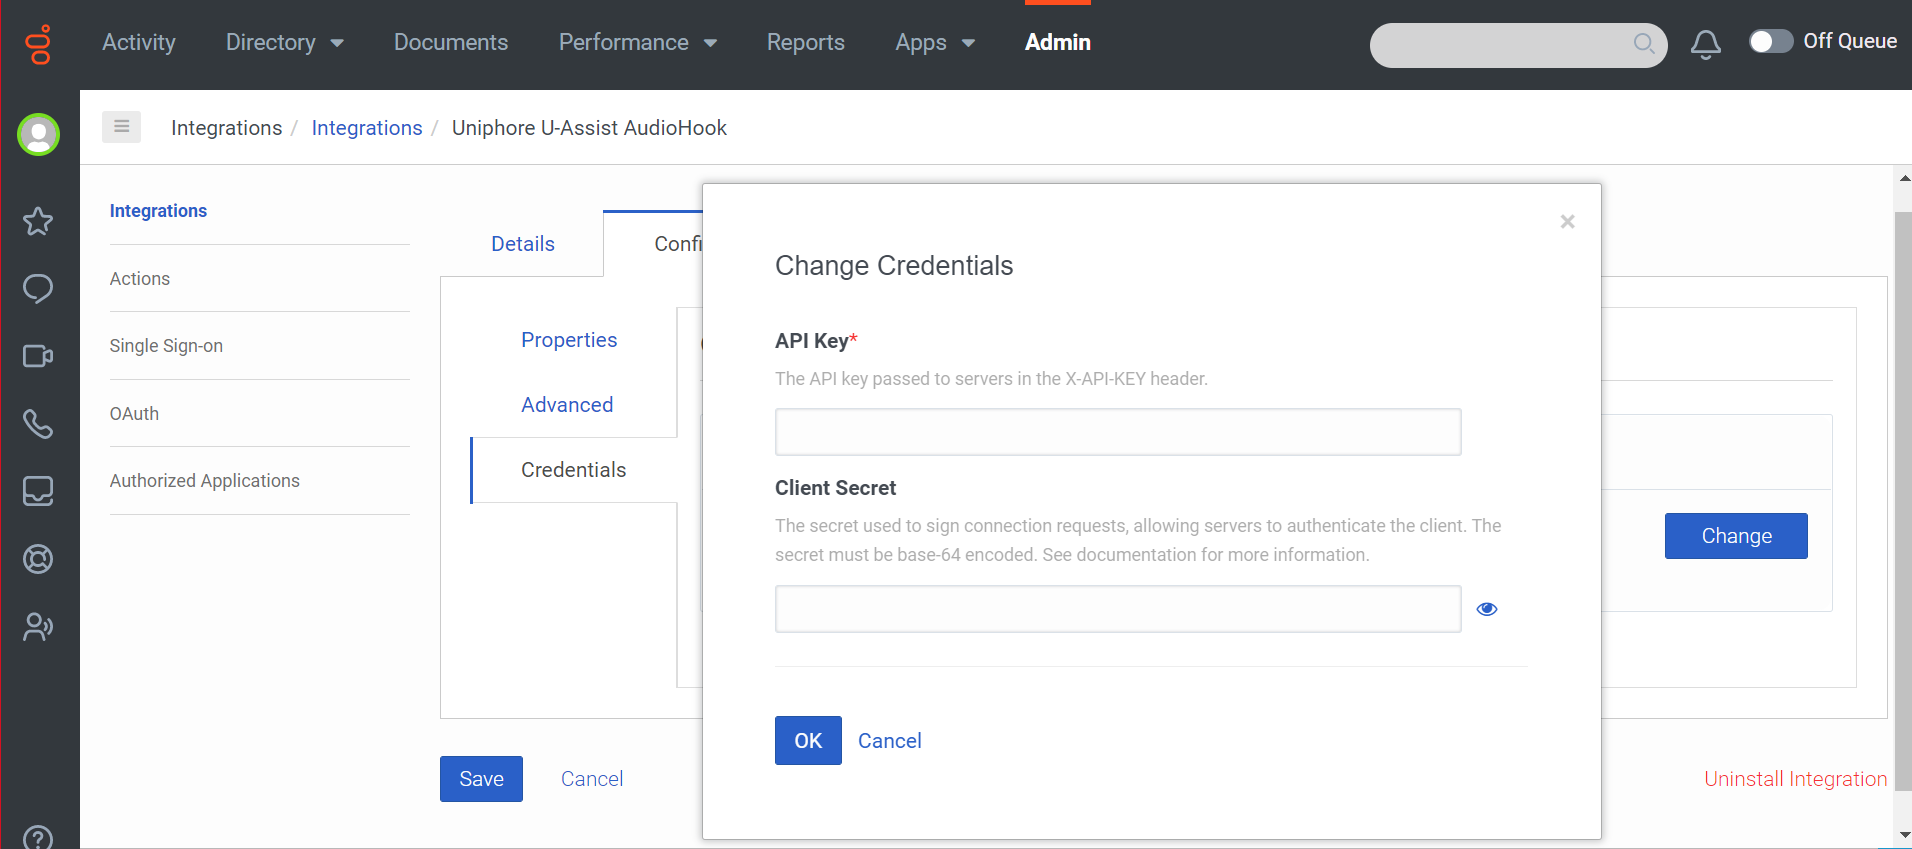
Enable the AudioHook
Once the Genesys Cloud audio integration has been deployed on the Uniphore admin portal, the AudioHook needs to be enabled on the Genesys Cloud admin portal.
To Enable the AudioHook:
|


Genesys Cloud Recording Control
Recording Control Policies
Use Recording Control policies to control which call recordings are discarded and retained. Recording Control policies do not impact live calls so they can continue to be monitored, blocklisting a call will not disable the call for recording and instead simply discard the call after the call has ended.
For more info on Recording Control Policies and further direction on adding, editing and deleting Recording Control Policies see Manage Recording Control Policies.
Blocklist: Blocklist policies can be used to provide fine control of what recordings are discarded, all calls outside the scope of the Blocklist will be retained.
Allowlist: Allowlist policies are the reverse of a Blocklist, an Allowlist can be used to specify calls to be retained that would otherwise be discarded (all calls outside the scope of the Allowlist will be discarded).
Add and Remove Users
Typically once the U‑Capture / Genesys Cloud integration has been fully configured and initial setup is complete, recordable users will be recorded. Any new recordable users will be automatically added every 24 hours.