Allocating Values to Variables
You can create an Allocator to assign a known or calculated value to a variable, or to assign the value of one variable to another variable, during a Flow.
Allocators are commonly used to manipulate real-time data and help streamline the Flow. For example, Allocators let you:
Make a global change to a variable. When you change the allocation source value, the new value is applied to all instances of the target variable.
Hold data to be used by other Flow elements. For example, the answer to an input question can be allocated to a variable. That variable can then be used by a Decision Point element to direct the Flow according to the value of the variable.
Transfer variables between two Collections. Easily move variables from a specified source Collection to a target Collection, replace or clear a specific variable.
About Allocators
An Allocator must have a unique name, a target variable, and a source value (or variable) that will be allocated to the target variable. You define and maintain Allocators in the Allocator Editor.
 |
The following table describes the Allocator Editor settings:
Setting | Description/Notes |
|---|---|
Allocator Name | Enter a unique name for the Allocator element. Allocators are only visible in the X-Designer and are transparent to end-users. |
Target Variable (Left Side) | Determine the variable that is affected by the allocation. Select an existing variable from the popup list of all variables, or create a new variable for this purpose. Any variable can be used, including a Dynamic Variable member path, an item from a Collection, or a field from a Custom Type. |
Operation | Determine the behavior of the allocated value:
|
Source Value (Right Side) | Provide a hard-coded value to allocate to the target variable, or select an existing variable that determines the value allocated to the target variable. Any variable can be used, including a Dynamic Variable member path, an item from a Collection, or a field from a Custom Type. Make sure that the value you define here is of the same type (text, number, etc.) as the target value. The variable or value you enter will be used for all instances of the target variable in this Flow. When assigning value(s) to a target Dynamic Variable (left side), provide valid JSON code or a static value for the target variable member specified. The Allocator does not perform a type check when a Dynamic Variable is assigned. Invalid code or non-matching types will not return any response. Use one of the following options:
|
Creating an Allocator
At the top left of the Flow Map, click the round Add Steps icon. The Add Steps Toolbox opens.
From the Logic Elements group, select and drag the Allocator element to the desired location on the Flow Map. The Allocator Editor opens.
In the Allocation Name field, enter a unique name for the Allocator.
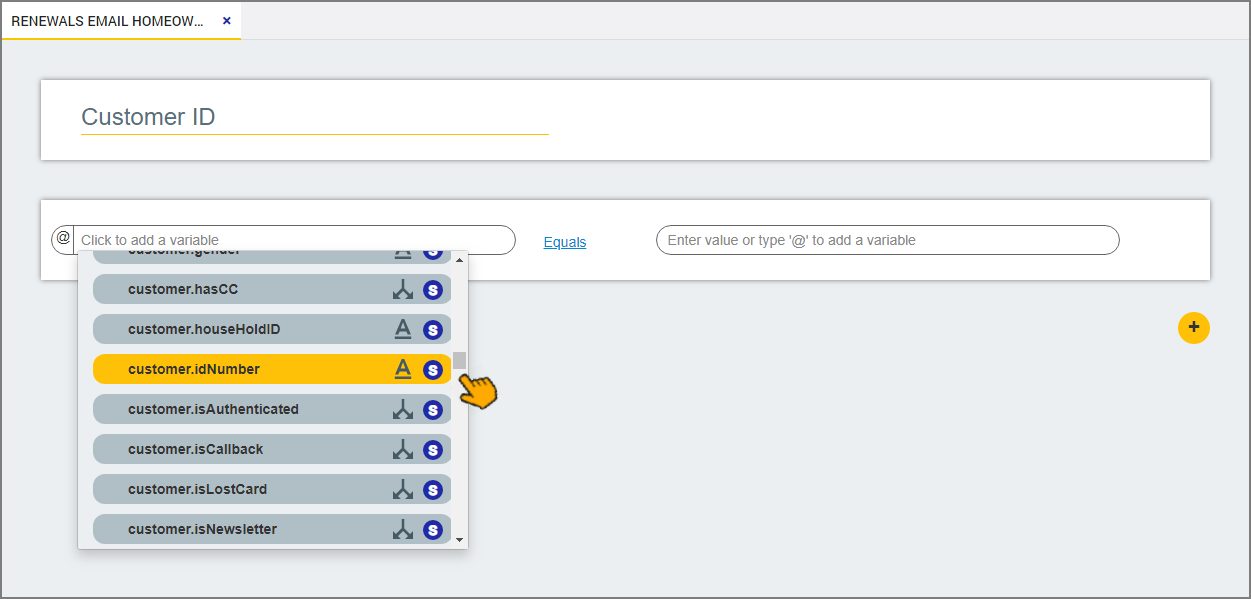
Click in the left side (target) variable field, and either:
Select the variable from the list of all inputs and variables, or
Click the Plus
 icon to add a new variable. (For instructions, refer to Creating User Variables.)

Select the desired allocation operation (Refer to the table above for details.)
From the right side (source) variable field, determine the value to allocate:
Enter '@' and then select or add a variable from the Variable list, or
Enter a set value
To add more allocation rows, click the Plus
 icon below the last row, as required.
When you are finished, click Create. The Allocator is saved and displayed on the Flow Map.