Adding New Languages to Your Flows
The Language Manager in the X-Designer lets you easily manage translation workflows, enabling your Flows to support multiple languages.
Using the Language Manager, you can:
Export texts for translation
Import translated texts
Add more languages to your current language package
Exporting Texts for Translation
The Export Wizard exports Flow texts into a file format that can be sent for translation. You can export multiple Flows simultaneously. The wizard creates a CSV file for every exported Flow, and then compresses all the CSV file(s) into a single ZIP file.
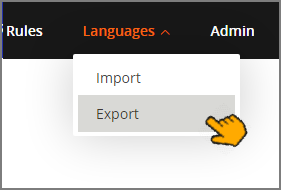
From the Main Toolbar, click Languages, then select Export:
The Export Wizard opens.
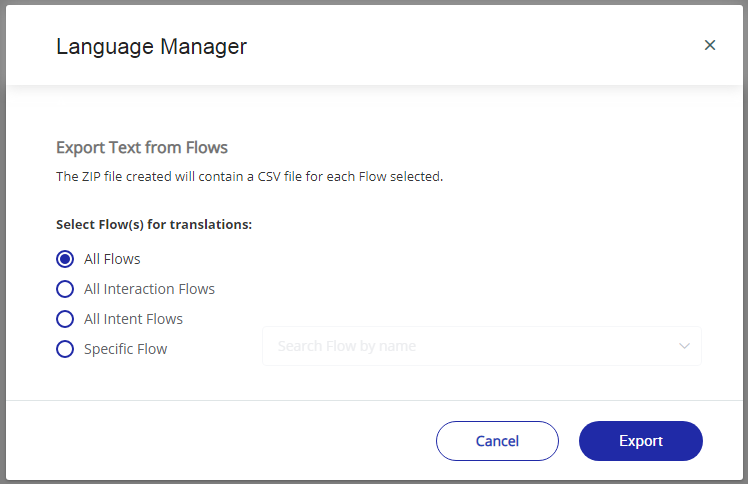
Choose the desired option from the Export radio buttons:
All Flows: Exports every Flow in the current account.
All Interaction Flows: Exports every Interaction in the current account.
All Intent Flows: Exports every Intent Flow in the current account.
Specific Flow: Exports one or more Flows that you select from a dropdown list.
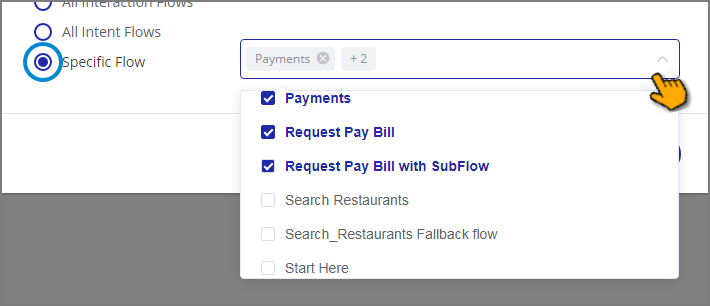
Typing characters into the Search box will list only Flows with names that match your entry.
Note
Only the most recent published version of a Flow will be exported.
Click Export. A ZIP file is created and stored in your Downloads folder containing each CSV file, automatically named according to its Flow name. The syntax for the ZIP filename is:
Translate Uniphore <your account name>.zipDo not change any part of the identifier name that appears between the parenthesis characters in the default filenames of the CSV files contained in the ZIP file.
Send the ZIP file for translation. The text to be translated is displayed in the Source Text column of each CSV file. Translators should enter their translation for each item into the relevant language column(s) to the right.
Important
To avoid potential language corruption when editing the CSV files, be sure to use an application that fully supports UTF-8 encoding, for example, Google Sheets.
Importing Translated Texts
The Import Wizard imports the translated texts and adds a new (translated) version of each Flow to your account.
Before starting the import process, examine each individual CSV file in the ZIP to verify that all texts have translations. Do not change the filenames that were given to the CSV files, as this will cause the import process to fail.
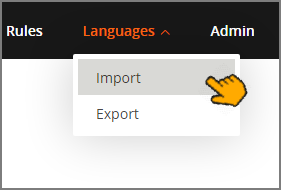
From the Main Toolbar, click Languages, then select Import:
The Import Wizard opens.
Click Browse and select the translated ZIP file to import:
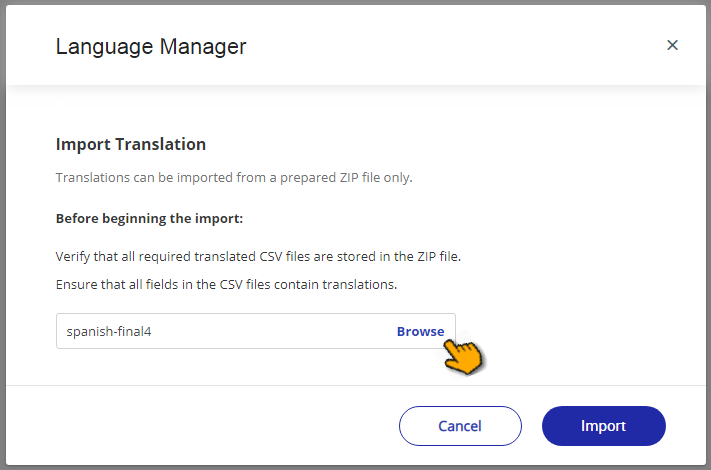
Click Import. The translated texts are imported and a new Draft version of each translated Flow will be created.
To use a newly translated Flow, access it from the Versions tab of that Flow in the X-Console and change its status to Approved.
Adding Languages to Your Current Language Package
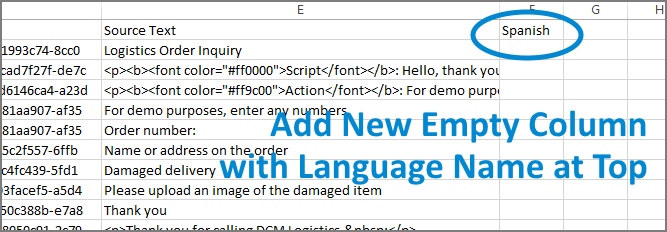
When you need to support additional languages for a Flow, simply repeat the export and import process. The CSV files created by the Export Wizard will contain all previous translations. The new language can be added by you or the translator using a new column added anywhere to the right of the Source Text column, The name of the new language must be entered in the top row:
 |
If any other changes are made to a previously translated text in the CSV file (i.e., previously translated languages already in your package), the updated translations are automatically applied to the relevant Flow(s) upon import. Previous translations will be overwritten.