Adding a SOAP Integration Point
You create a SOAP Integration Point using the New Integration Point wizard.
SOAP Integration Points are built using live web services. Using a live URL of the WSDL enables you to test request and response parameters against runtime as you are designing the mapping. This helps ensure that the Integration Point will perform as expected when it is later used in Flows.
The workflow for building a SOAP Integration Point is shown below. An overview of each step is provided in the sections below the figure.
 |
Step 1: Load WSDL
In this initial step, a live URL of WSDL is loaded into the wizard, and the relevant method is selected. You may define specific SOAP endpoints by adding one or more Variables as URL parameters.
Step 2: Specify Headers and Map Request Parameters
If headers are required, they are entered in a Request Headers frame. Then, the parameters in the Request Body are reviewed and, if necessary, edited. (The Request Body is automatically displayed in an editable format.) Finally, each request parameter is mapped into a variable that can later be selected when using the Integration Point in the X-Designer.
Step 3: Map Response Values to Variables
In this step, values from the response are mapped into variables that can be used later in the X-Designer. Each variable is mapped to an XPath pointing to the exact location of the value in the response XML. (The XPath enables direct access to any element in the response XML, including attributes and nodes within complex collections.) Supported variable types include simple types, collections, custom types and dynamic variables.
Step 4: Complete and Test the Integration Point
In this final step, a name and an optional description are assigned to the Integration Point, and parameters are reviewed. After creating the Integration Point, an end-to-end functionality test can be done.
Building a SOAP Integration Point: Introductory Example
The following procedure presents a simple example to explain how to use the wizard to create a SOAP Integration Point. For a more complex example that shows mapping using collections, custom types and dynamic variables, click here. For more information about constructing the XPath for response parameters, refer to Configuring the XPath for SOAP IP Responses.
At the top of the Web Service Integration Points page, click Add, and select SOAP.
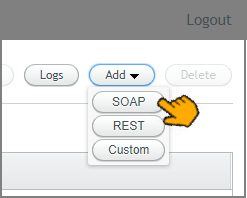
The New Integration Point wizard opens:
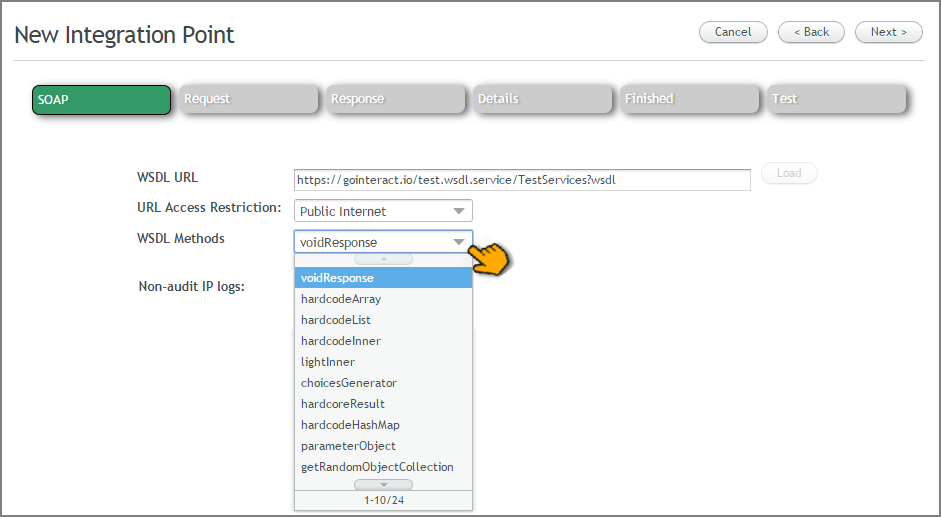
In the WSDL URL field, enter the relevant full URL of WSDL. This must point to an active service. The Load button is enabled.
When required, you should define specific endpoints by adding one or more Session Variables as URL parameters. The syntax of the parameters must be ${<name of variable>}
For example:
https://gointeract.io/test.wsdl.service/TestServices${mySessionVariable}?wsdlClick Load. The WSDL is loaded to the server, and the WSDL Methods list is populated.
If required, from the URL Access Restriction dropdown list, select Private Virtual Network. (The default selection is Public Internet.)
If the selected WSDL contains more than one method, from the WSDL Methods dropdown list, select the required method.
Optionally activate the IP Log Non-Audit checkbox to instruct X‑Platform to mask specified sensitive data when writing to IP Logs. Masking is performed on data that matches Regular Expression patterns that are defined for the account.
At the upper right corner of the page, click Next. The Request page is displayed:

A placeholder for headers is displayed in the Request Headers frame, and the Request Body of the selected method appears in the Request Body frame. The table at the bottom of the page is automatically populated with the parameters from the Request Body.
If needed, enter required Request Headers using the syntax:
header-var:${my-var}.(The current example does not require Request Headers.)
In the Request Body, review the relevant request parameters and edit them as required. Delete any unnecessary request arguments.
If you have changed/removed any request parameters, click Generate Parameters to update the Parameters table.
For each parameter in the table, in the Variable Type column, select the appropriate parameter type. Then, if desired, in the Variable Name column, change the default name (used in the Request Body) to a more meaningful name. The name assigned will be displayed to users in the X-Designer.
Note
Only simple variable types are supported as input parameters.
At the upper right corner of the page, click Next. The Response page is displayed.
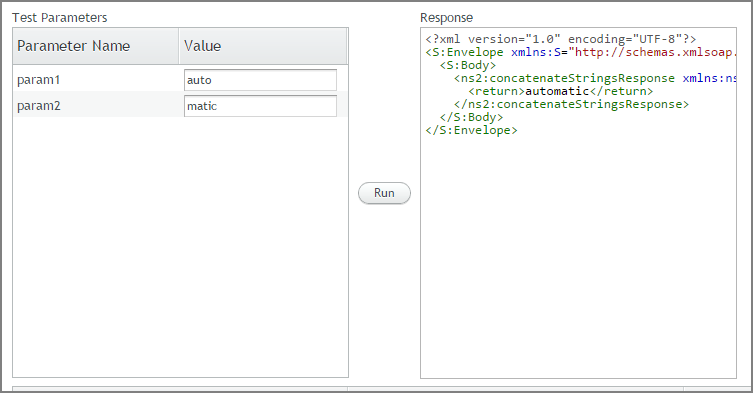
In the Test Parameters frame, enter the parameters (for this example, two strings) for testing, and click Run. The response XML will be displayed in the Response frame. For example:
At the bottom of the Response page, in the XPath field, enter the XPath corresponding to the exact location of the required value in the response XML. Then, from the Variable Type dropdown list, select the appropriate type for the variable:

To validate your mapping, click Evaluate. The relevant value is displayed in the XPath Evaluation Result popup:

In the Variable Name column, enter a name for the variable and click Add. The name you assign in this column will be displayed to users in the X-Designer.
Click Next. The Details page is displayed, listing the request and response parameters:
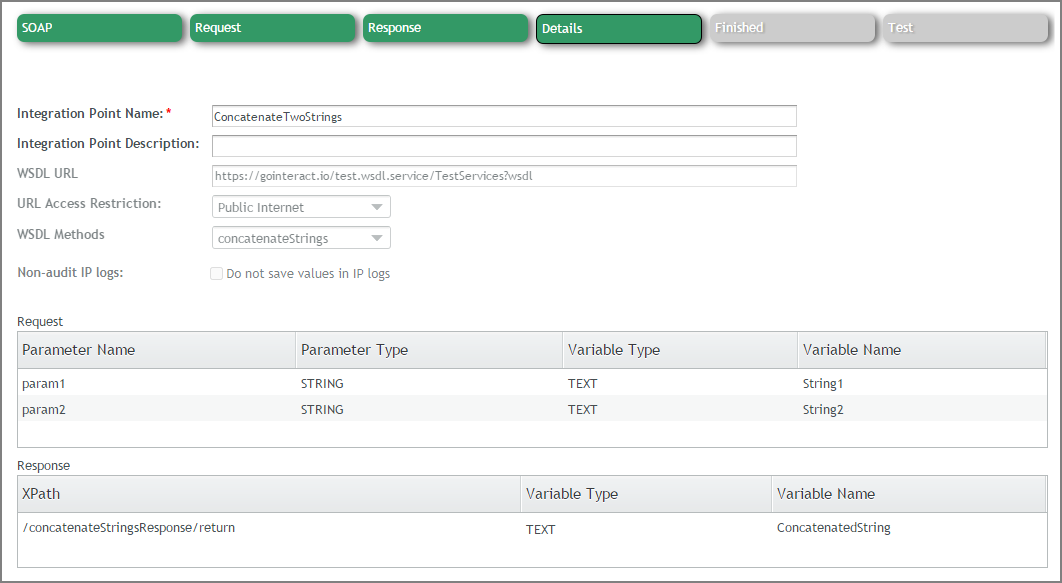
At the top of the page, enter a relevant name and description in the appropriate fields. Then, click Create. A confirmation message appears, and the Finished page is displayed.
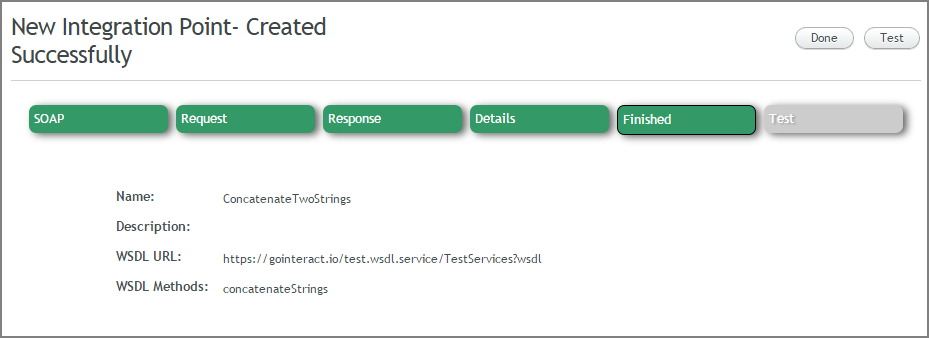
To exit the wizard, click Done.
Important
It is recommended that you test a new Integration Point by clicking Test and providing test request parameters. For more details, refer to Testing Integration Points.