Create New Profile
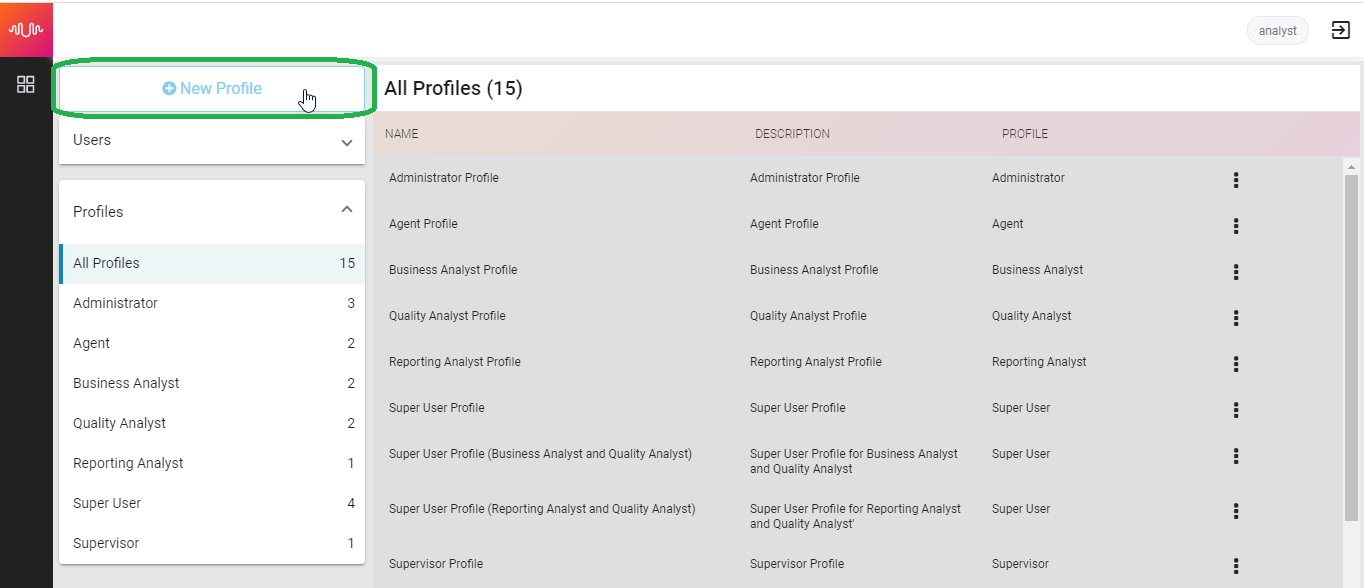 |
The New Profile page has the following sections:
General Settings
Set Organization
Category Access
Apply Permissions
Summary
General Settings
In General Settings, the following details are required:
Profile Name
Description
Select a Role
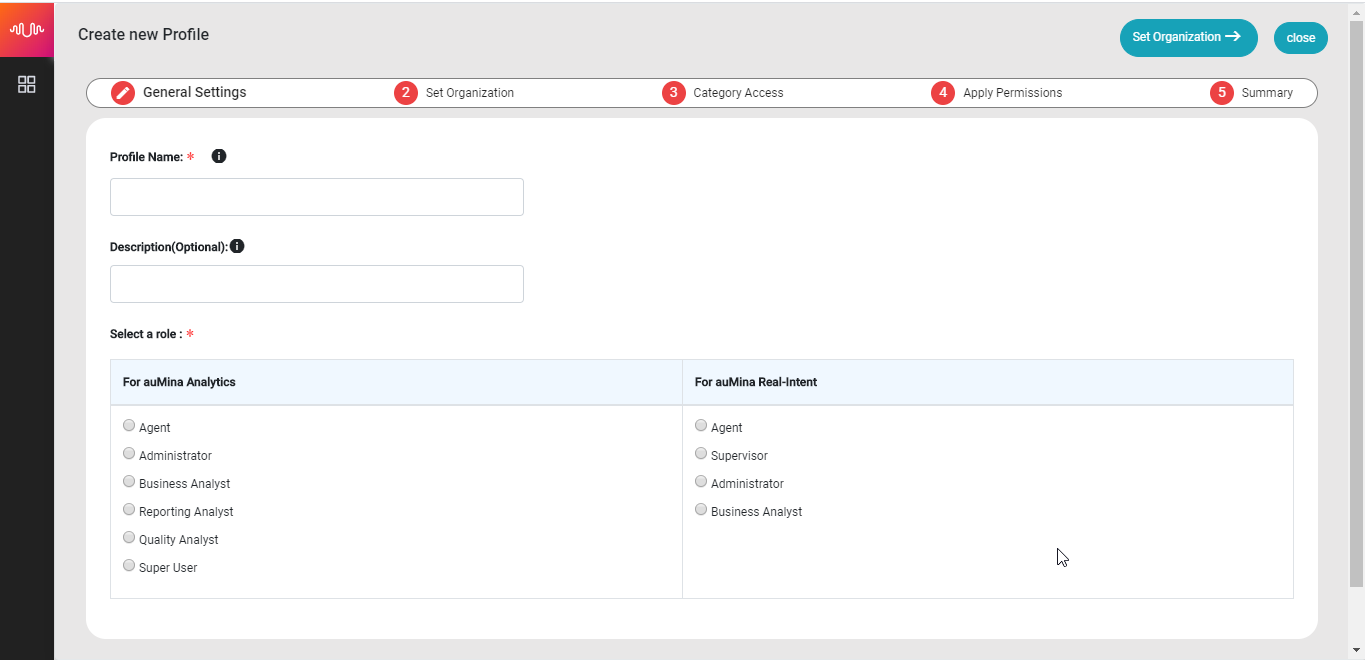 |
Enter the Profile Name
Enter the Description for the profile.
Select a Role from the list, basis Product.
Click Set Organization.
In the Profile Name and Description, alphanumeric, space and underscore are allowed. A minimum of 3 character and a maximum of 80 characters are allowed.
Set Organization
Set Organization section helps to add organization to the new user profile from the list of all Organizations. Based on the Product selected in the General Settings, the Organizations are listed.
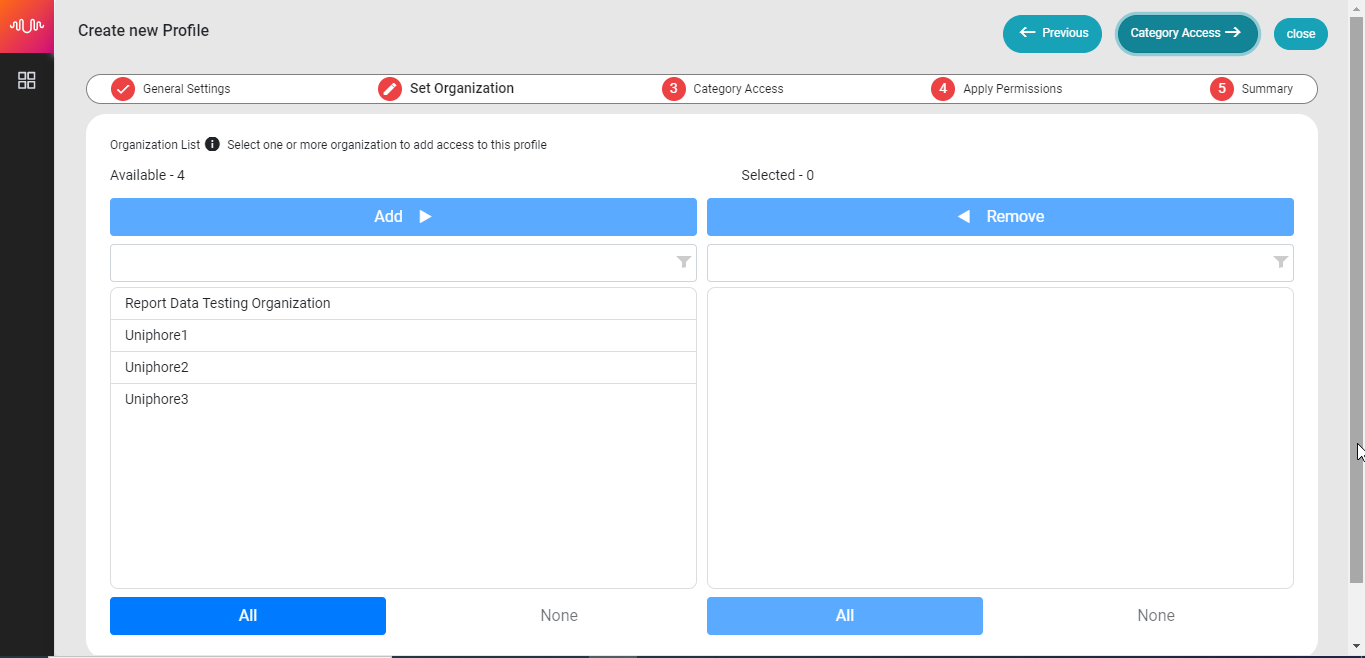 |
Select one or more organizations from the Available list and click Add button to add access to the new profile.
Click All button from bottom of Available section, to add the entire organizations that are listed.
Click None button from the bottom of the Available section, to deselect the organizations that is selected.
To deselect the organizations that are moved to Selected section
Click the organization
Click Remove button
To deselect all organizations from the Selected box
Click All
Click Remove
Click Category Access
Multiple organizations can be selected for a profile. The selected organizations are displayed in the Selected box.
The Administrator can toggle between the sections using Previous ß and à button, which is placed at the top right of the page.
Category Access
Category Access section used to select the Categories/Business Process/Business Units for the Profile. Based on the Product selected in the General Settings, the Categories are listed.
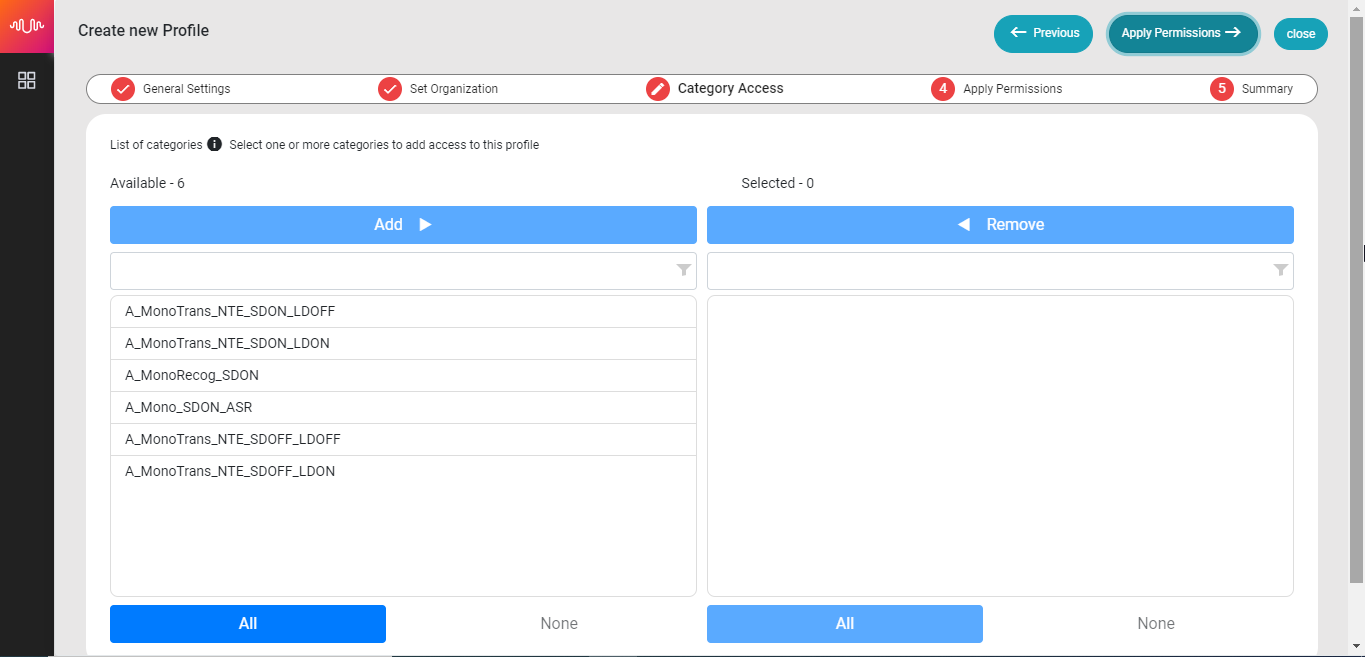 |
Select one or more categories from the Available section and click Add button from the top of the section, to add access to the profile.
Click All to add the entire categories listed
Click None button to deselect the categories that is selected with in the Available box.
To deselect the categories that are moved to Selected box:
Click the Category(s)
Click Remove
To deselect all categories from the Selected box
Click All
Click Remove
Click Apply Permissions à button to navigate to the Apply Permission section.
Multiple categories can be selected for a profile. The selected categories are displayed in the Selected section.
Apply Permissions
Apply Permission section is used to add permission for the profile. This section is broadly categorized into U-Analyze and U-Assist.
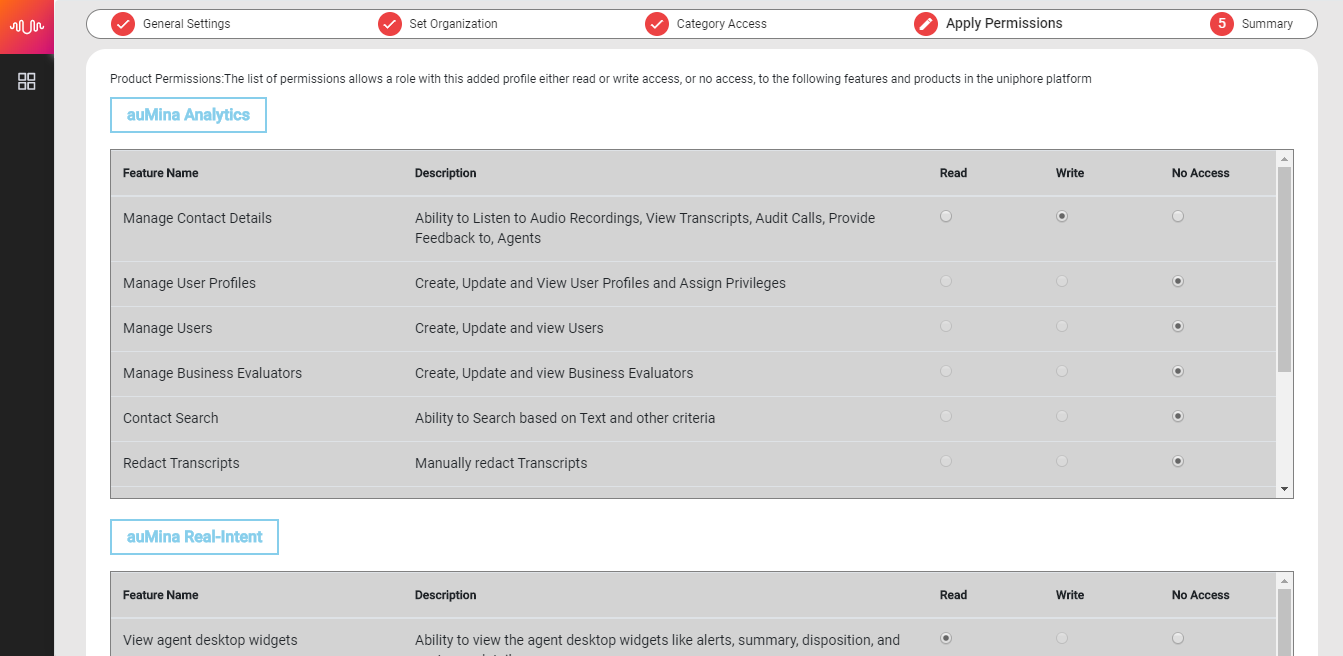 |
Select the Access to set the permission. Any one of the 3 types of Access can be set to the profile. The types of Access are
Read – Allows users to view the data
Write – Allows users to view and edit the data
No Access – The user cannot access the feature.
If the Role of the Profile is Agent, then the user cannot access Manage Organization feature.
If the Role of the Profile is Administrator, then the user can access Manage Organization feature.
Once the Access is selected and applied, Click Summary
Summary
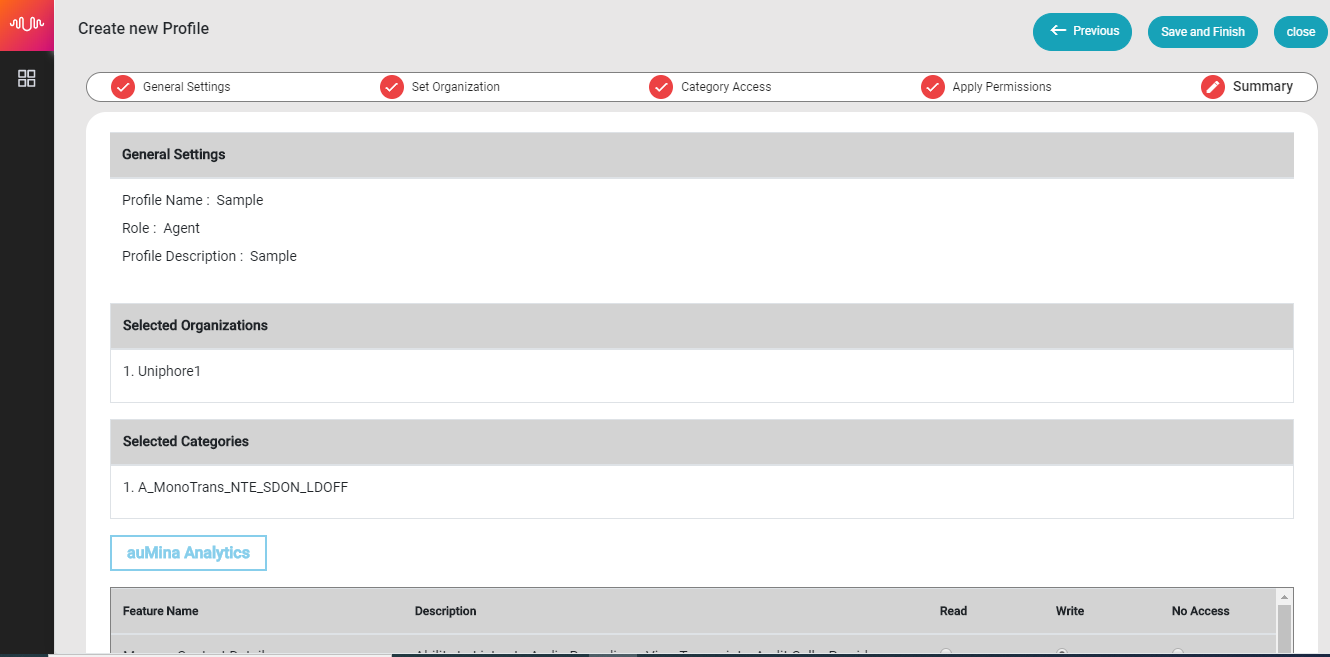 |
Summary section shows the abstract of the selections made. It has the following information:
General Settings – Shows the Profile Name, Role and Description
Selected Organization – The number of organizations selected and their list
Selected Categories – The number of categories selected and their list
Set Permissions – The General and the Product specific permissions set for the profile.
Click Save and Finish to complete the Profile Creation process.